Nordy's Convenience Features
In addition to generation features, Nordy also provides features that help users easily manage their results.
My Asset
Section titled “My Asset”The My Asset page lets you view and manage all the results you’ve created at a glance.
How to Use
Section titled “How to Use”- Click My Asset from the top menu on the Nordy main screen.

- If the My Asset icon in the left menu is selected, you’re in the right place.
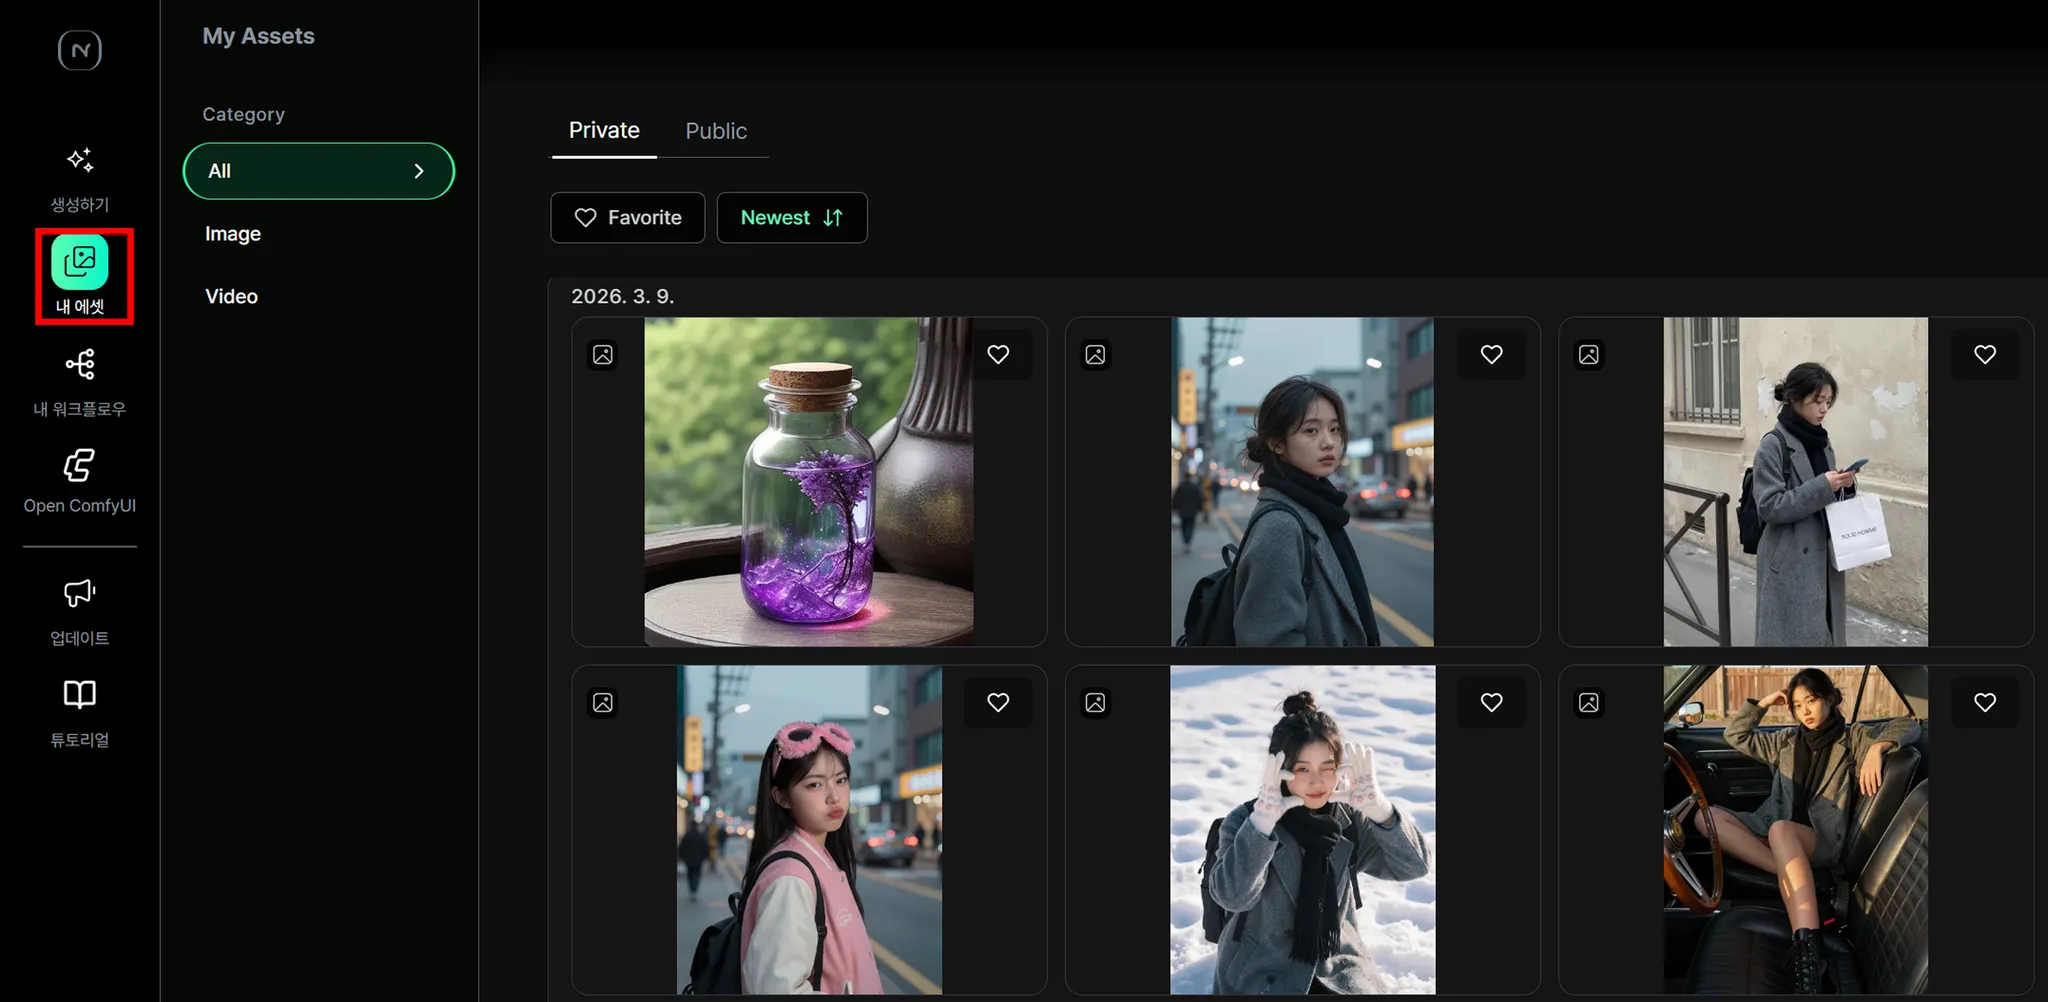
Here you can favorite, download, delete, and share results to the gallery.
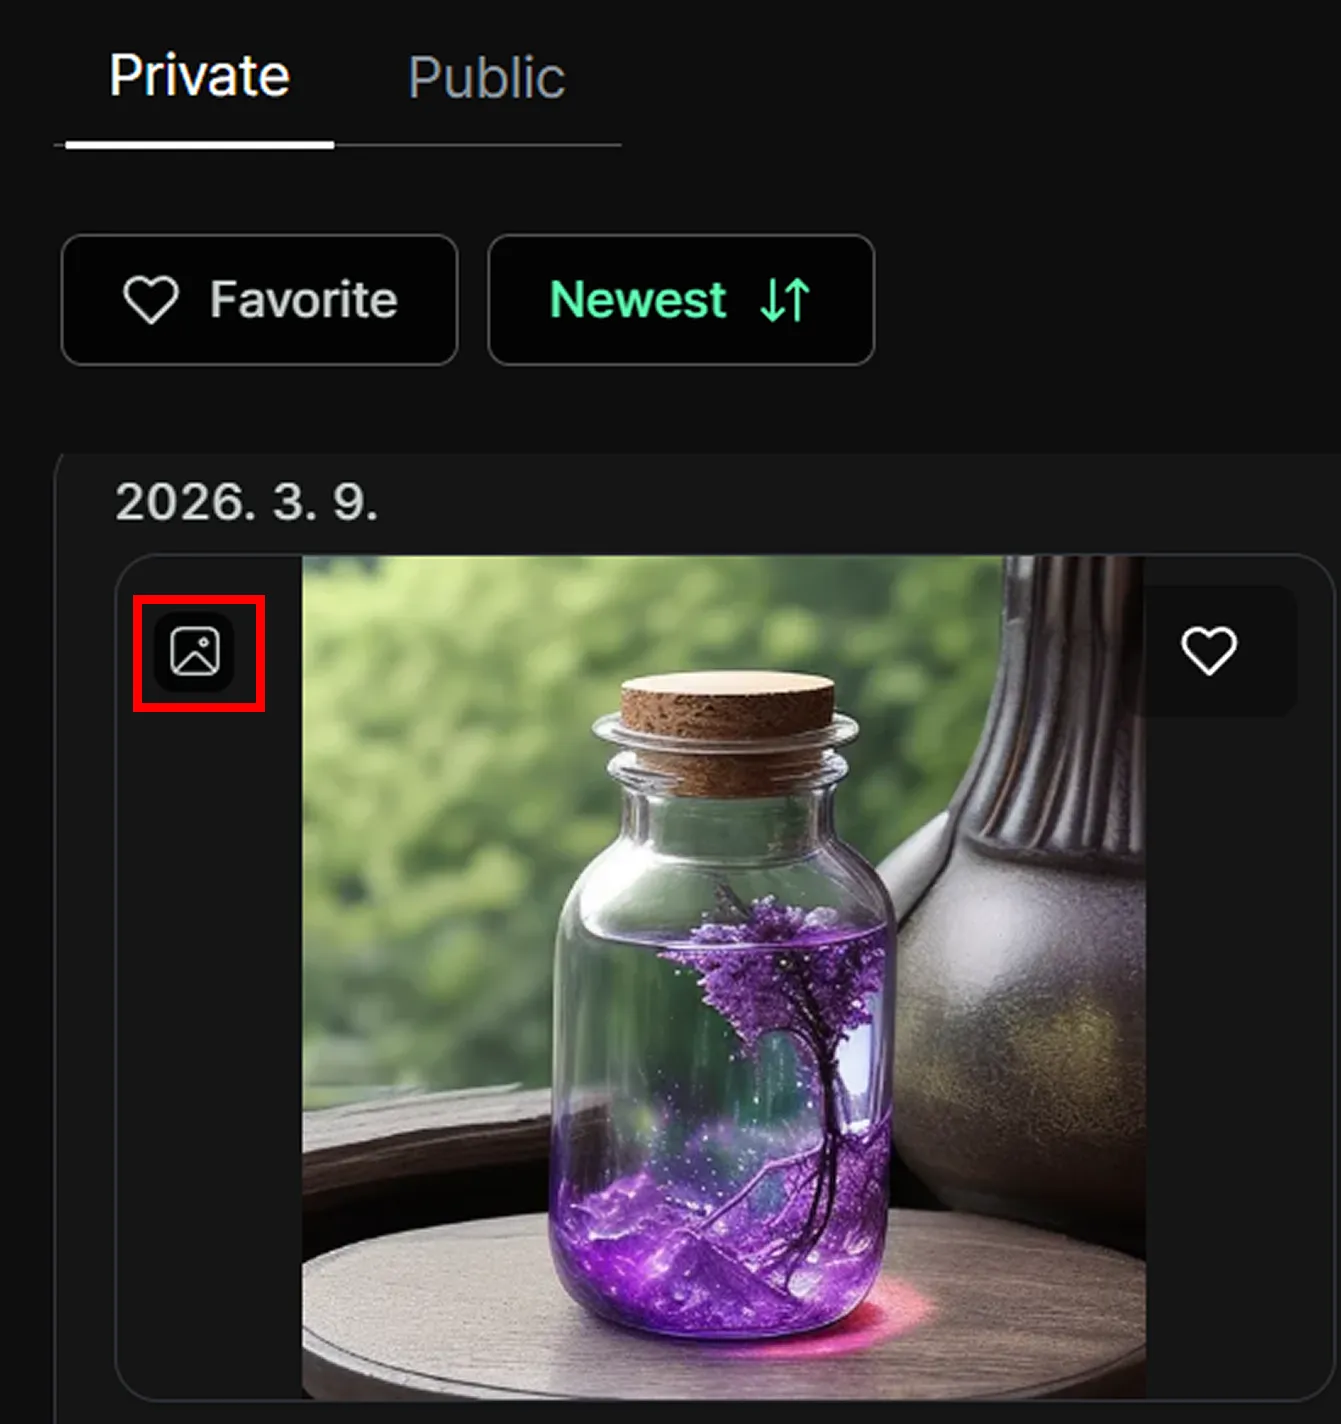
Selecting Results
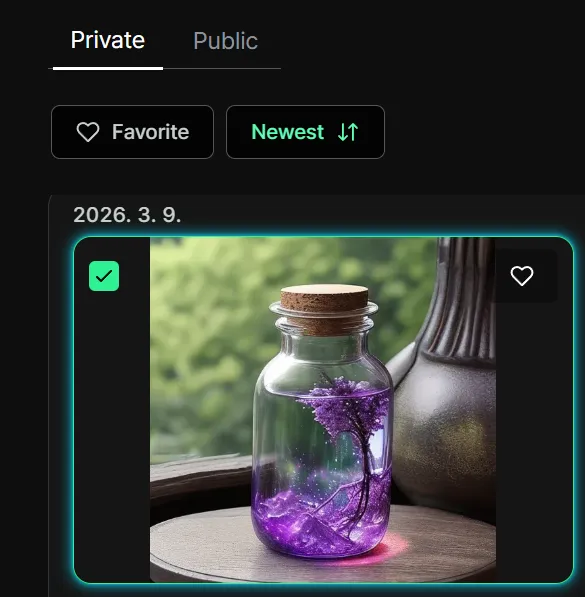
Section titled “Selecting Results”You’ll see an icon on both the upper left and upper right of each result. Click the icon on the upper left to select it — you’ll see a checkmark indicating the image has been selected.
Deleting and Downloading Results
Section titled “Deleting and Downloading Results”Once you’ve selected your results, you can delete or download them.
When you select results, a menu bar will appear at the bottom center of the screen.
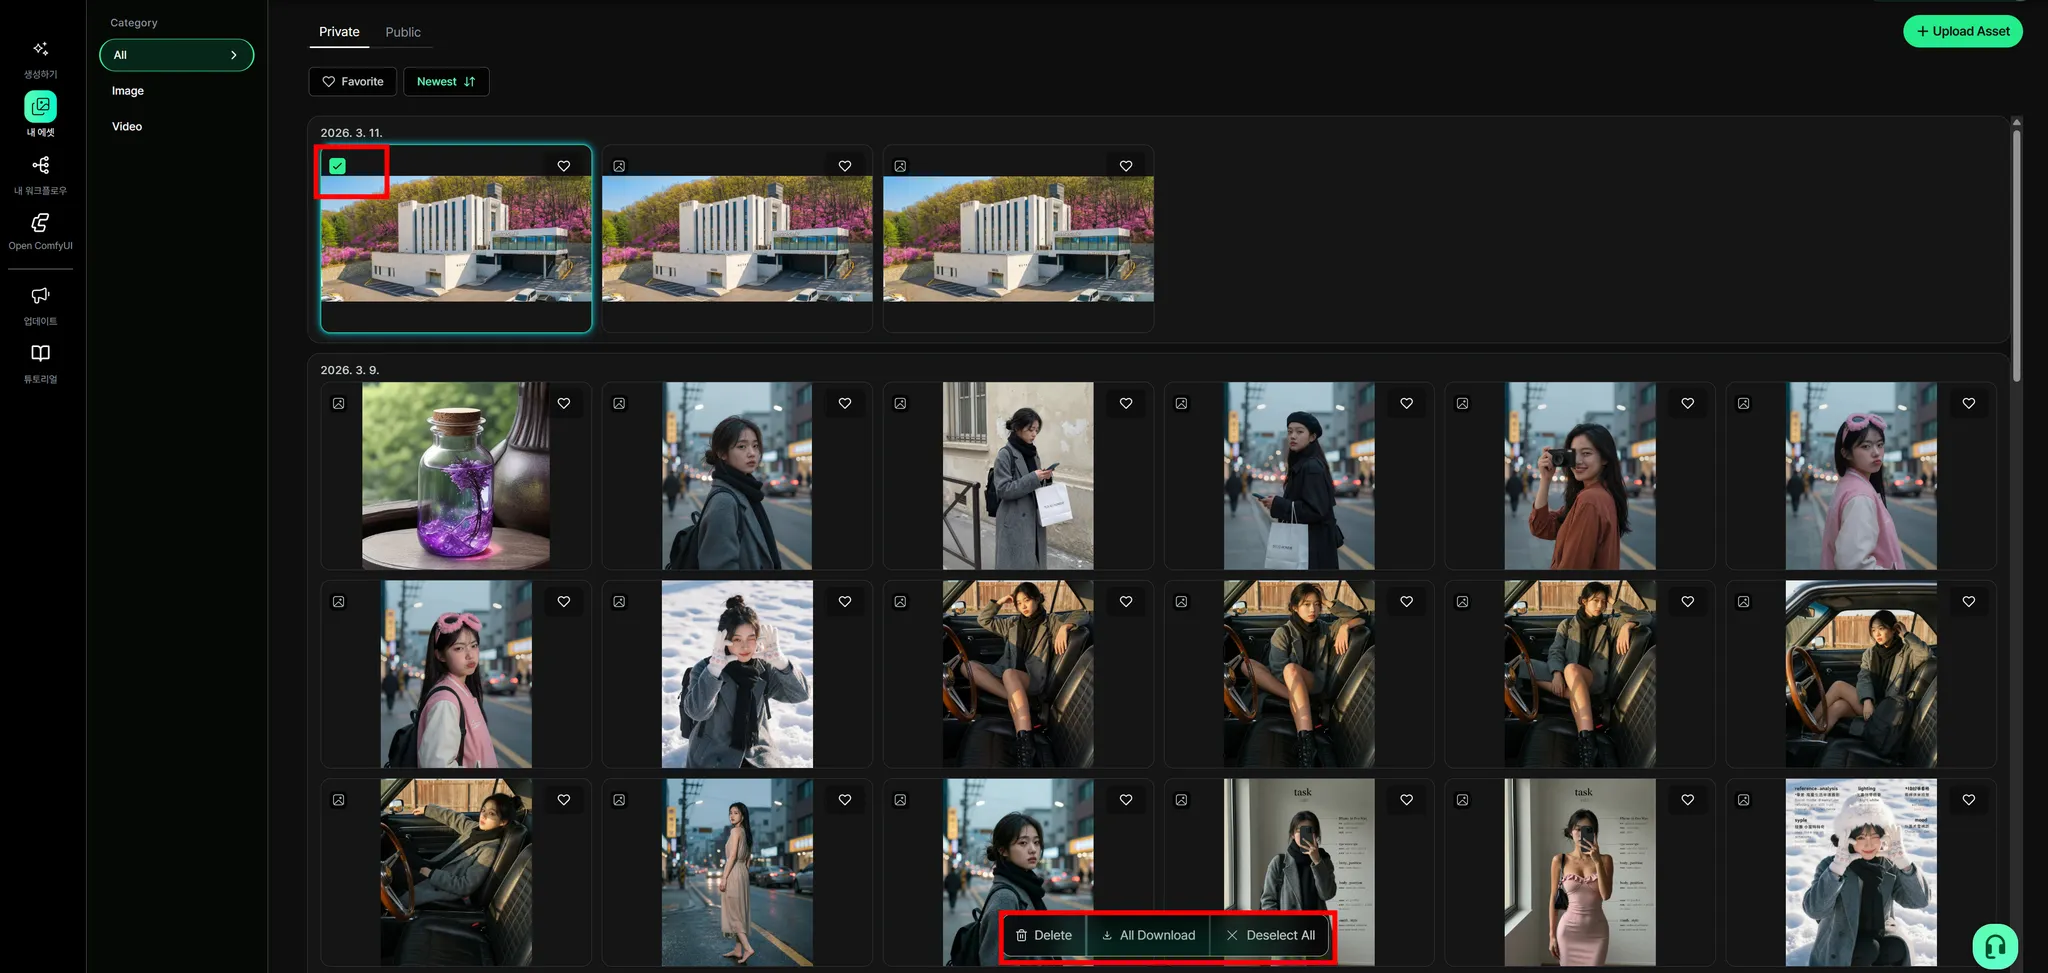
From left to right on the menu bar, the options are Delete, Download, and Deselect.
You can also select multiple results at once.
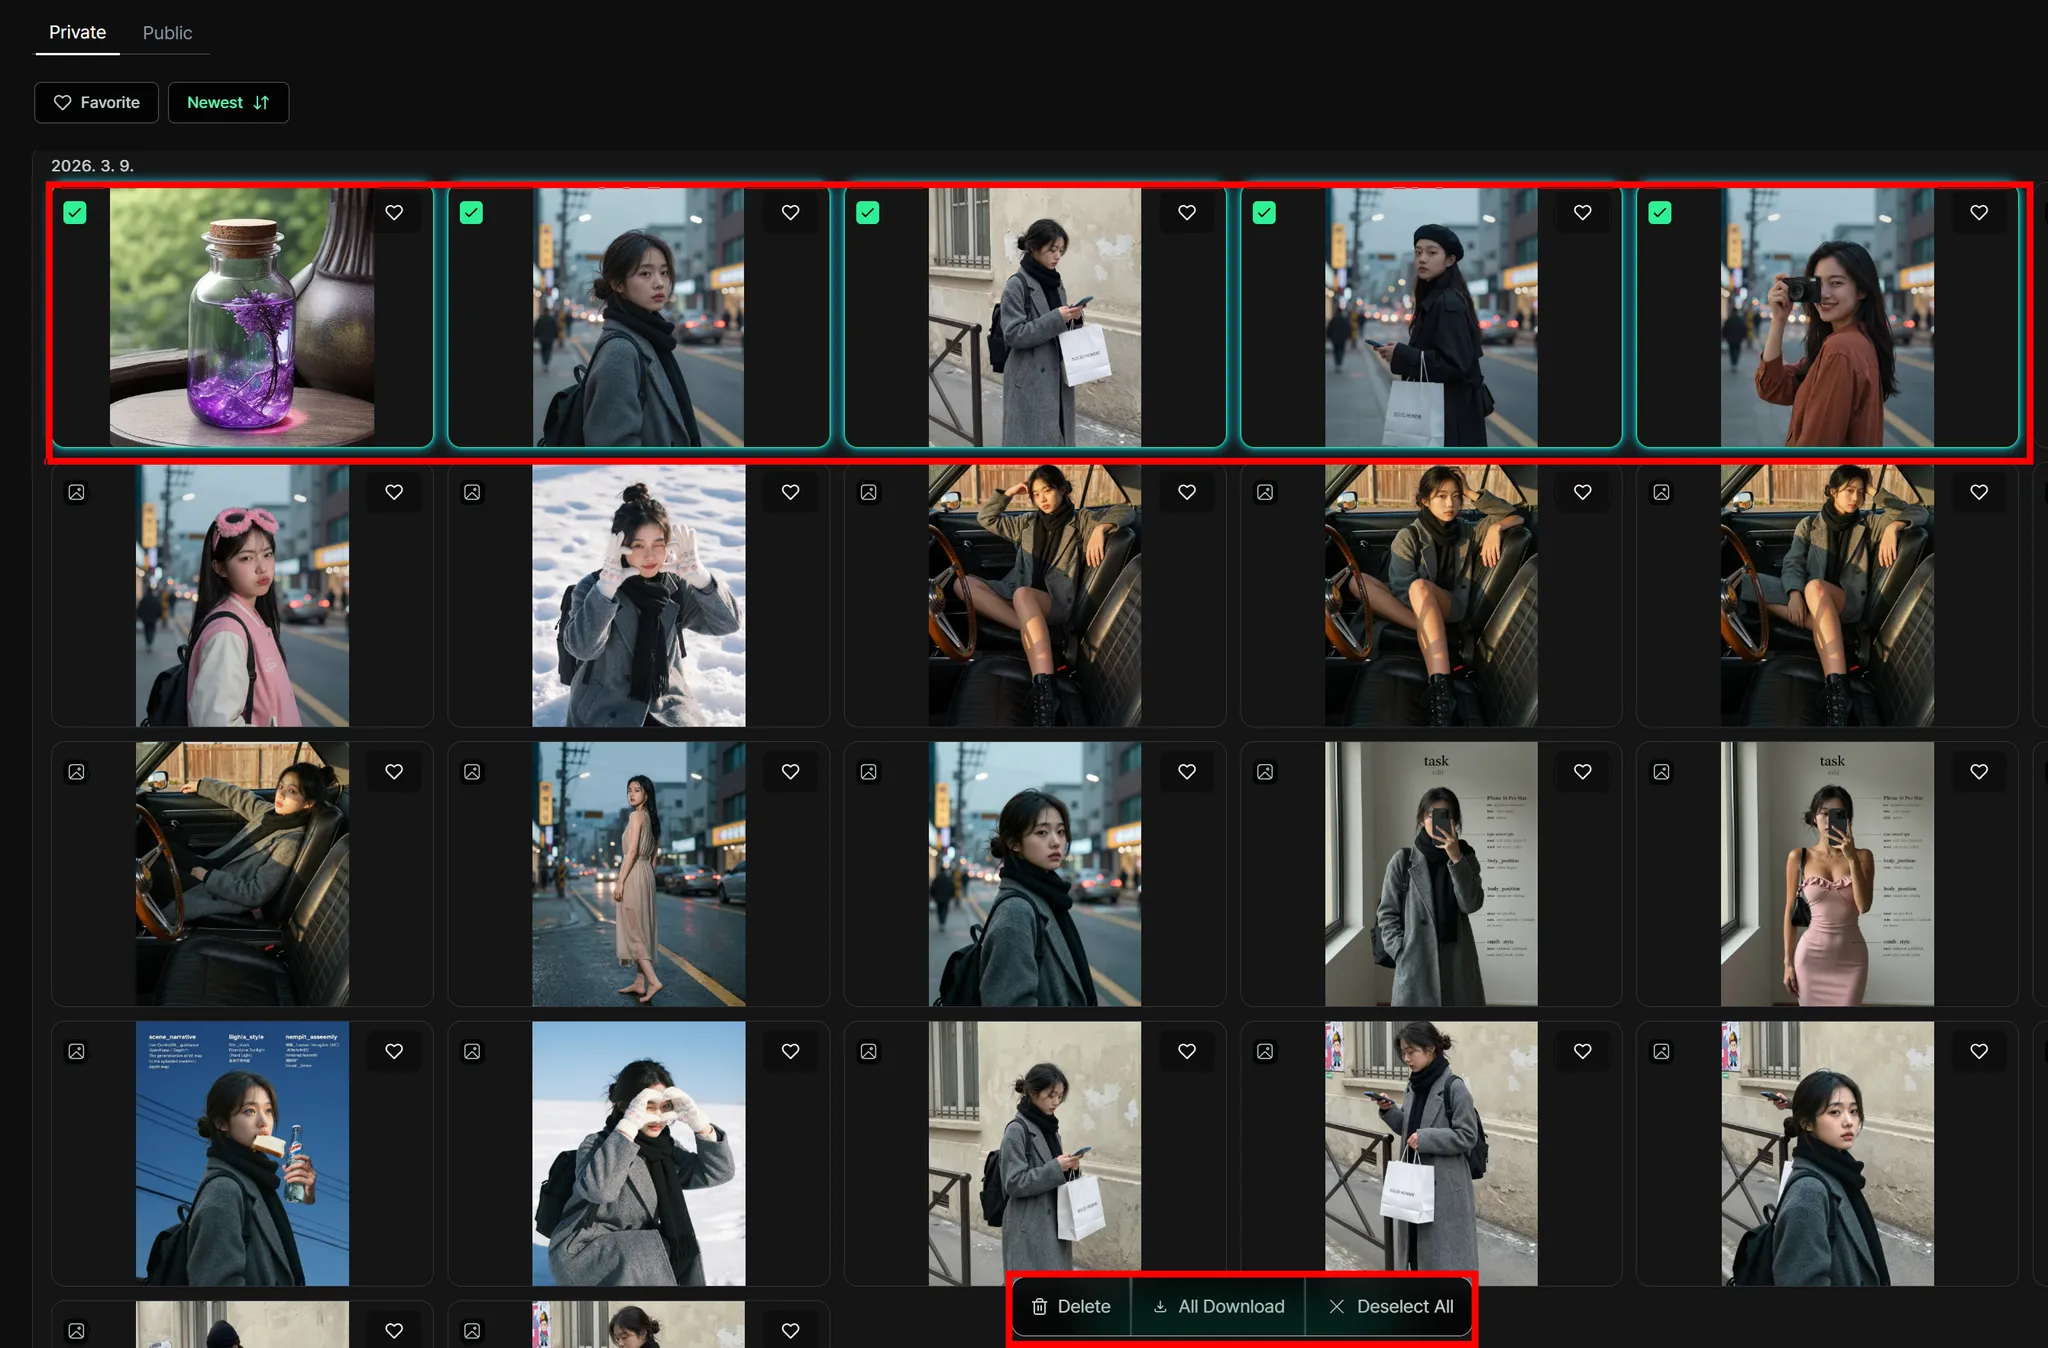
When you click download in this situation, the selected images will be conveniently downloaded as a single zip file.
Alternatively, selecting delete will let you remove multiple results at once.
Favoriting Results
Section titled “Favoriting Results”When you want to collect and view only your favorite results separately, use the favorites feature.
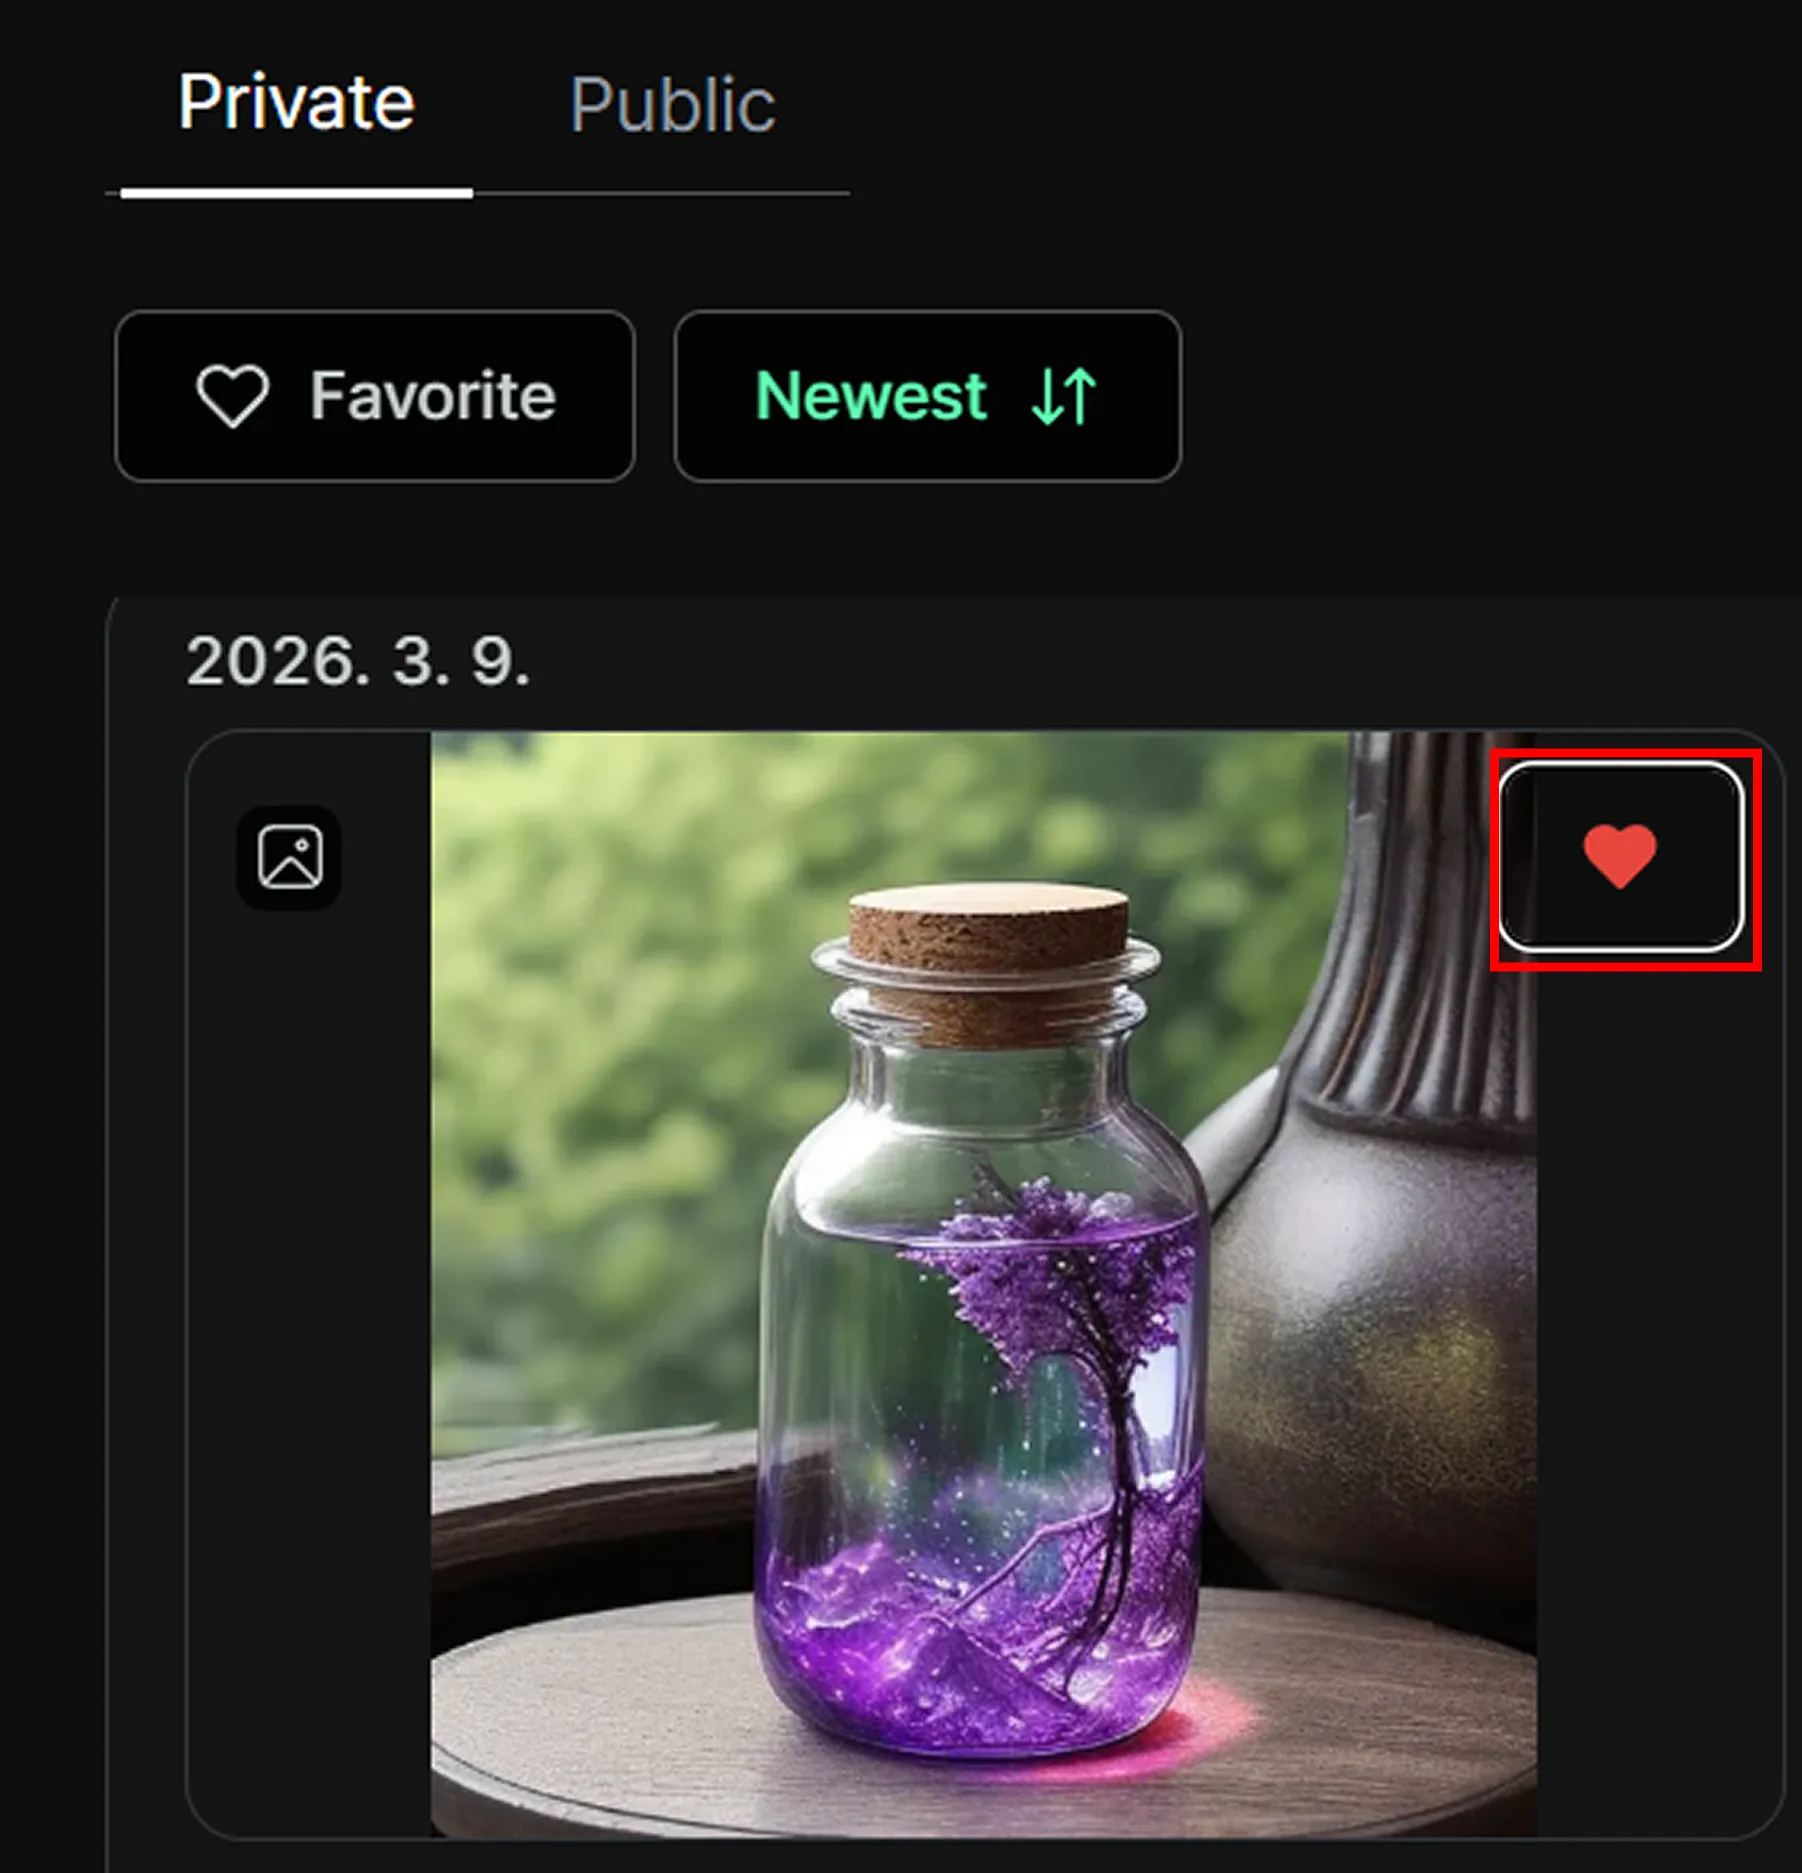
Click the heart icon on the upper right of the image you want to favorite.
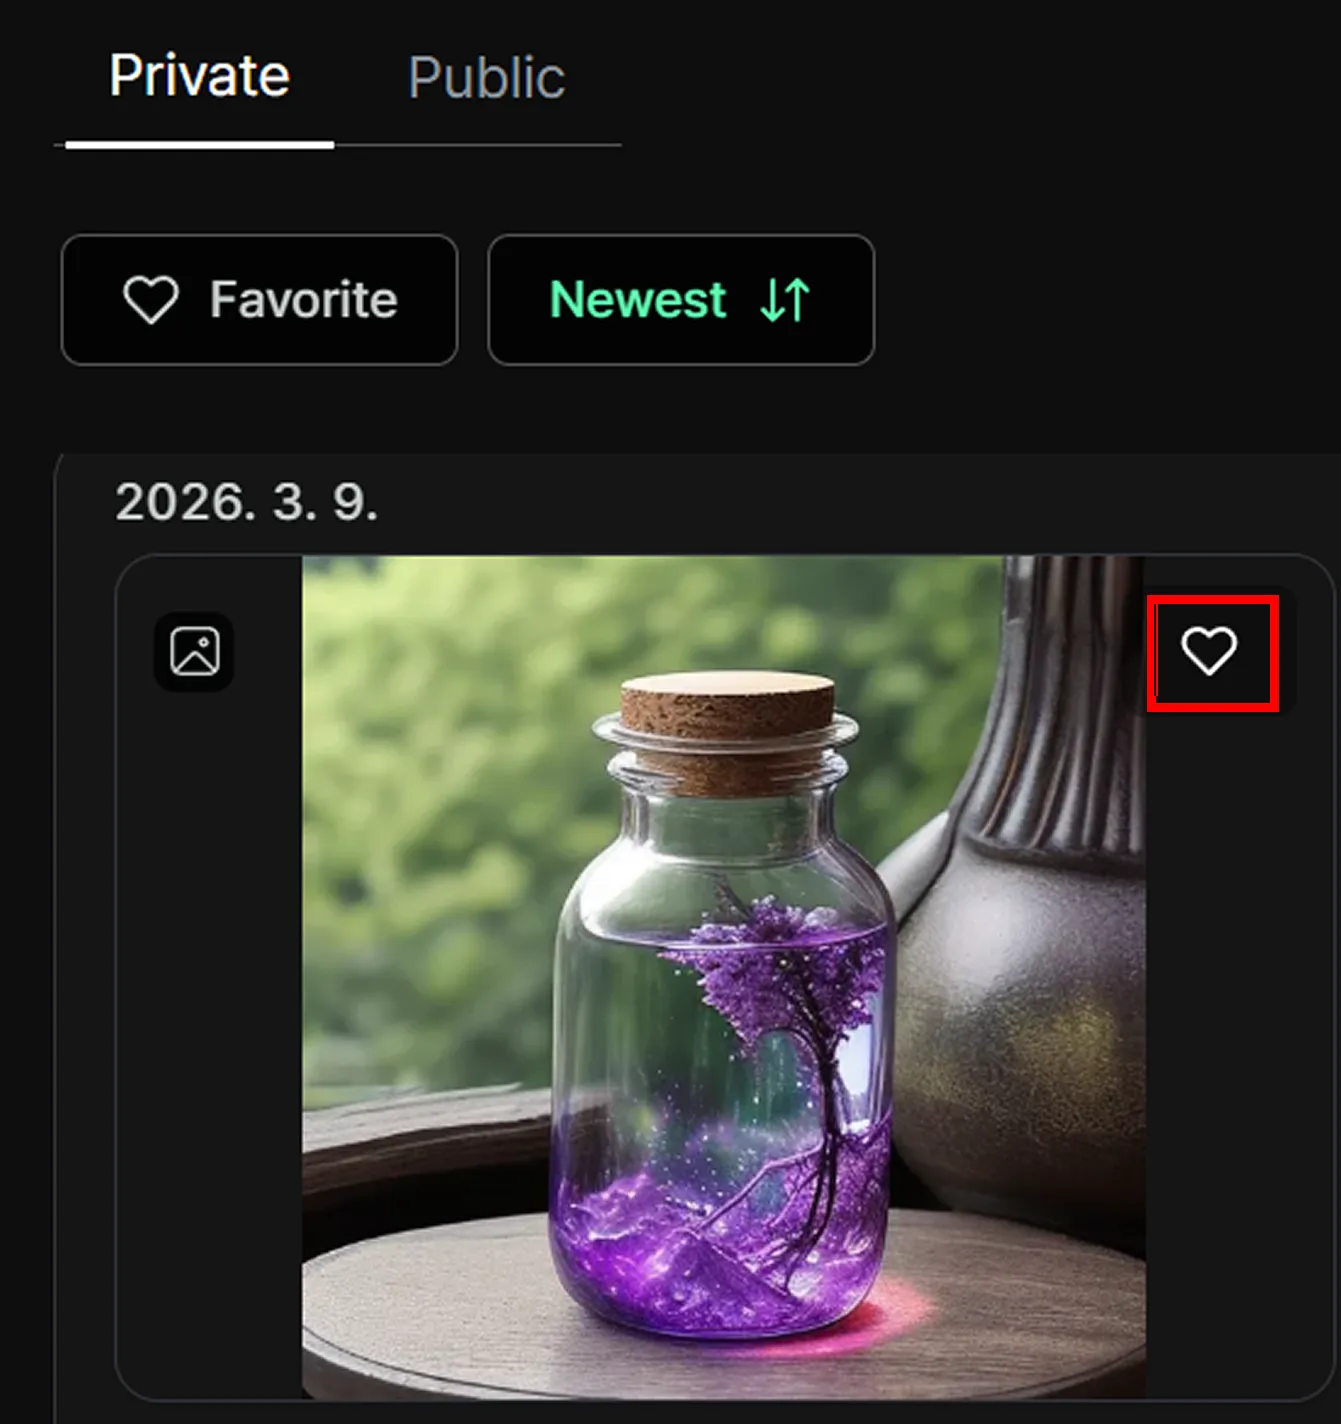
You’ll then see the heart icon become active.
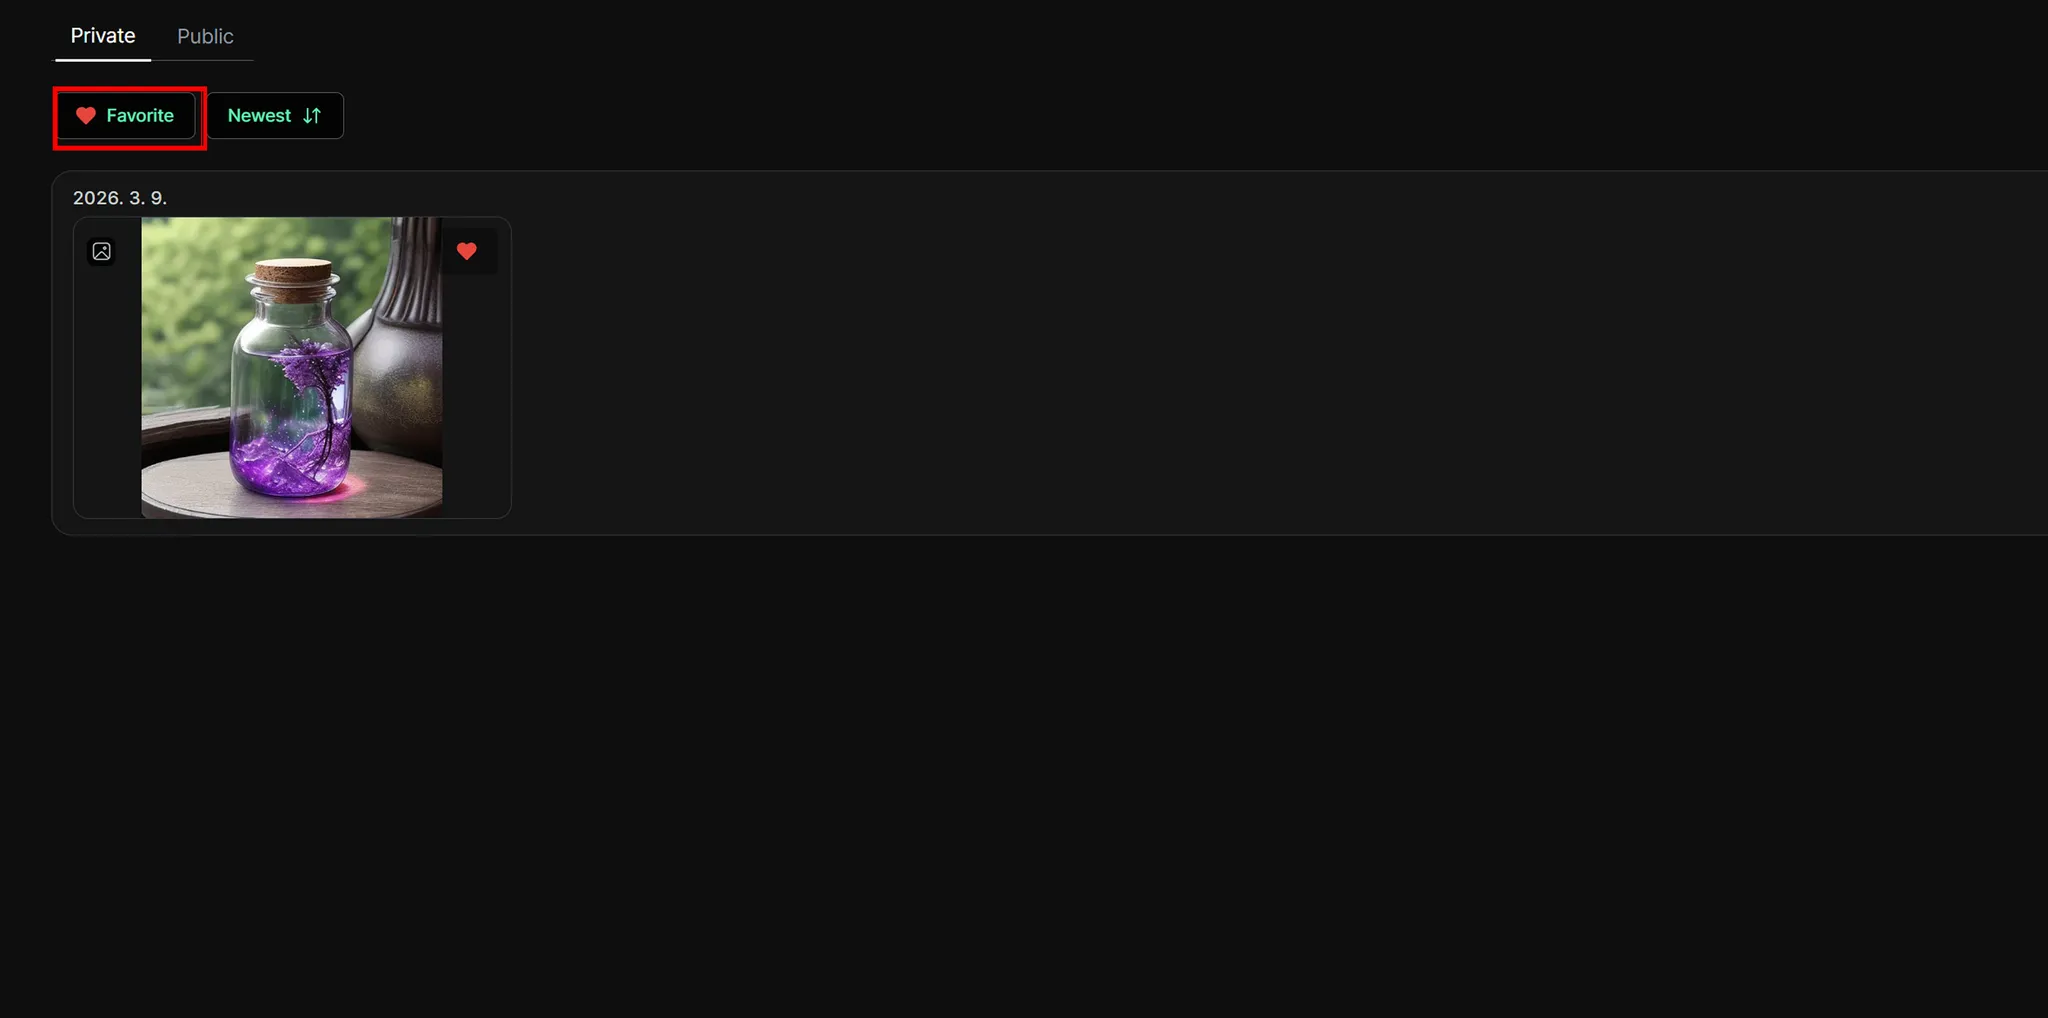
After that, click the Favorite button at the top to view only the images you’ve favorited.
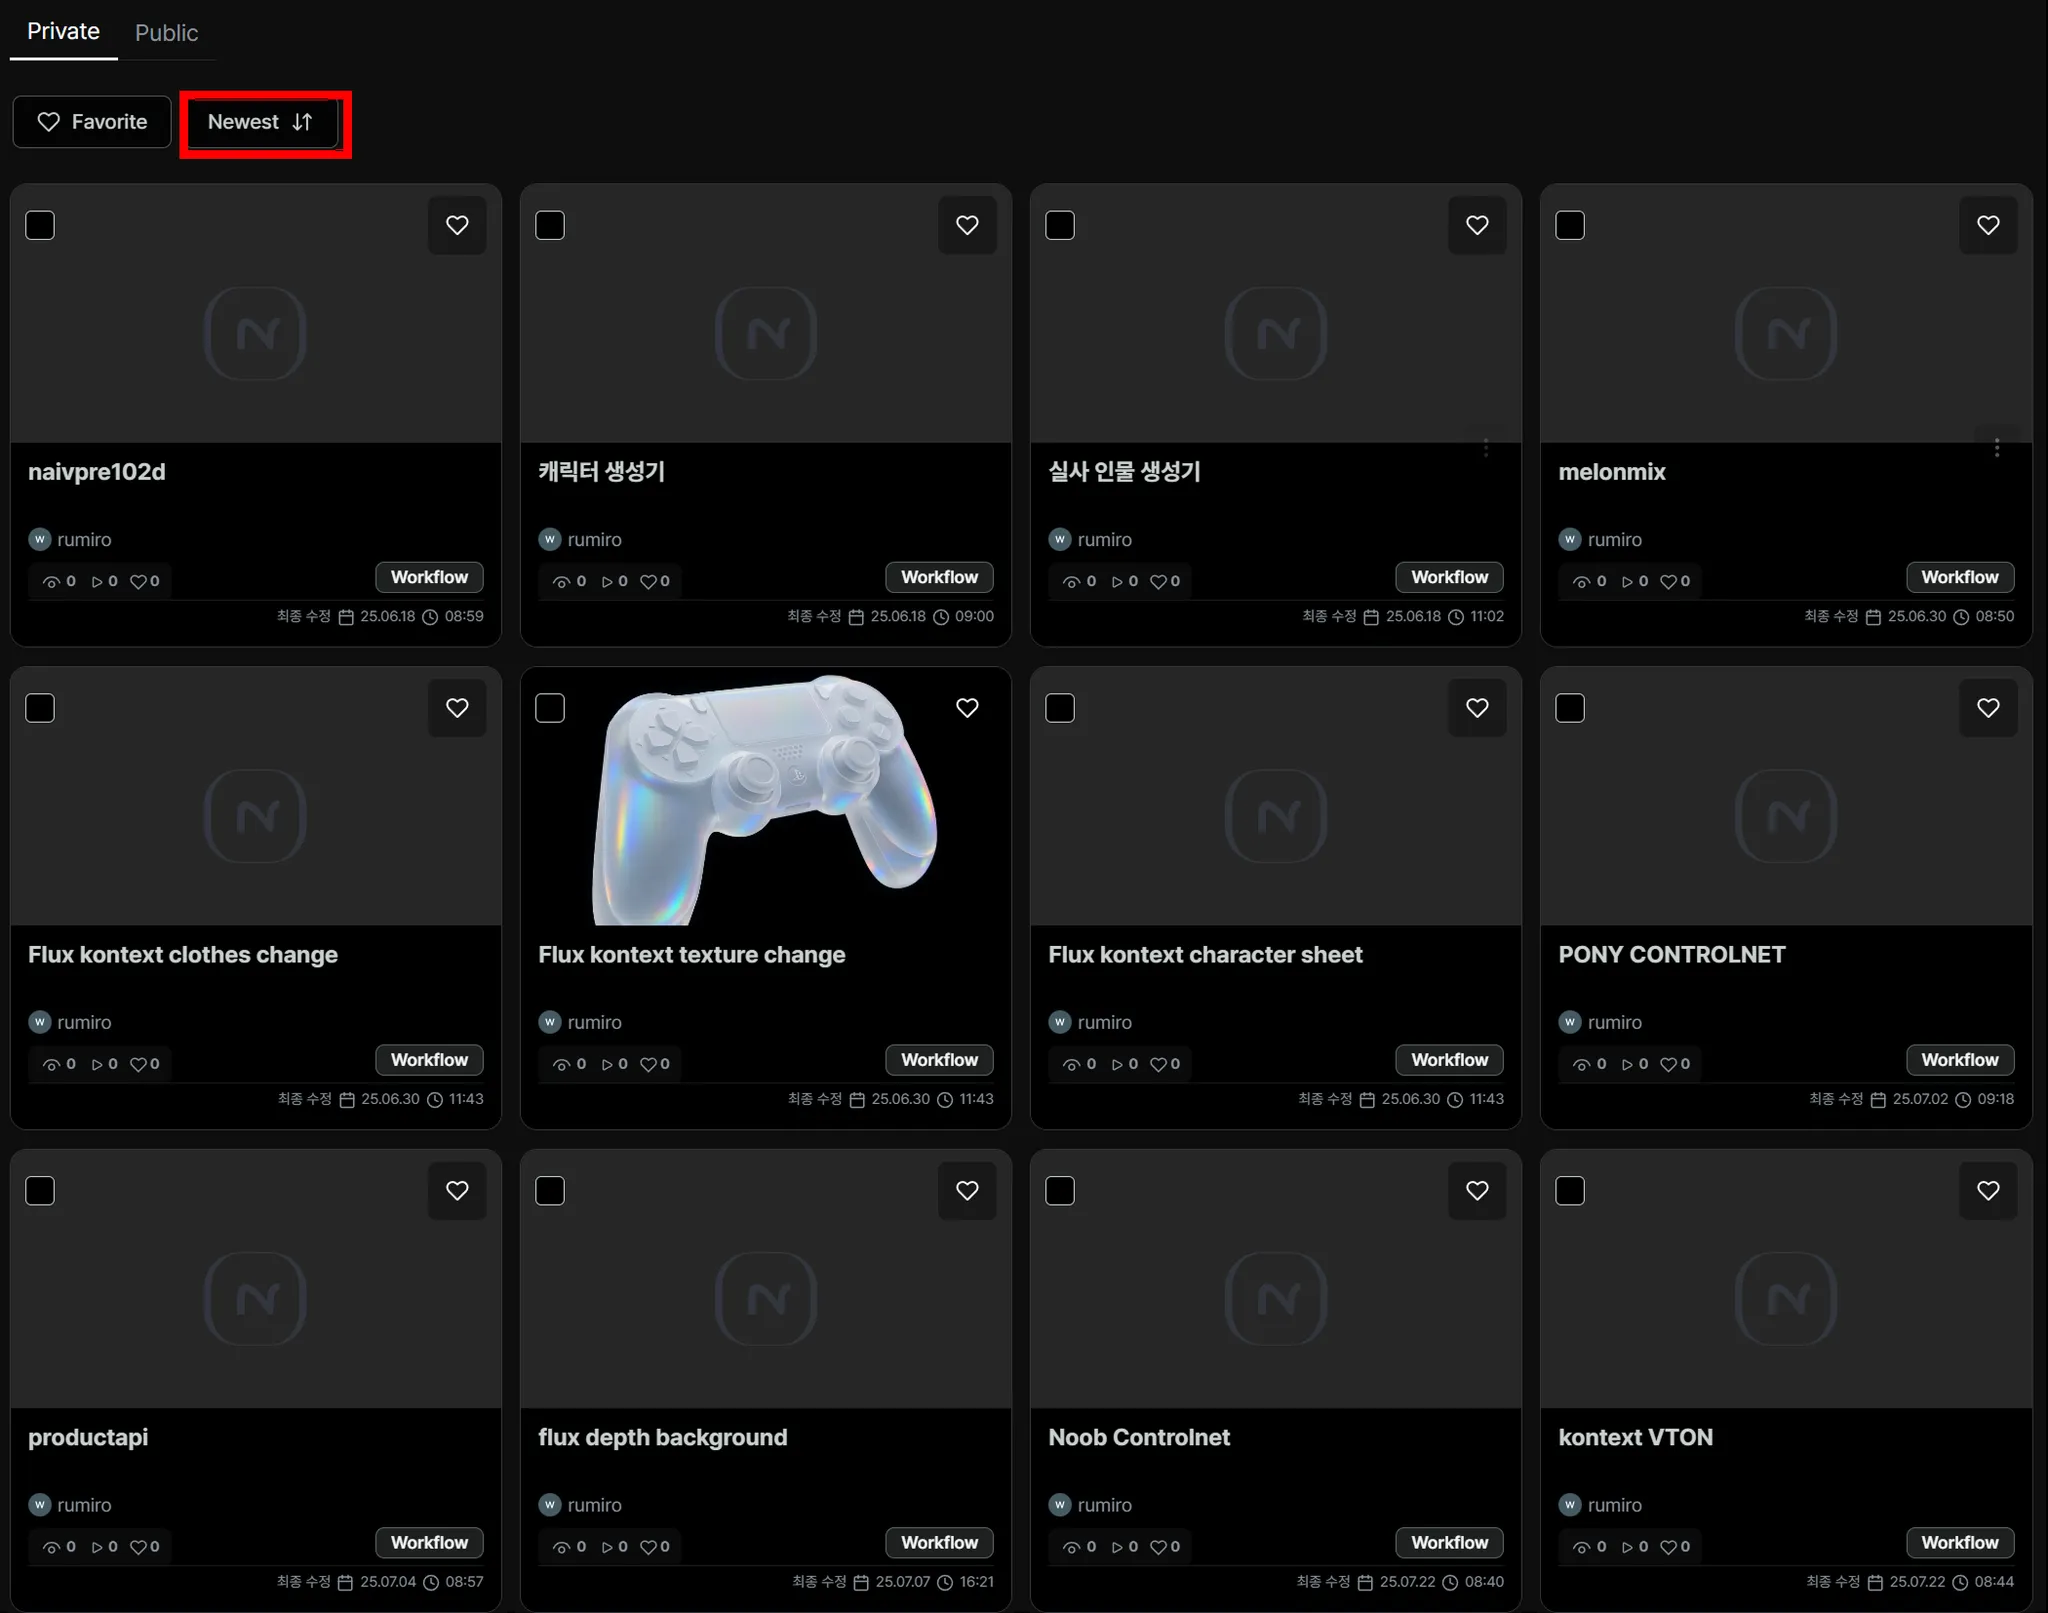
Sorting Results by Time
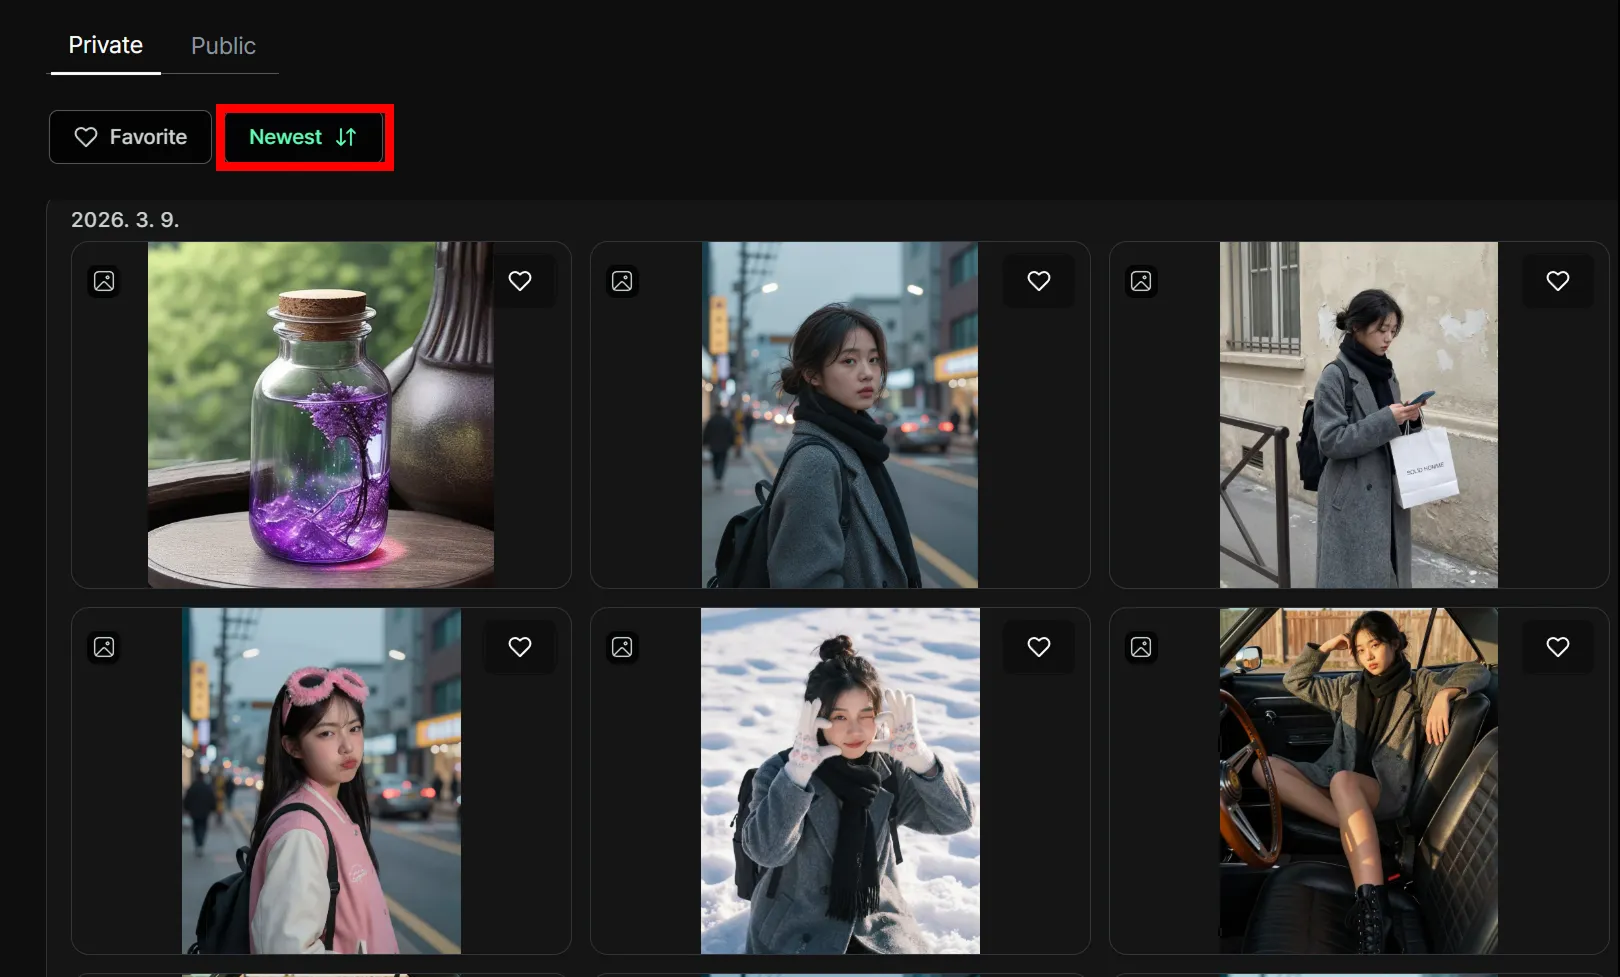
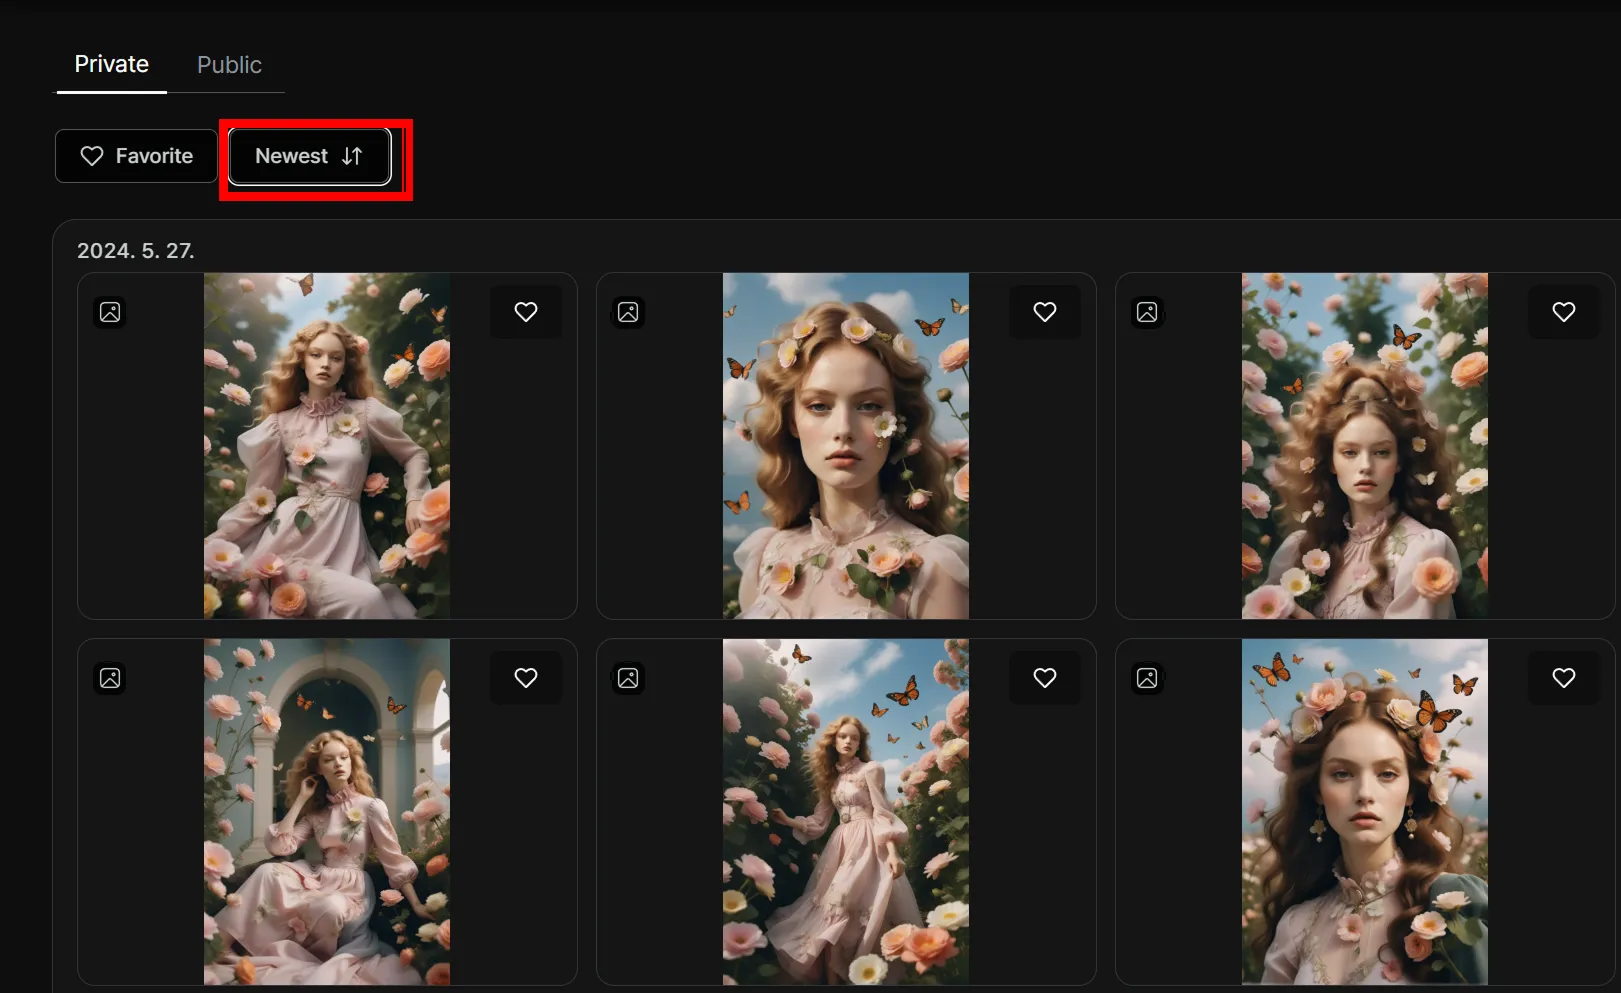
Section titled “Sorting Results by Time”In Nordy, results can be viewed in oldest-first or newest-first order.
Click the Newest button to sort by most recent, and click it again to sort by oldest first.
My Workflow
Section titled “My Workflow”The My Workflow page lets you view and manage all the workflows you’ve created at a glance.
You can also request models from the Nordy team.
The basic usage is the same as My Asset.
How to Use
Section titled “How to Use”- Click My Workflow from the Nordy main screen.
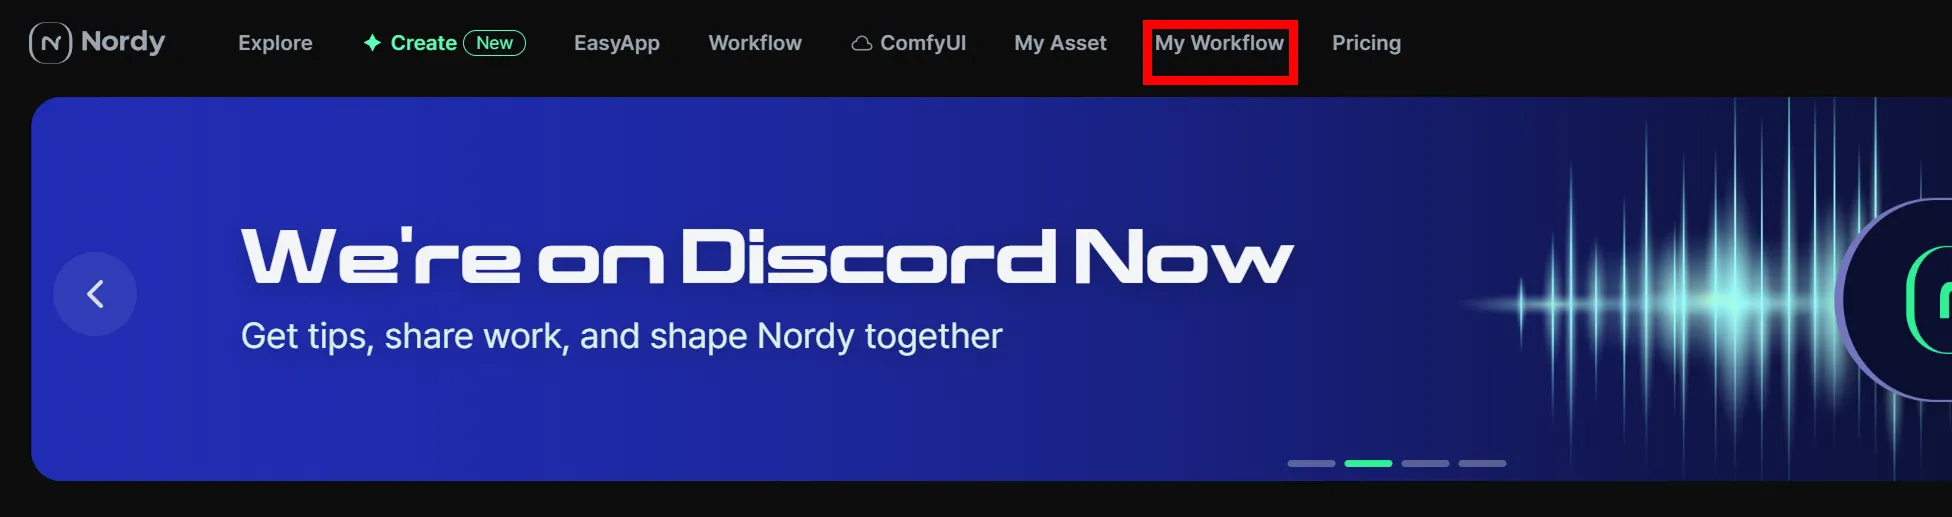
- If the My Workflow icon in the left menu is selected, you’re in the right place.
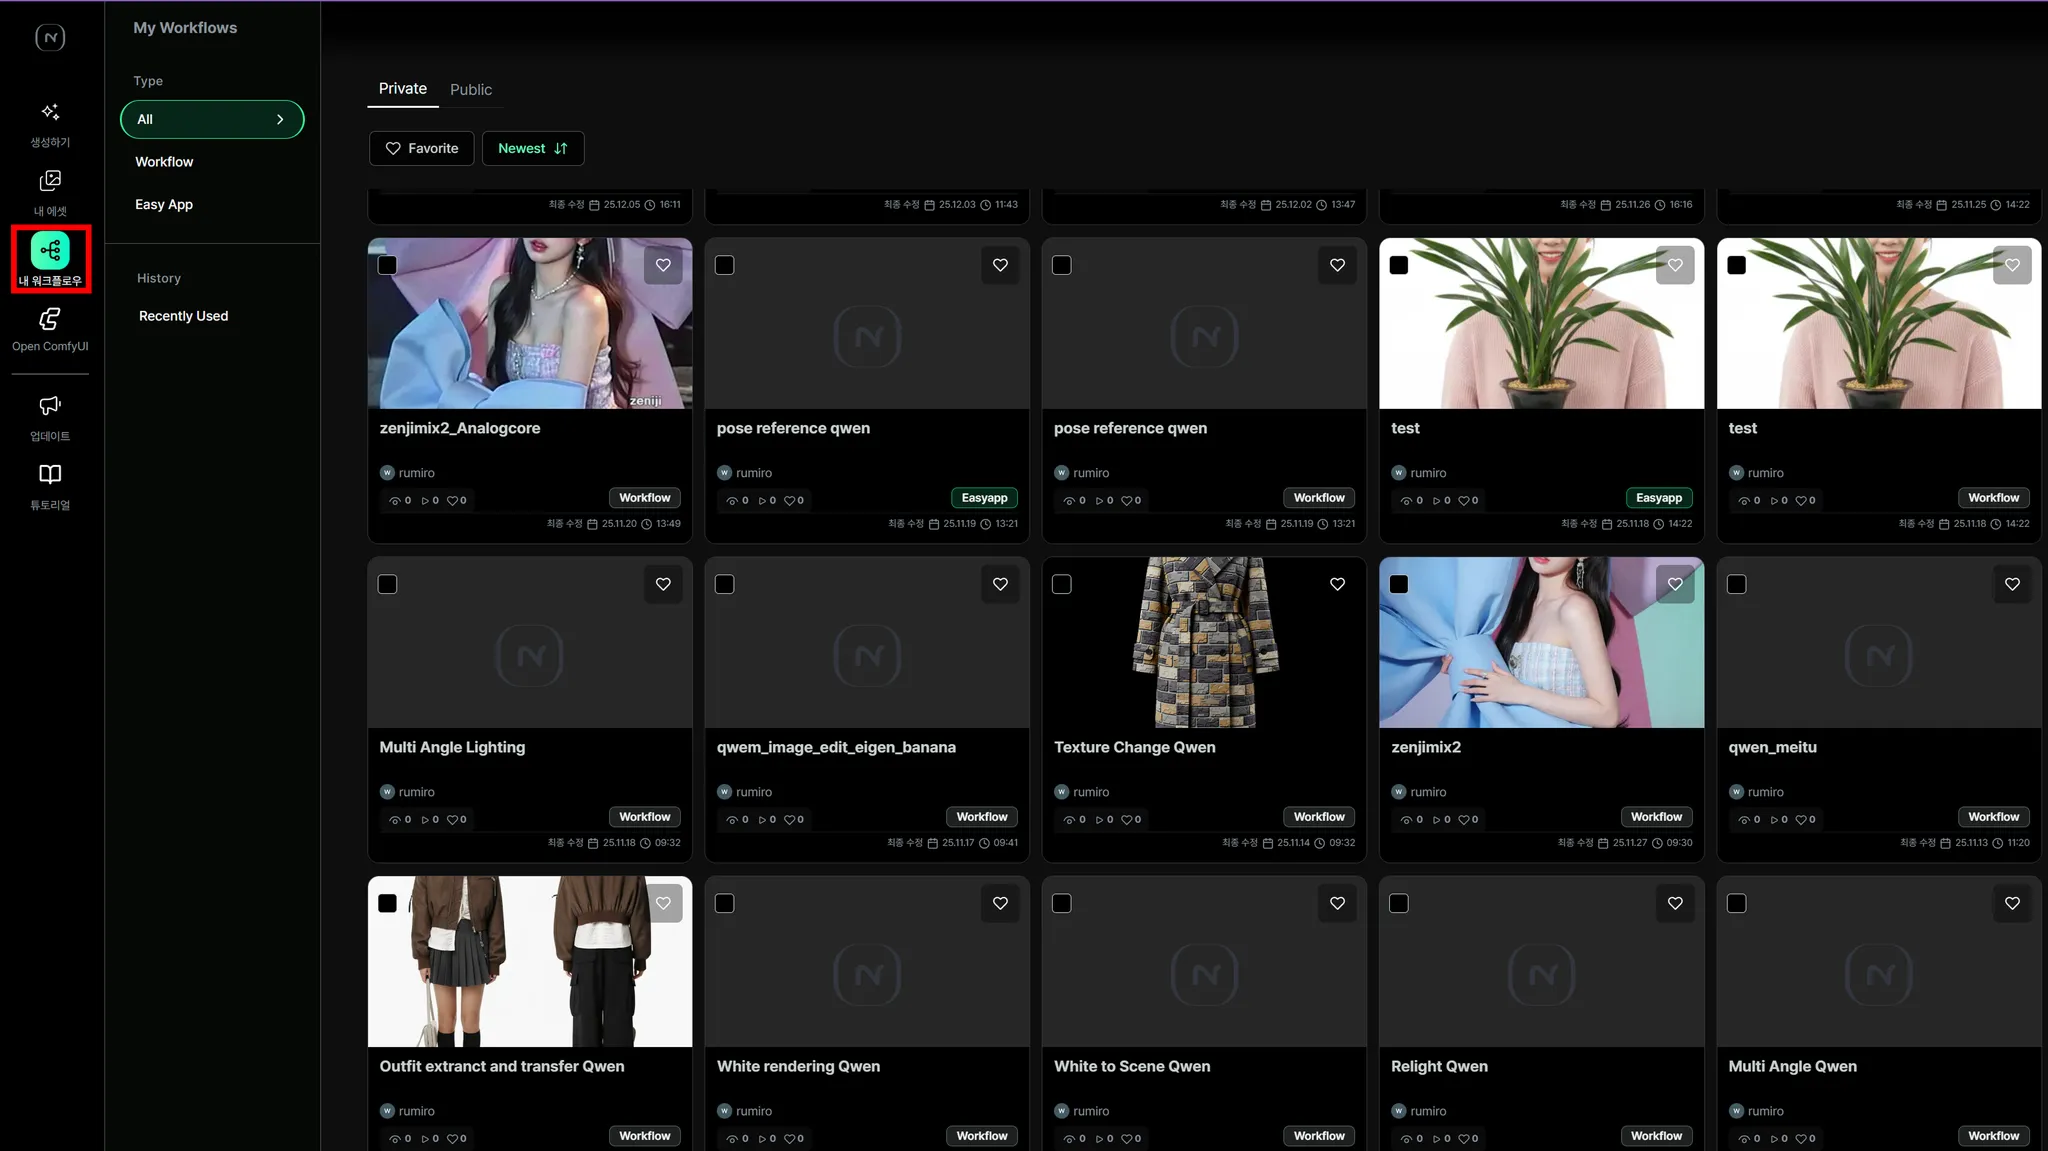
Here you can delete workflows and view all the workflows you’ve created.
Selecting Workflows
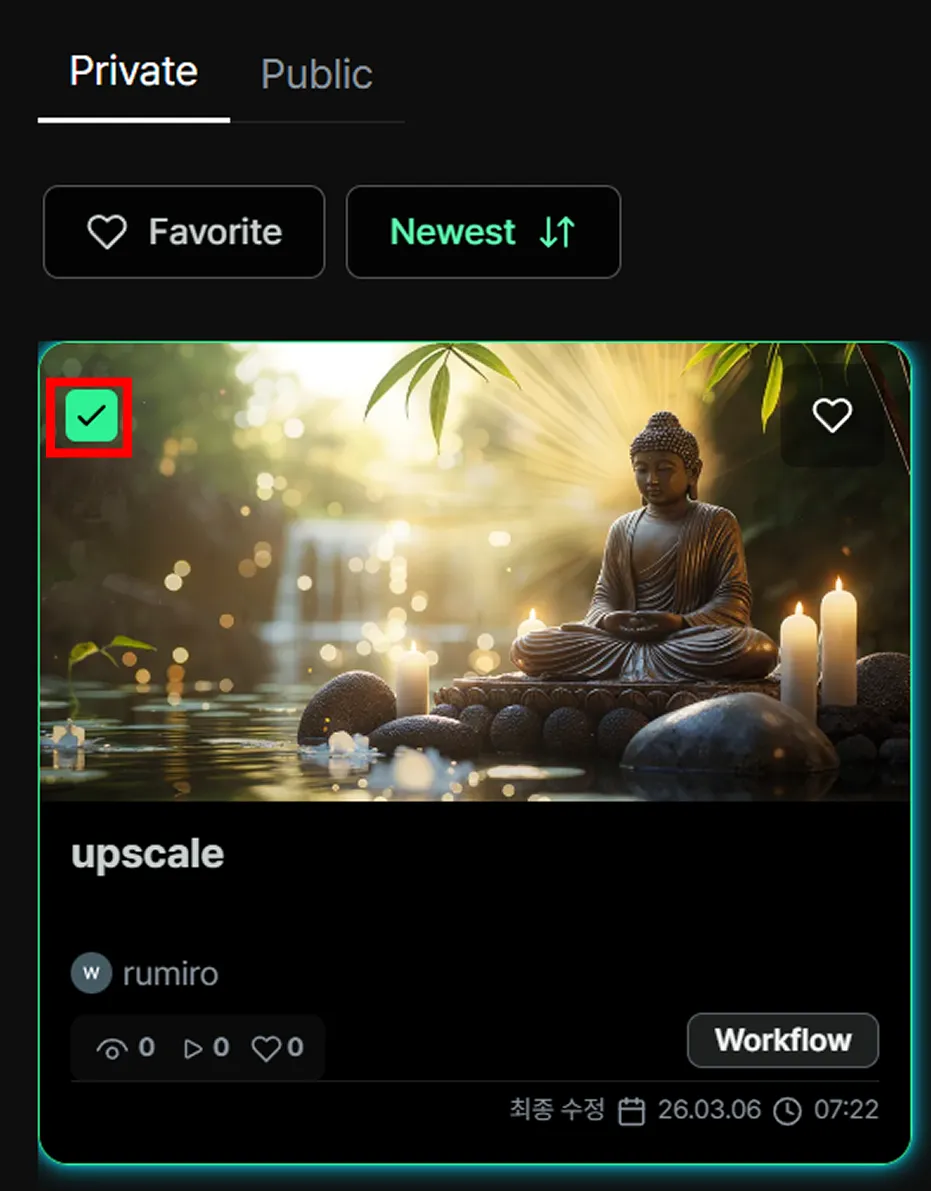
Section titled “Selecting Workflows”You’ll see an icon on both the upper left and upper right of each workflow. Click the icon on the upper left to select it — you’ll see a checkmark indicating the workflow has been selected.
Once you’ve selected your results, you can delete or download them.
When you select results, a menu bar will appear at the bottom center of the screen.

Deleting Workflows
Section titled “Deleting Workflows”Once you’ve selected your results, you can delete or download them.
When you select results, a menu bar will appear at the bottom center of the screen.
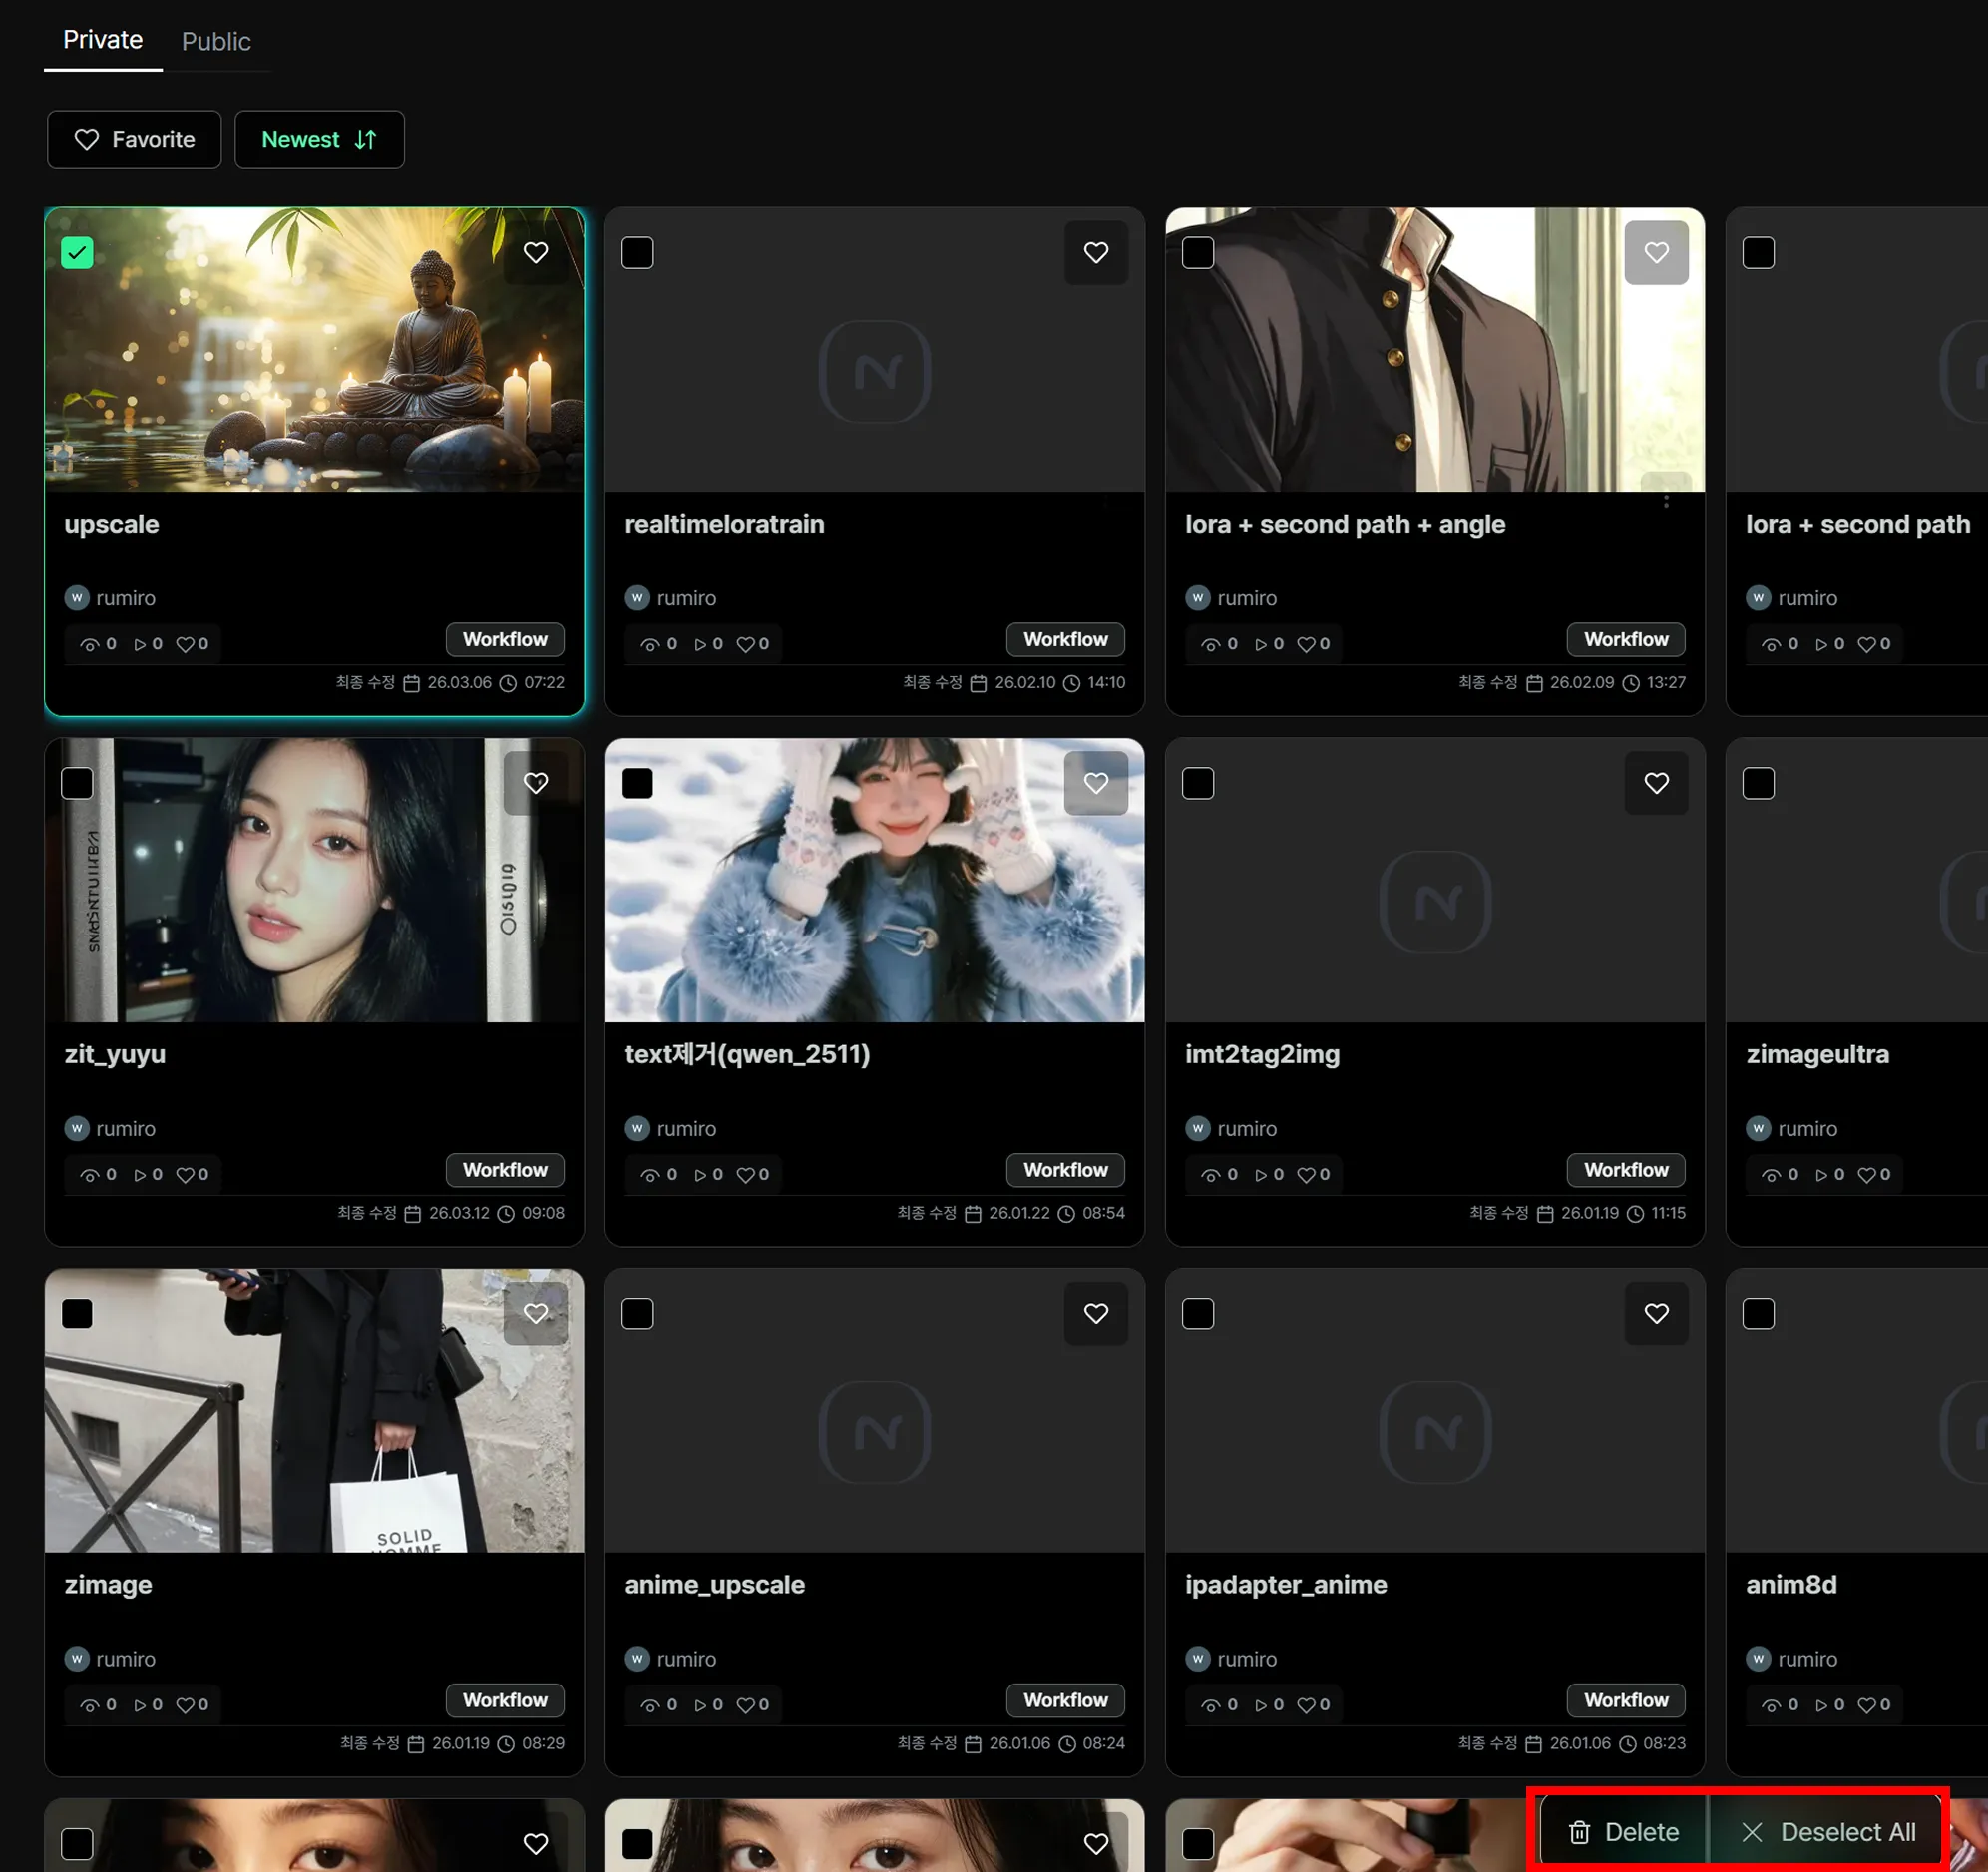
From left to right on the menu bar, the options are Delete and Deselect.
You can also select multiple workflows at once.
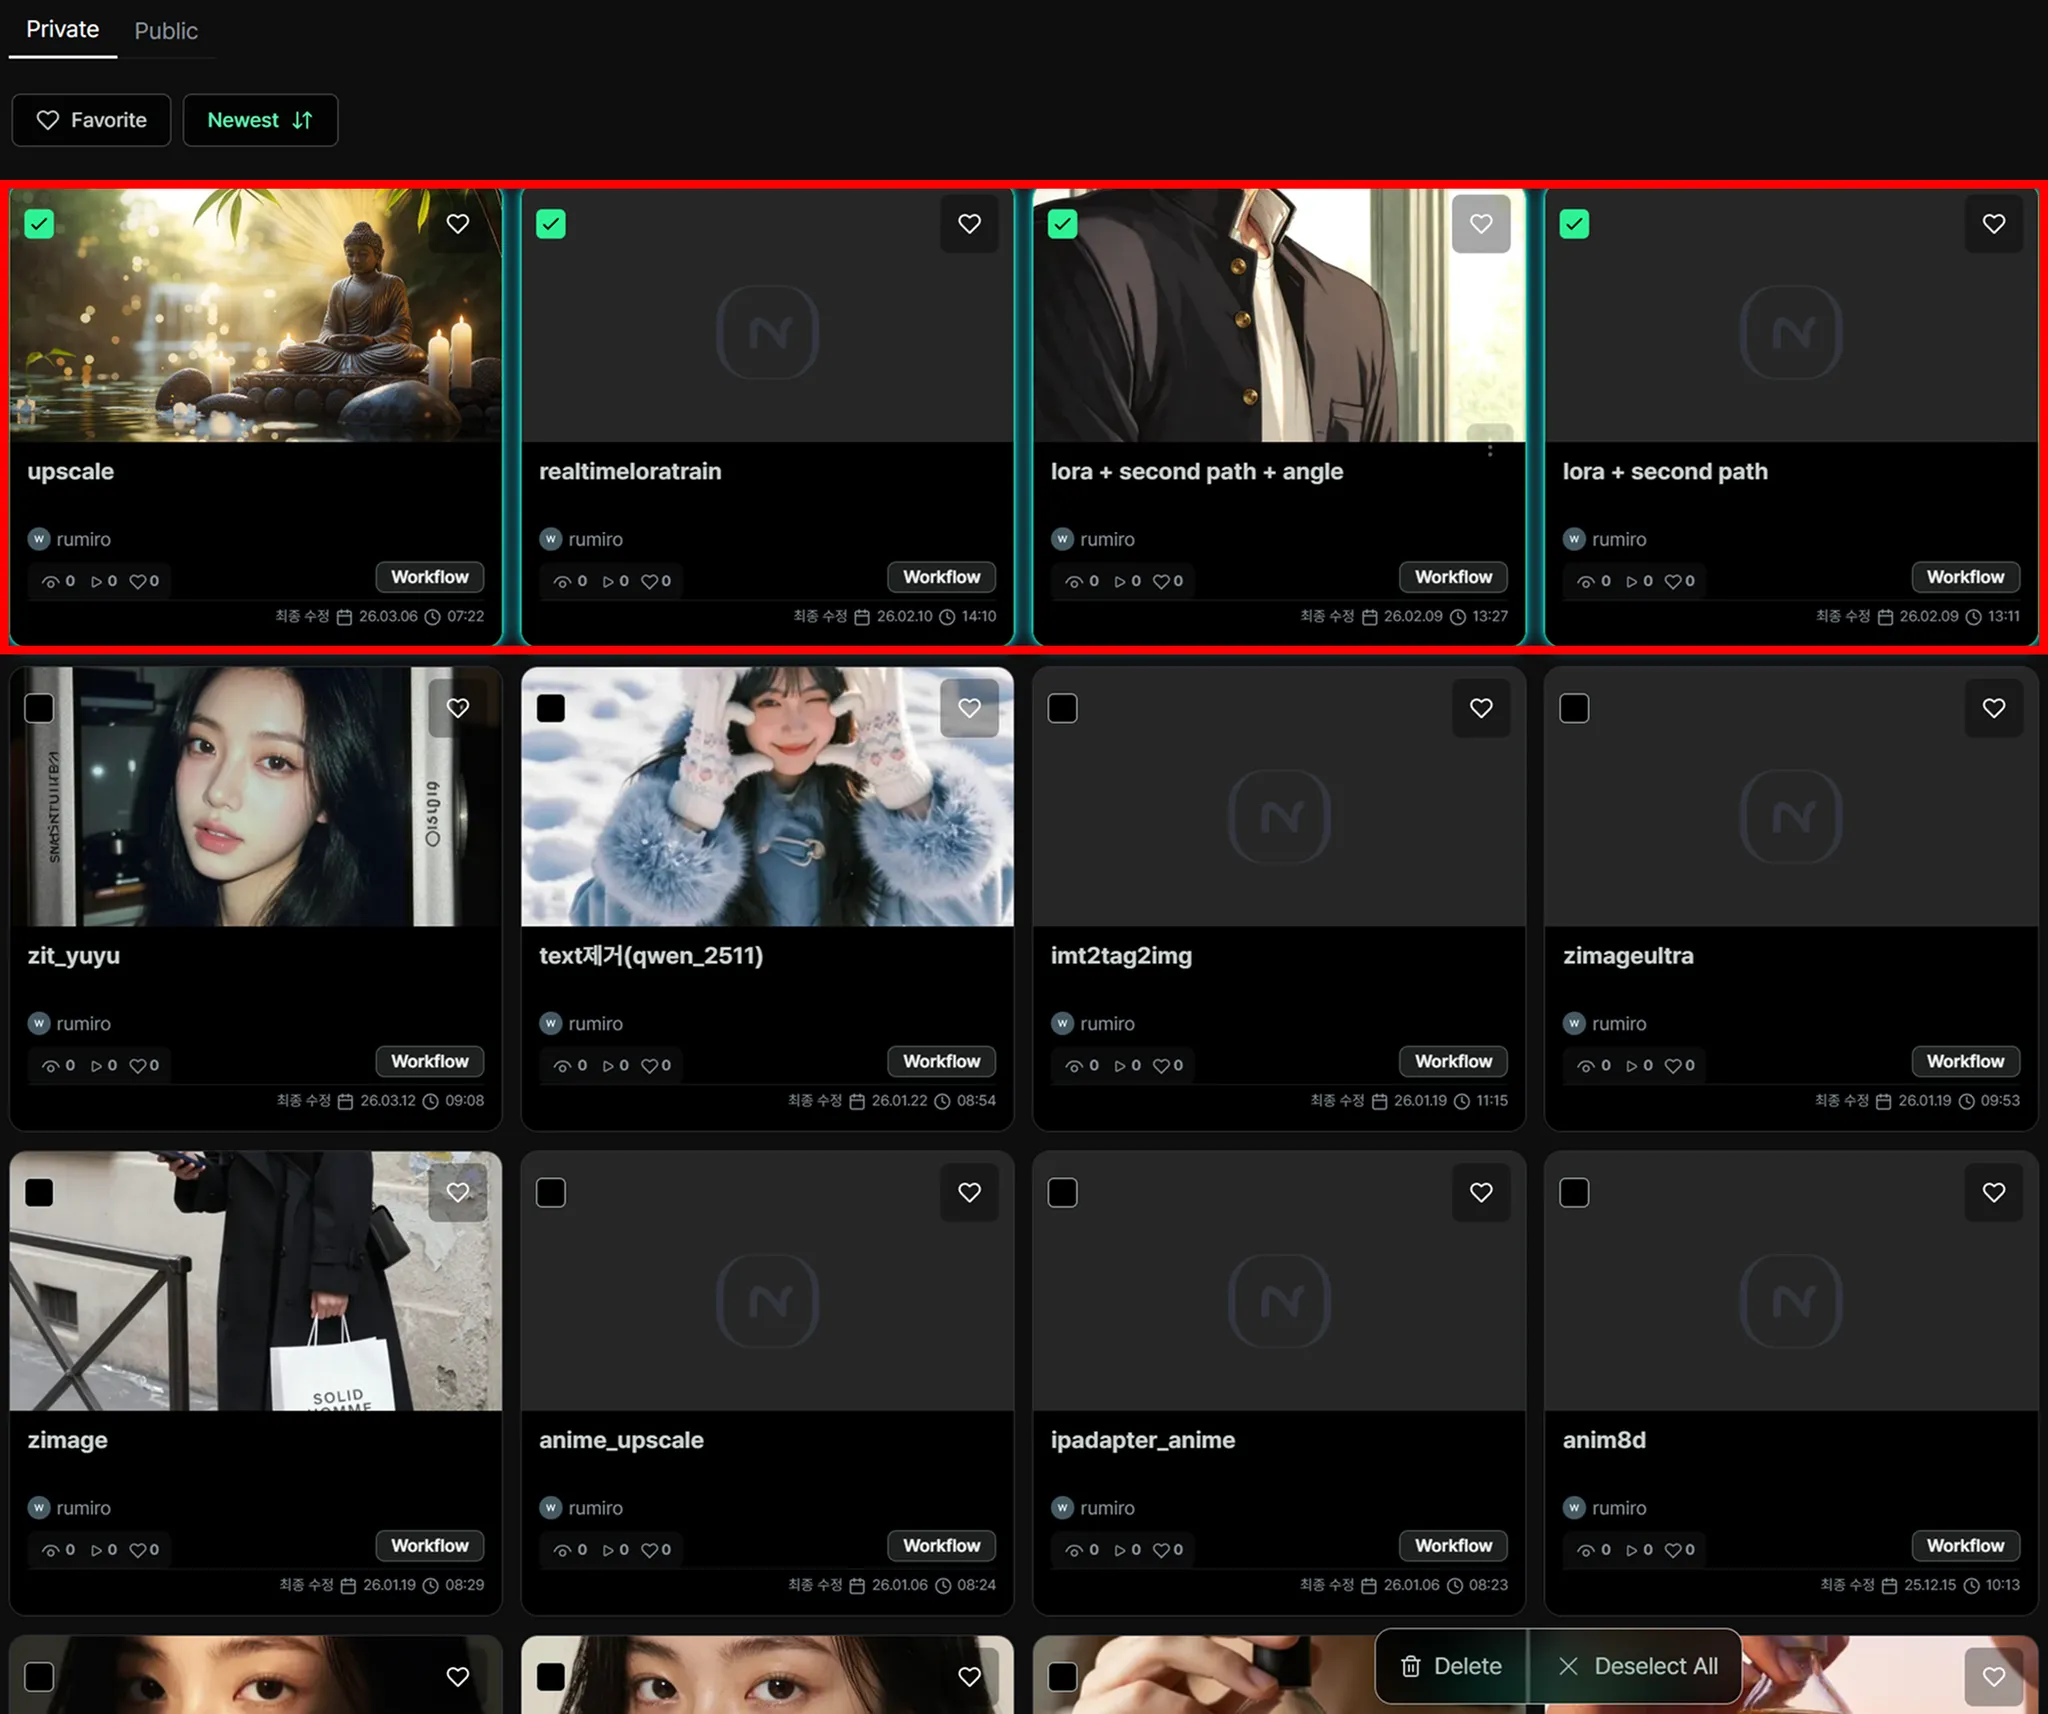
Selecting delete in this situation will let you remove multiple workflows at once.
Favoriting Workflows
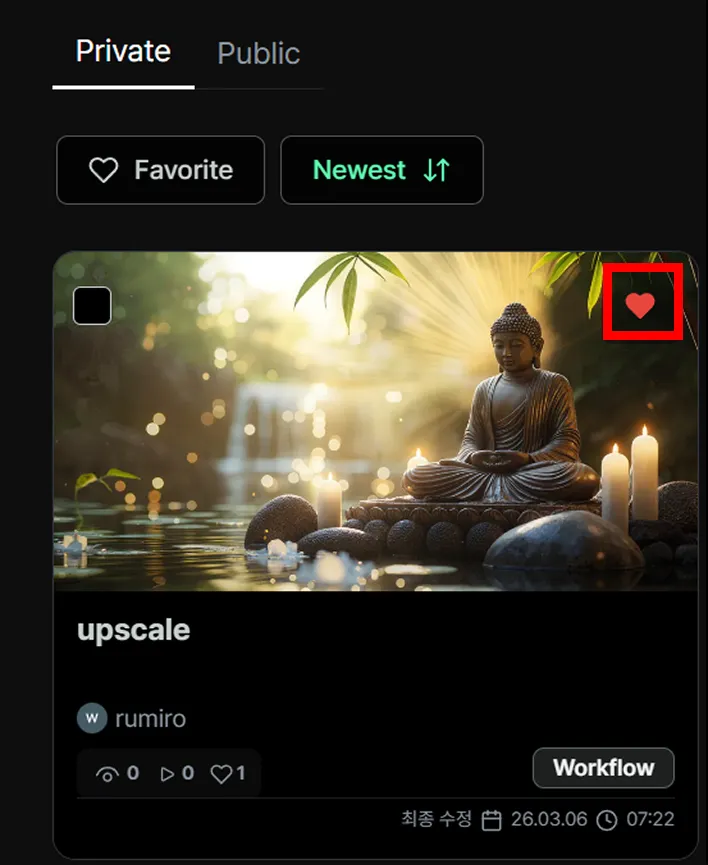
Section titled “Favoriting Workflows”When you want to collect and view only your favorite workflows separately, use the favorites feature.
Click the heart icon on the upper right of the workflow you want to favorite.

You’ll then see the heart icon become active.
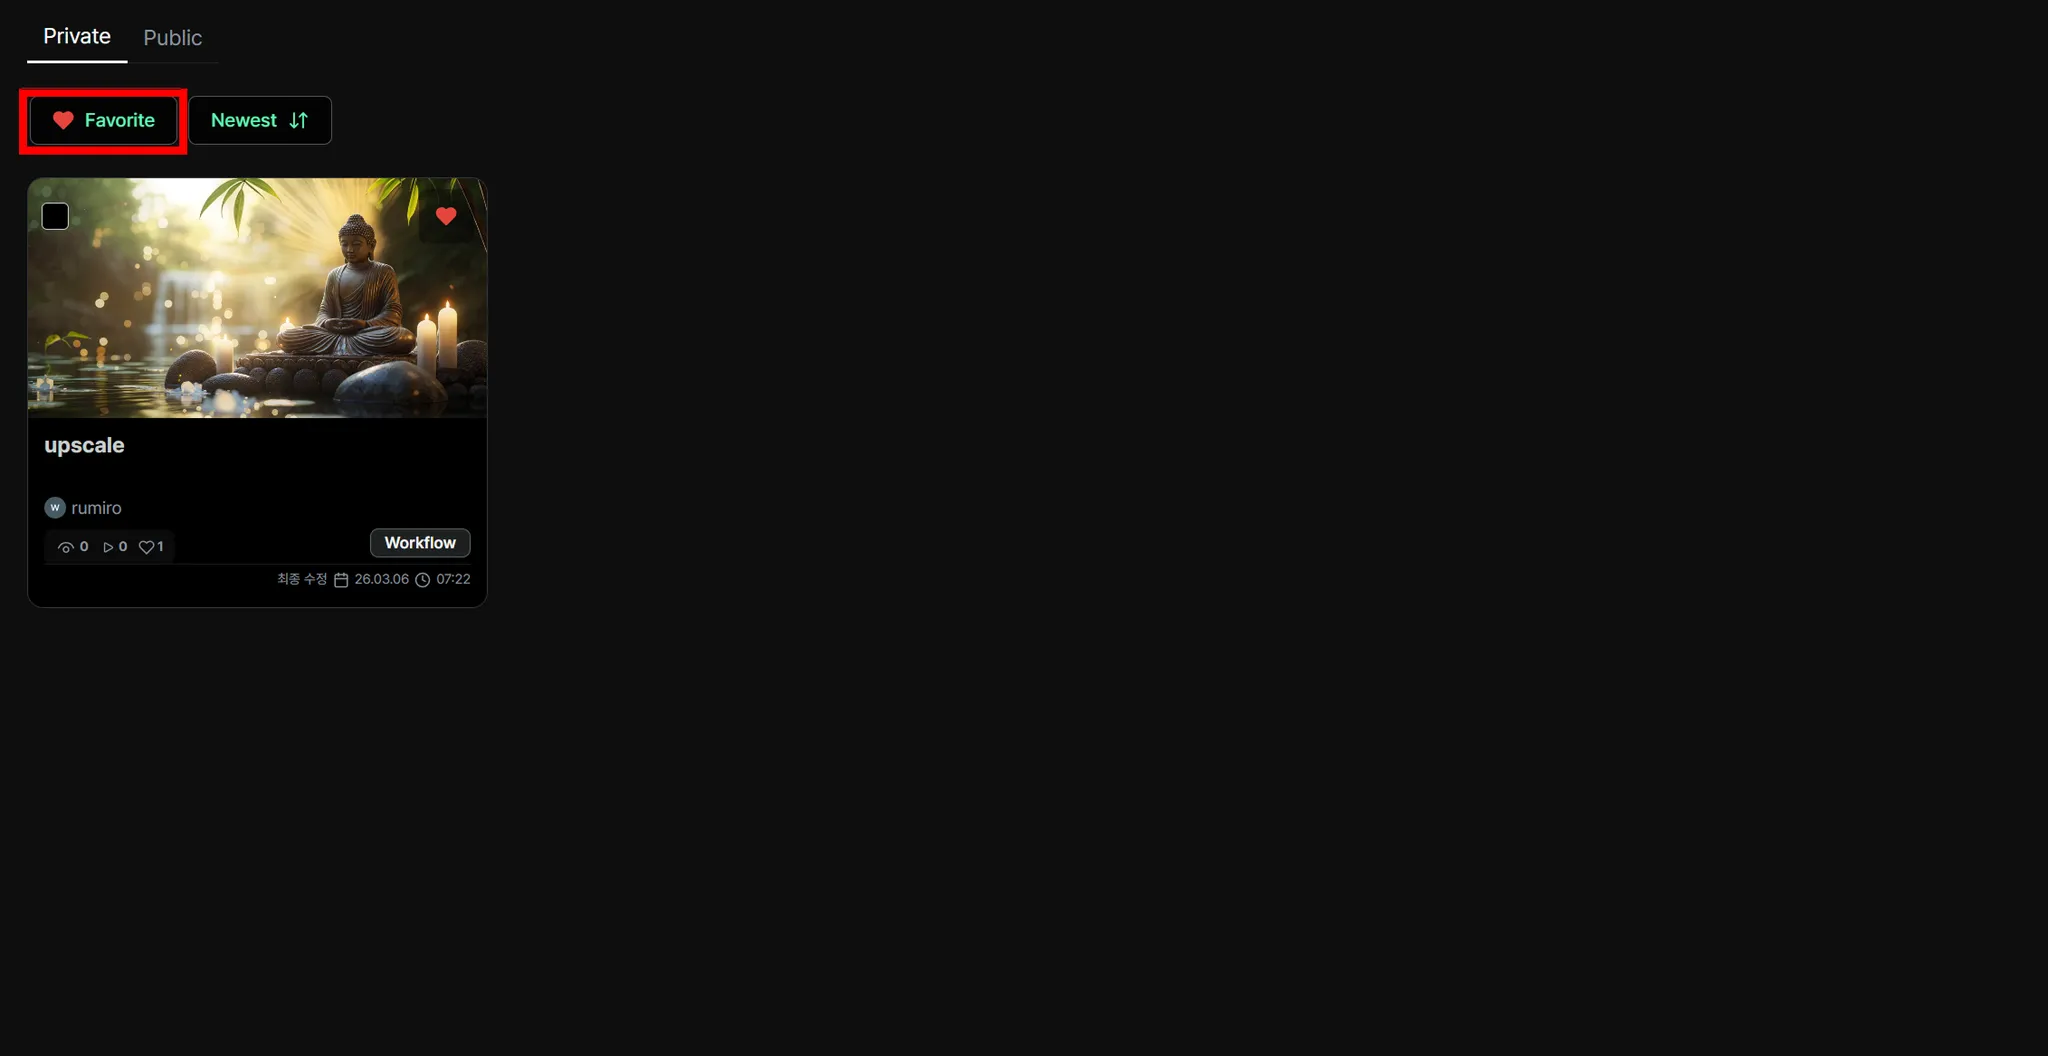
After that, click the Favorite button at the top to view only the workflows you’ve favorited.
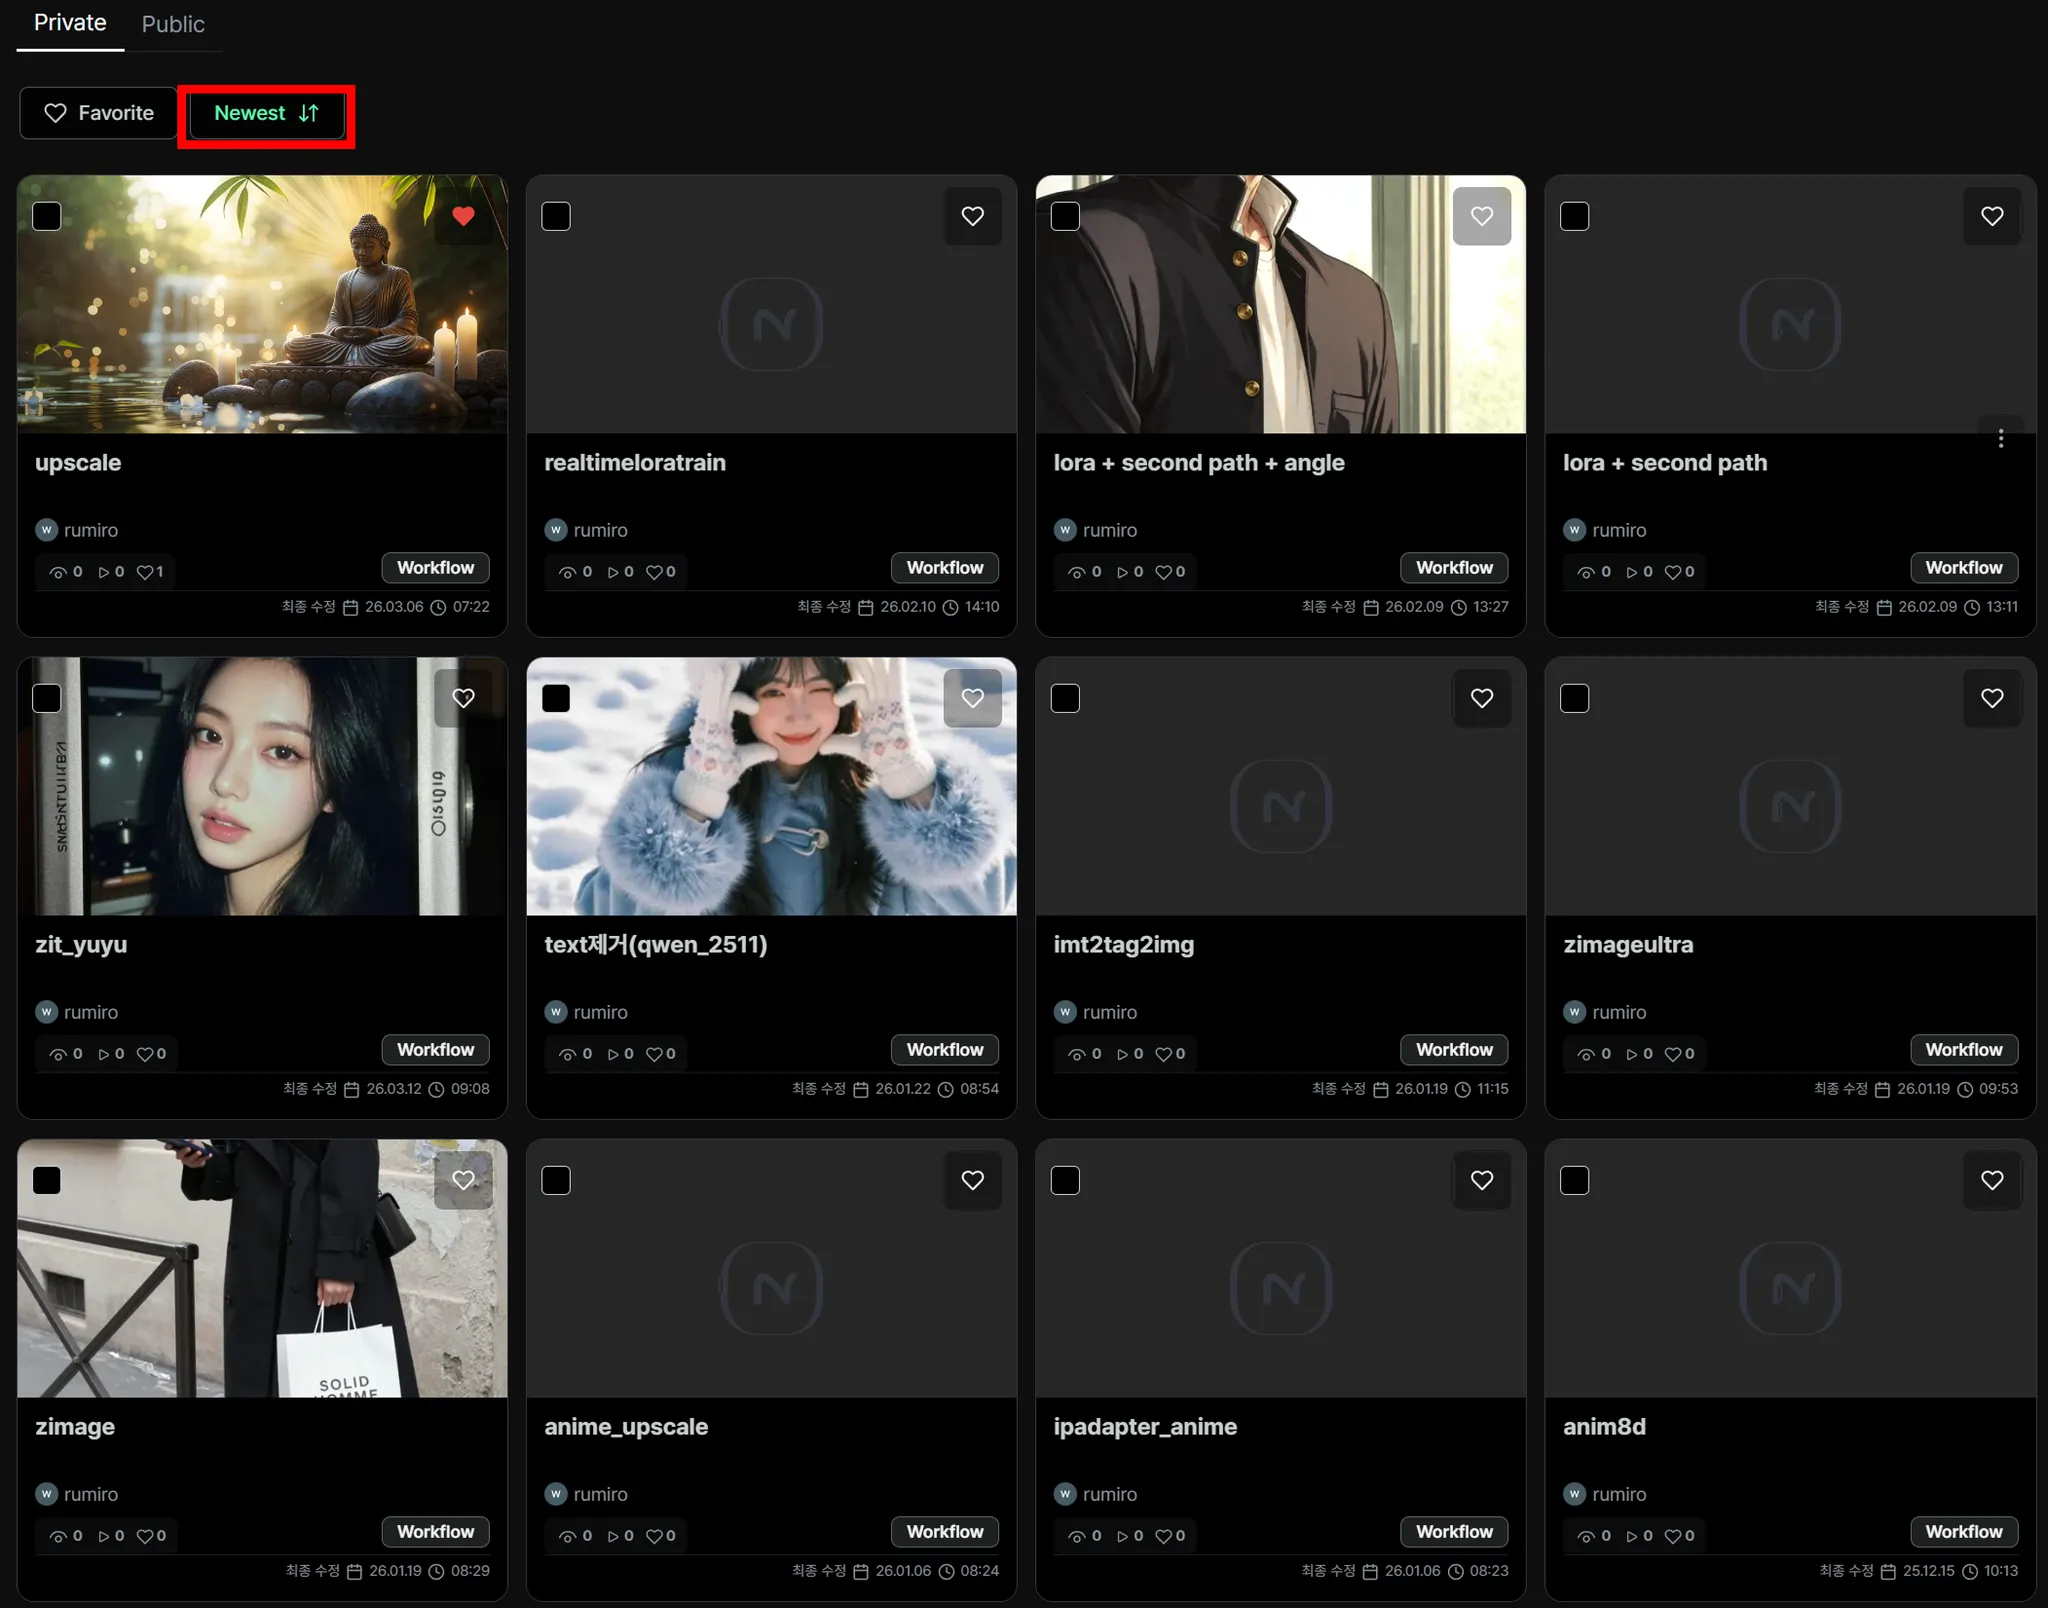
Sorting Workflows by Time
Section titled “Sorting Workflows by Time”In Nordy, results can be viewed in oldest-first or newest-first order.
Click the Newest button to sort by most recent, and click it again to sort by oldest first.
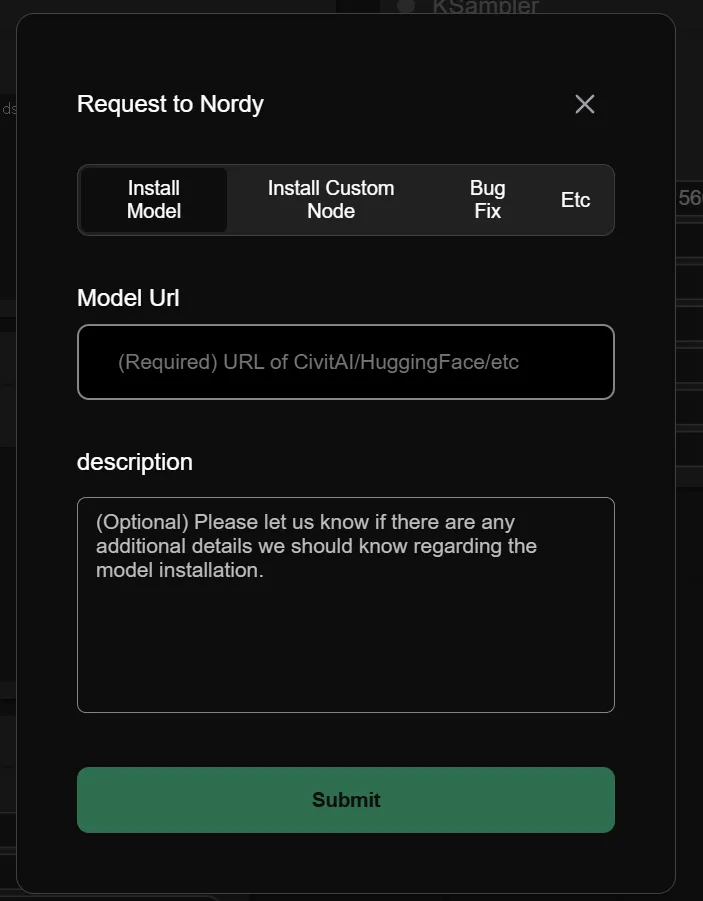
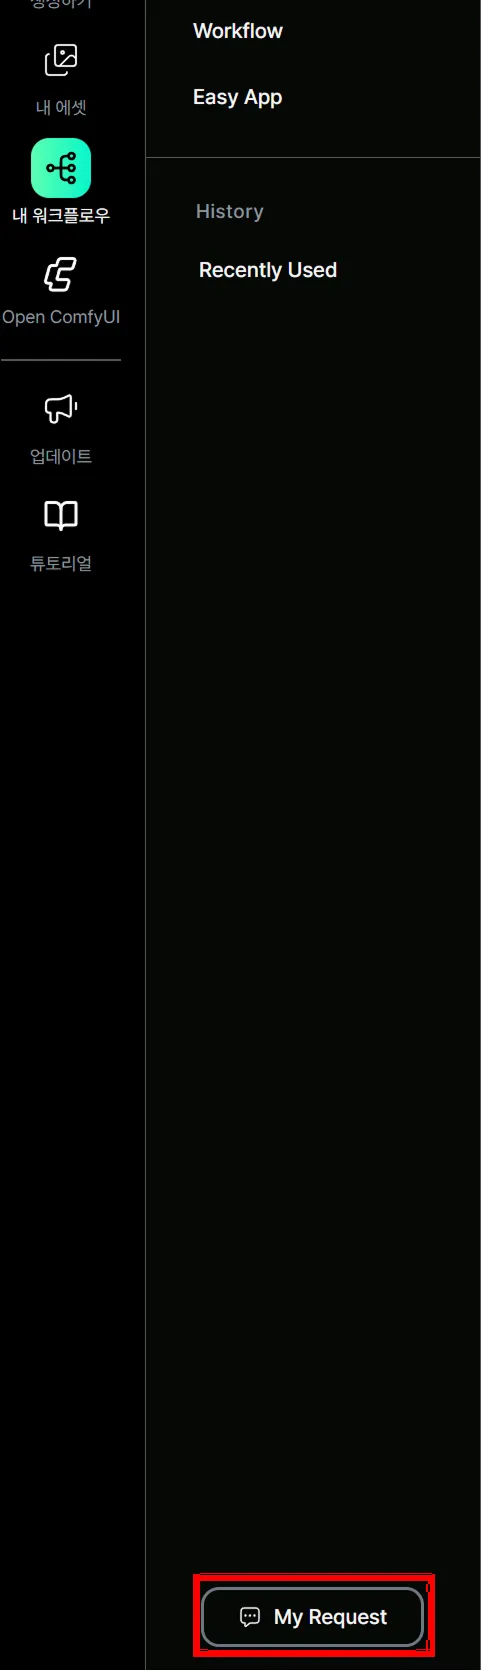
Requesting Models
Section titled “Requesting Models”Click the My Request button visible at the bottom left.
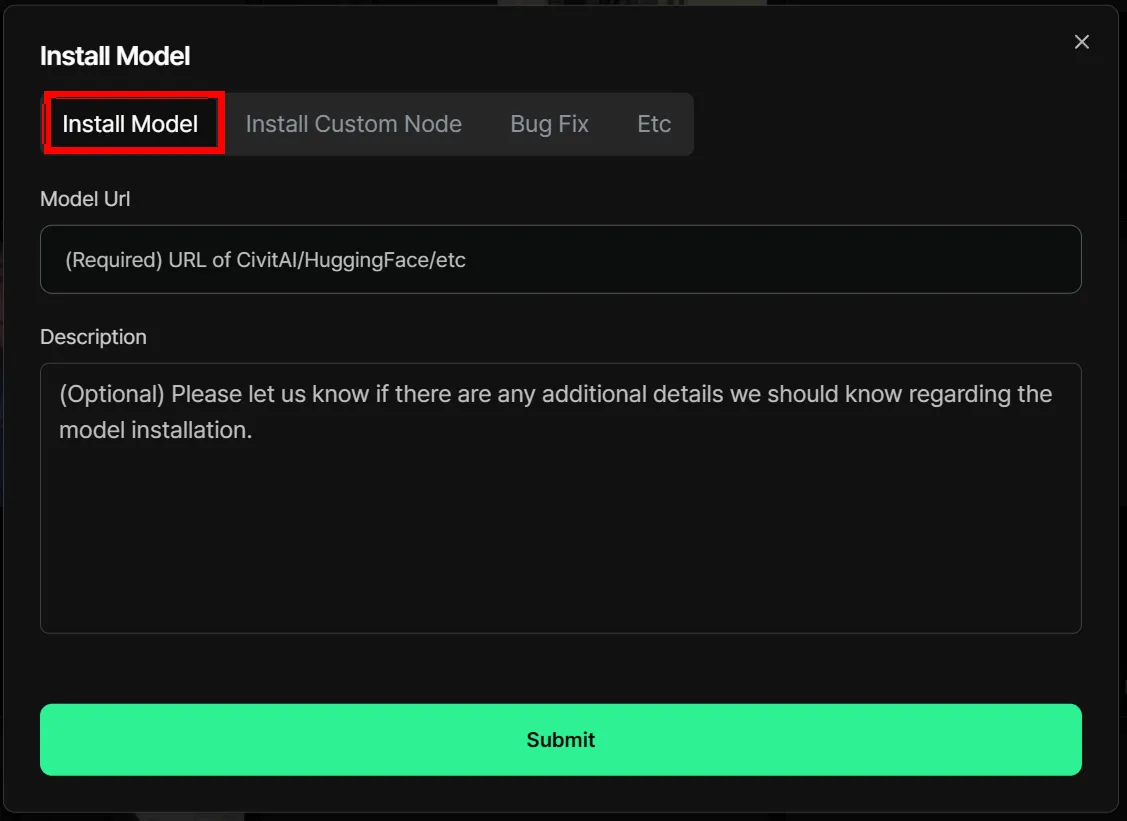
Enter the URL and description of the model you want to request for installation, then click the Submit button to complete your request.
Custom node requests work the same way — enter the node URL and description, then click the Submit button.
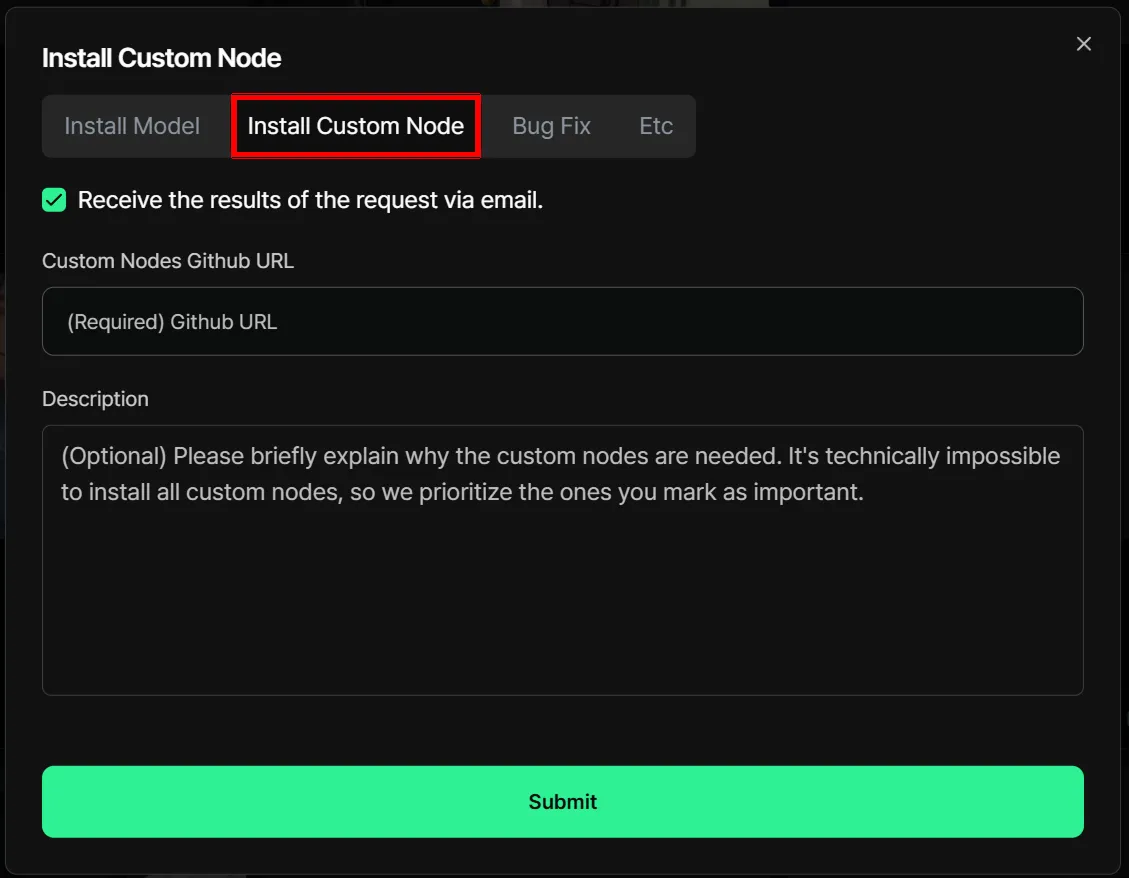
Bug fix requests are also available.
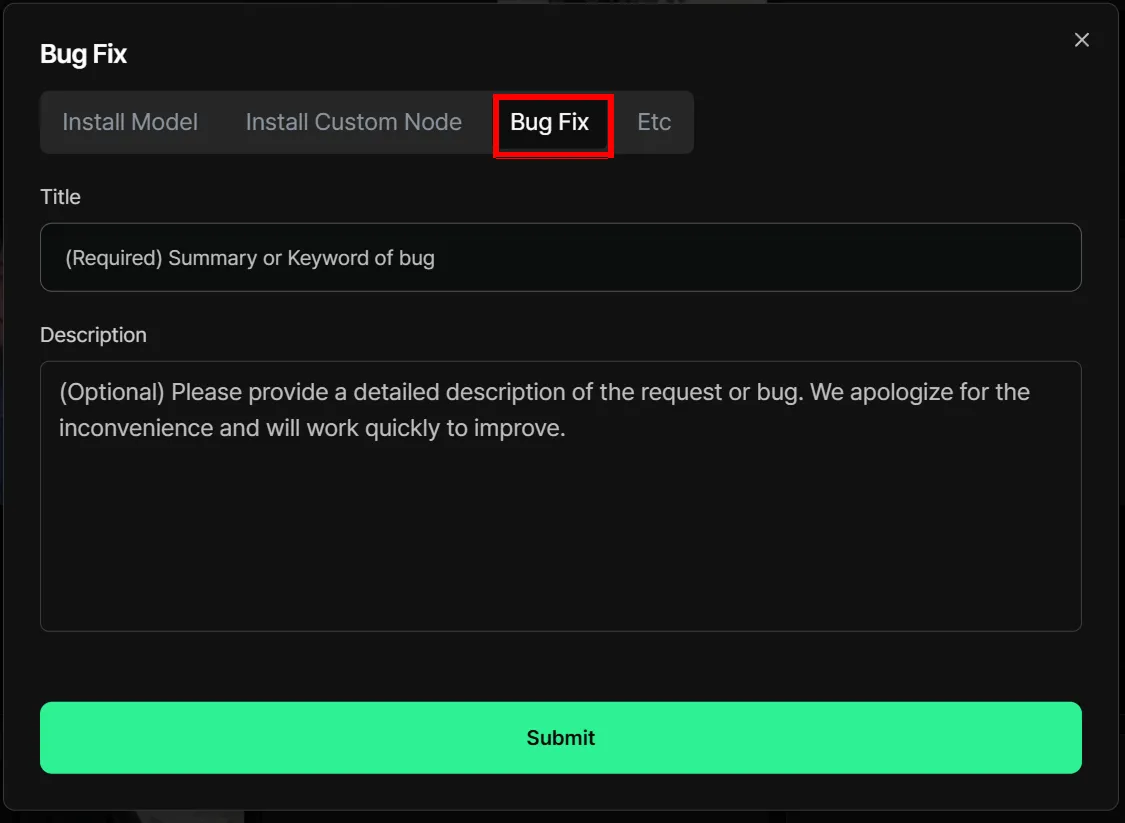
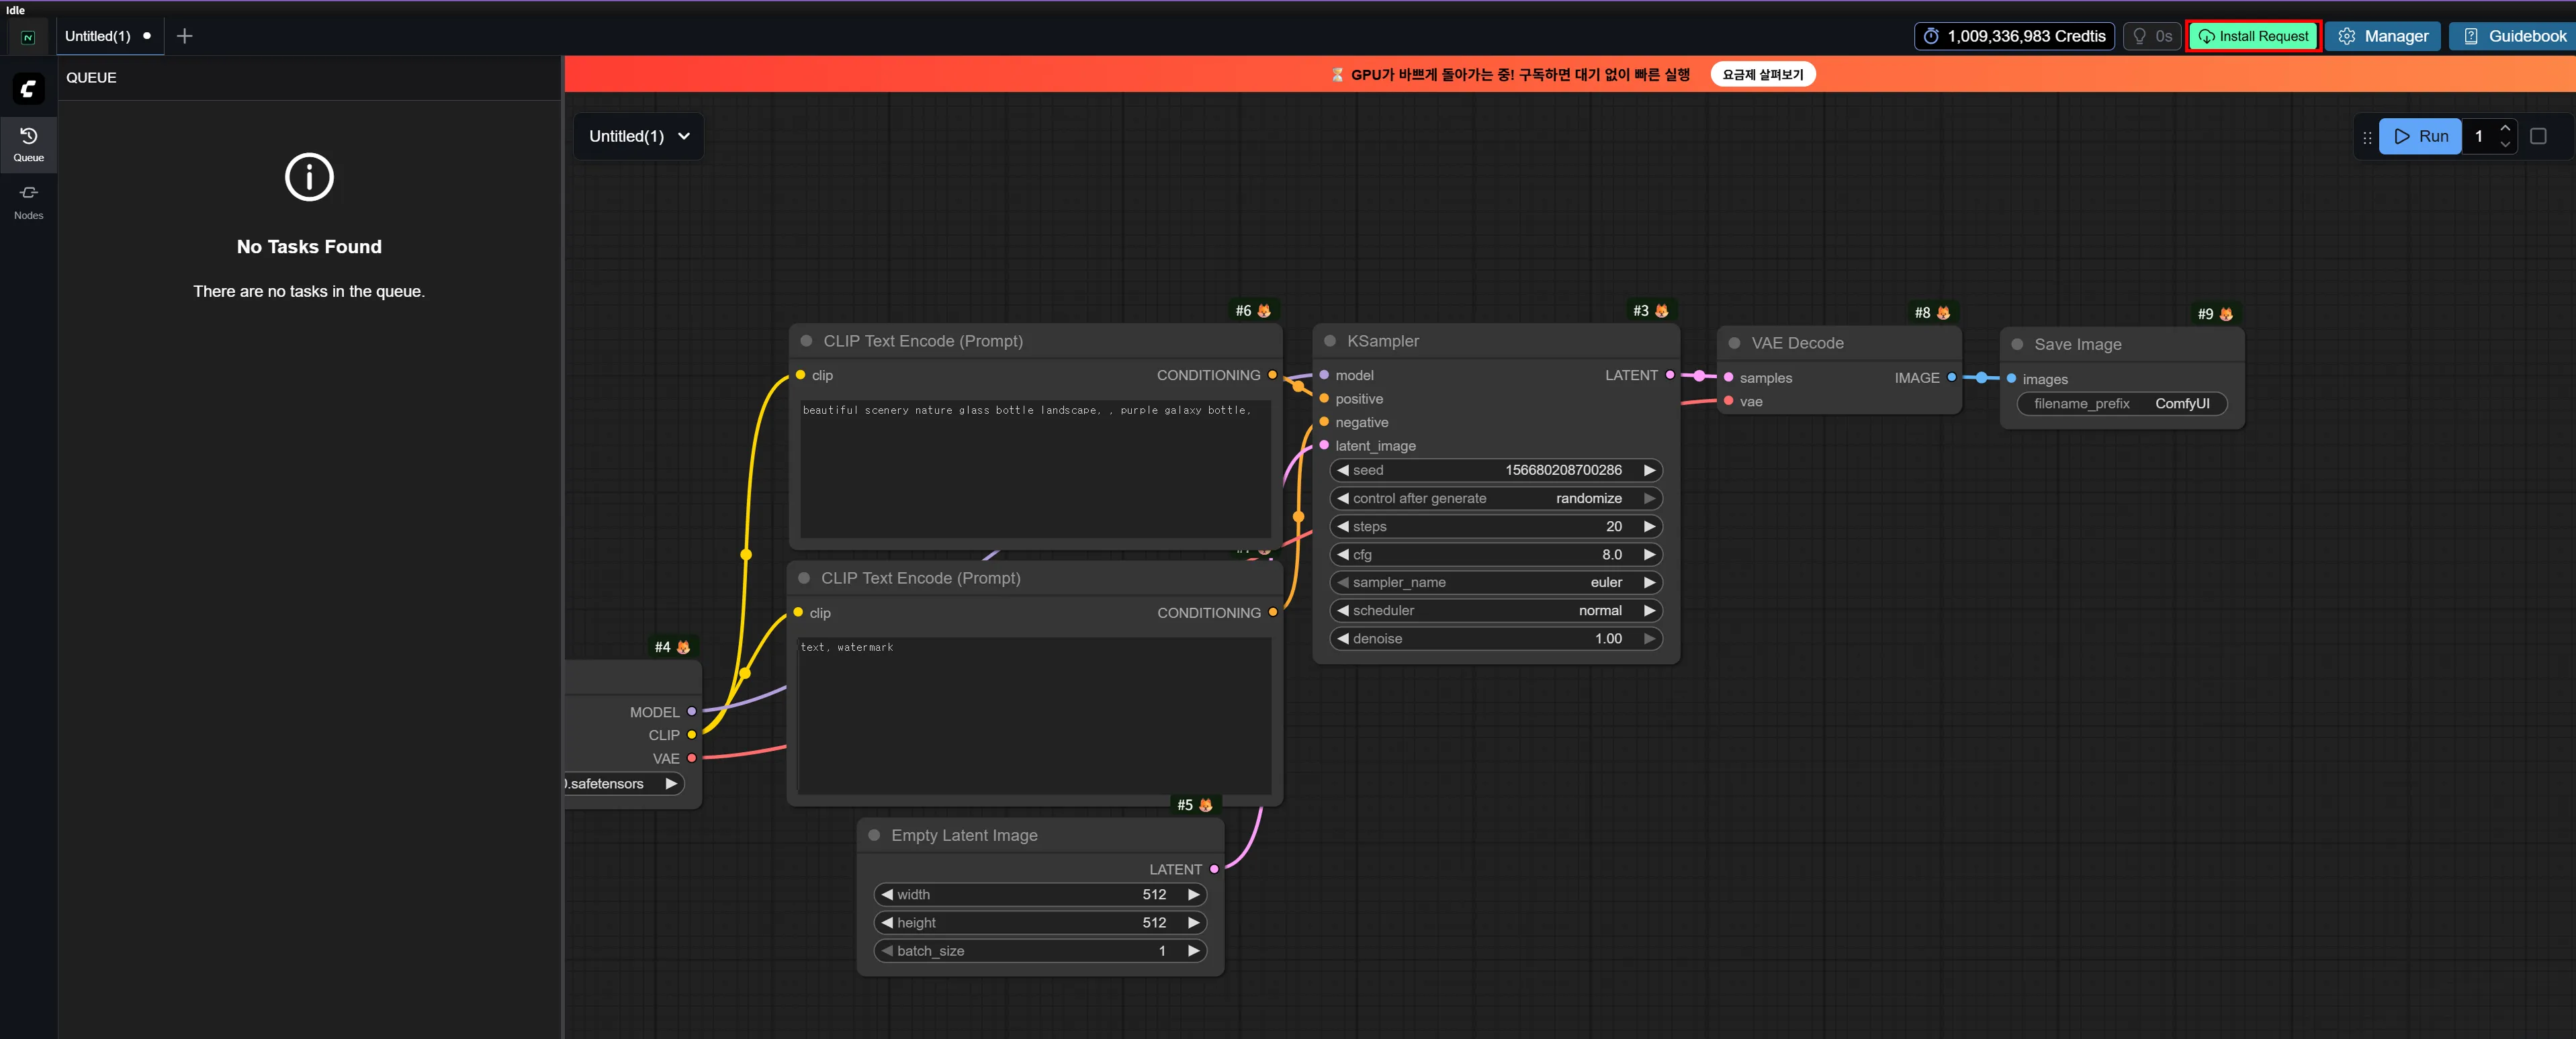
Installing Models from ComfyUI
Section titled “Installing Models from ComfyUI”You can also install models directly from the ComfyUI interface. Click the Install Request button at the top of the screen to open the installation request popup.