Detailed Feature Guide
EasyApp
Section titled “EasyApp”Who is this for?
Section titled “Who is this for?”EasyApp is perfect for anyone who wants to use AI features right away with just a few clicks, without any complicated setup.
Key Features
Section titled “Key Features”EasyApp is a collection of one-click AI tools, each specialized for a single function. With Nordy EasyApp, you can do a wide variety of things.
| EasyApp | What it does |
|---|---|
| Upscale | Increases image resolution to make it sharper and clearer. |
| Background Remove | Automatically removes the background from an image. |
| Background Changer | Keeps the subject/object intact and replaces only the background. |
| Relighting | Changes the lighting direction and mood of an image. |
| Face Change | Replaces a face in one image with a different face. |
| Face Detailing | Enhances and refines facial details. |
| Cloth Change | Changes clothing while keeping the body shape intact. |
| Product Background | Cleanly replaces the background of product photos. |
| Anime to Realistic | Converts anime-style images into realistic images. |
| AI Portrait | Creates portraits in various styles using your own photo. |
How to Use
Section titled “How to Use”- Select the desired app from the EasyApp menu.

- Click Upload to upload your image.
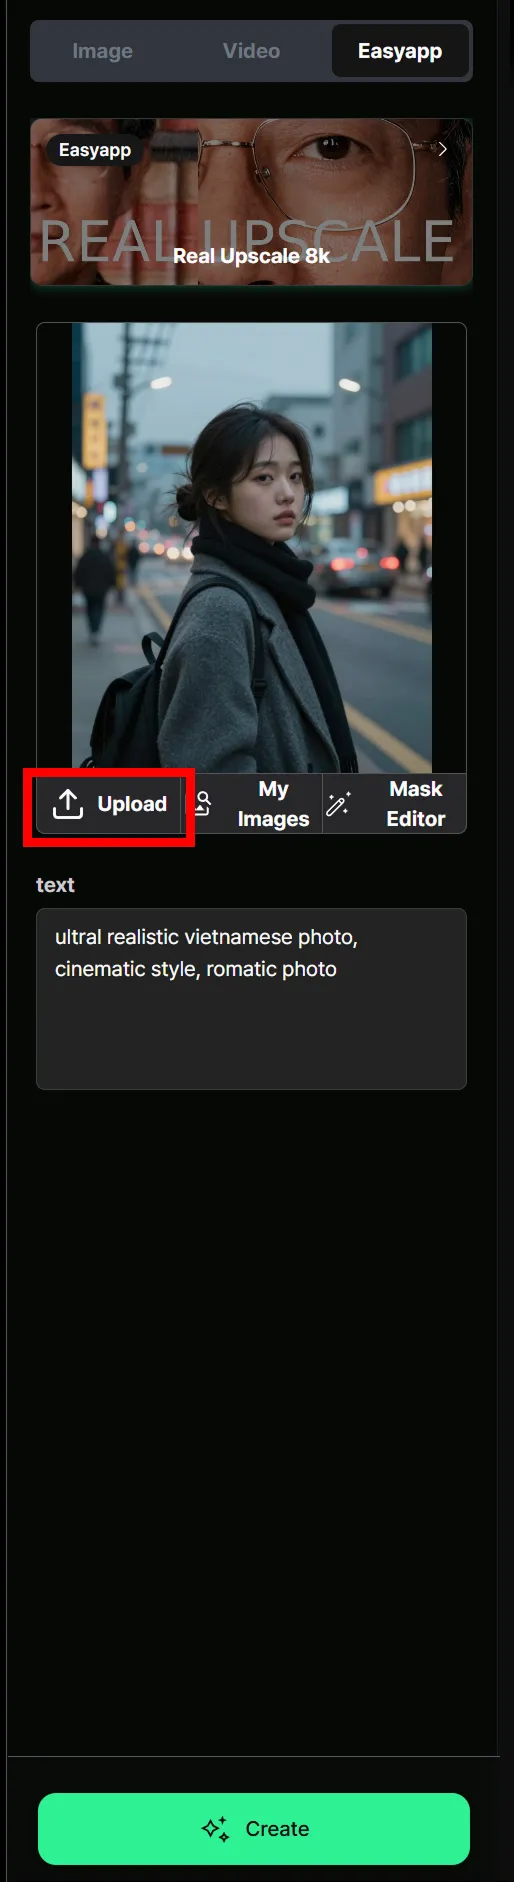
- Click the Create button.
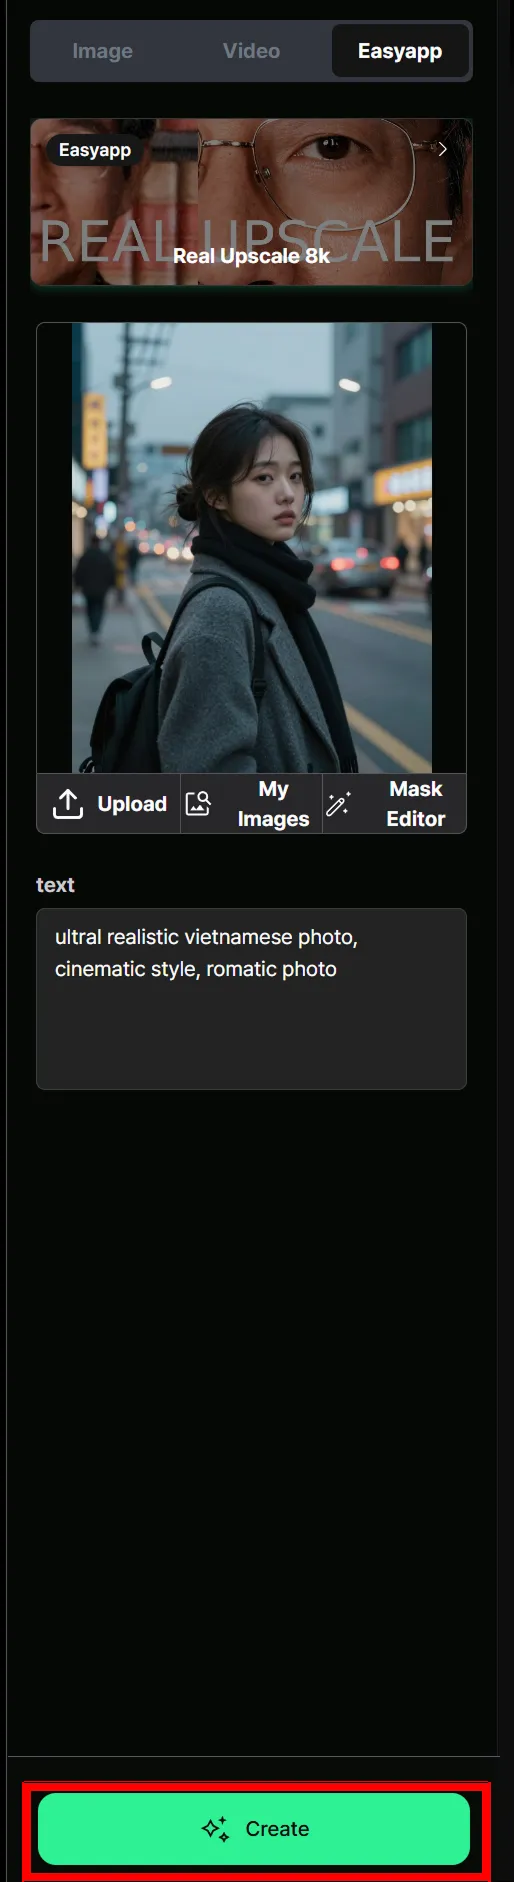
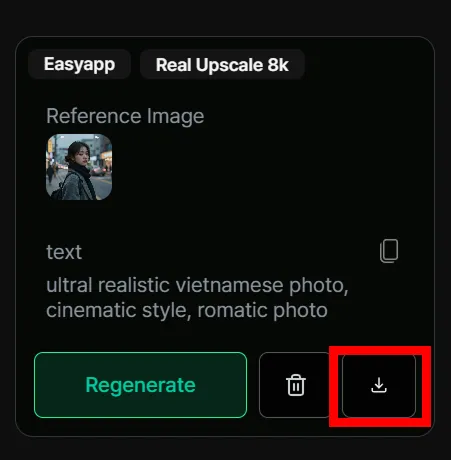
- Check the result and download it.
Usage Examples
Section titled “Usage Examples”Here are some ways you can use EasyApp:
- Replace a shopping mall product photo’s background with white
- Upscale a low-resolution image to high quality
- Swap your face onto another person’s photo
Good to Know
Section titled “Good to Know”- Each EasyApp consumes a different amount of credits.
- Most EasyApps support PNG and JPG images.
Create
Section titled “Create”Who is this for?
Section titled “Who is this for?”Create is ideal for users who understand prompts and know how to write them.
Key Features
Section titled “Key Features”With Create, you can use prompts to generate the images and videos you want.
How to Use
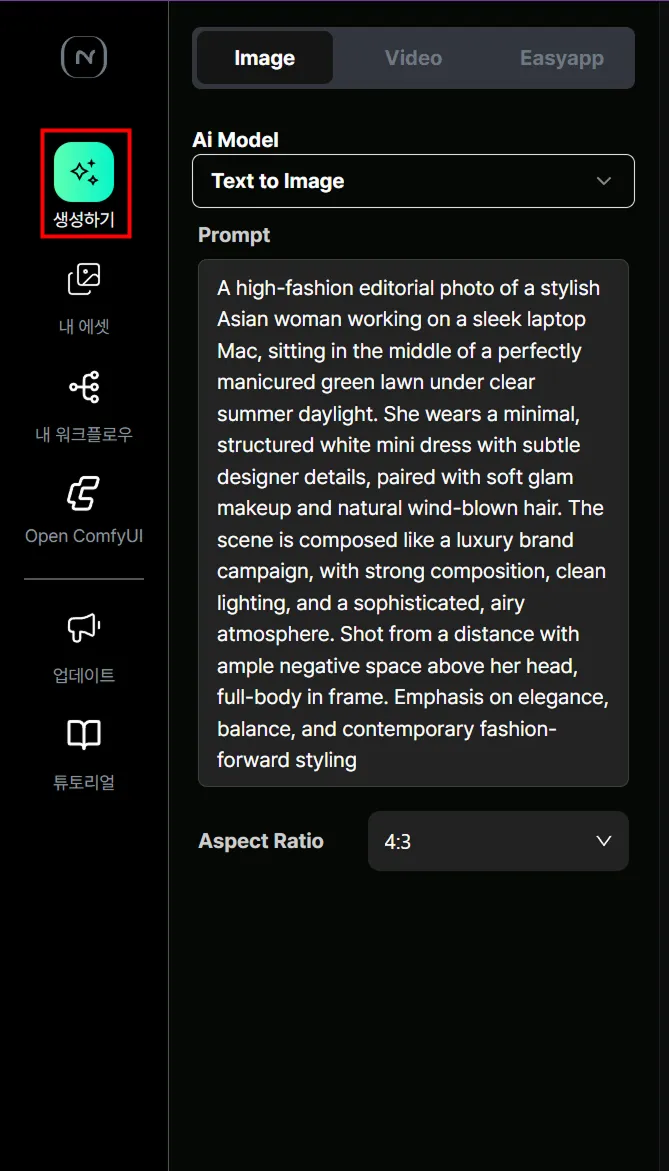
Section titled “How to Use”- Select Create from the top of the main screen.
- If the create icon in the left menu is selected, you’re in the right place.
Generating Images
Section titled “Generating Images”Image generation in Create consists of four main steps.
1. Select a model from AI Model
Section titled “1. Select a model from AI Model”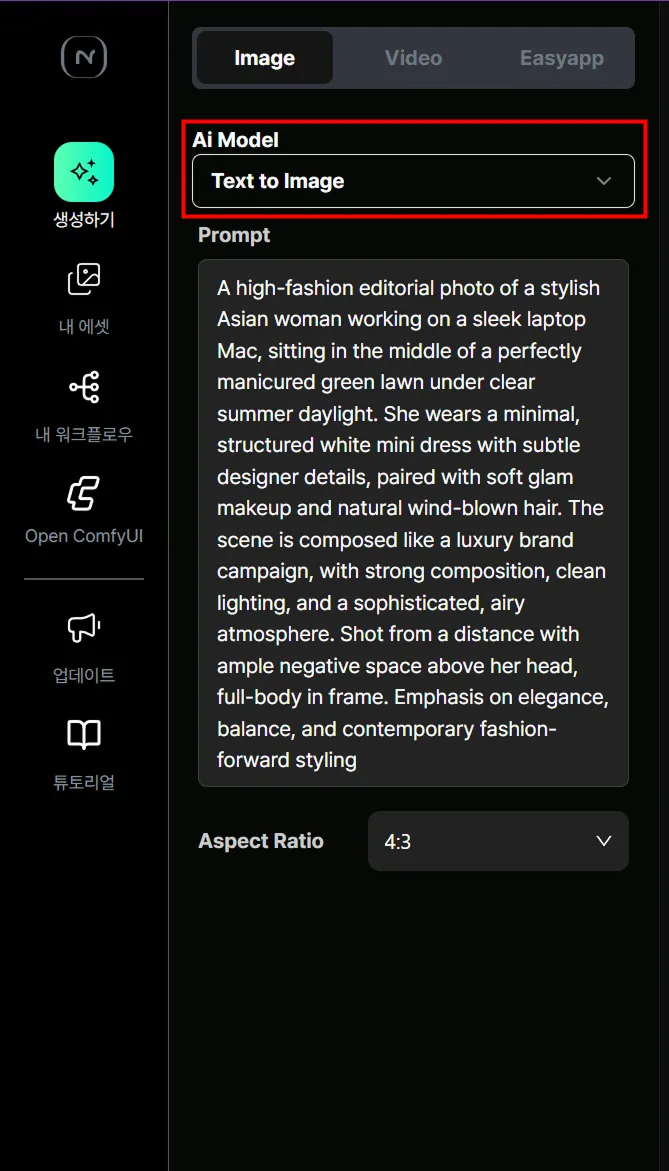
2. Enter text describing the image you want to create
Section titled “2. Enter text describing the image you want to create”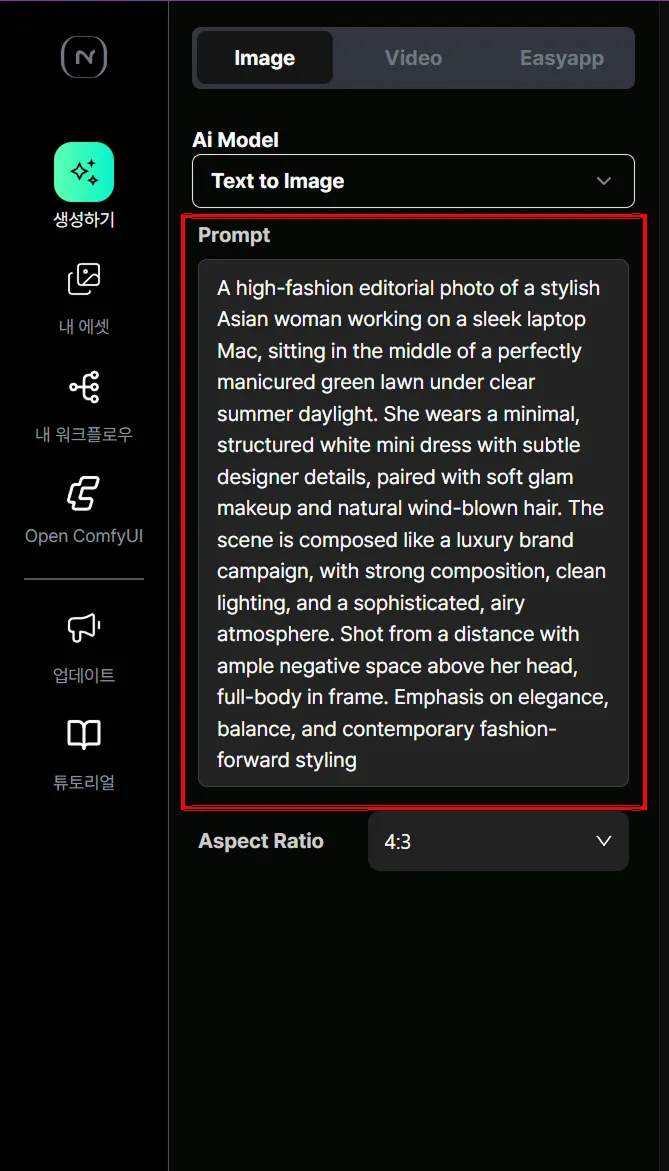
3. Select the image aspect ratio
Section titled “3. Select the image aspect ratio”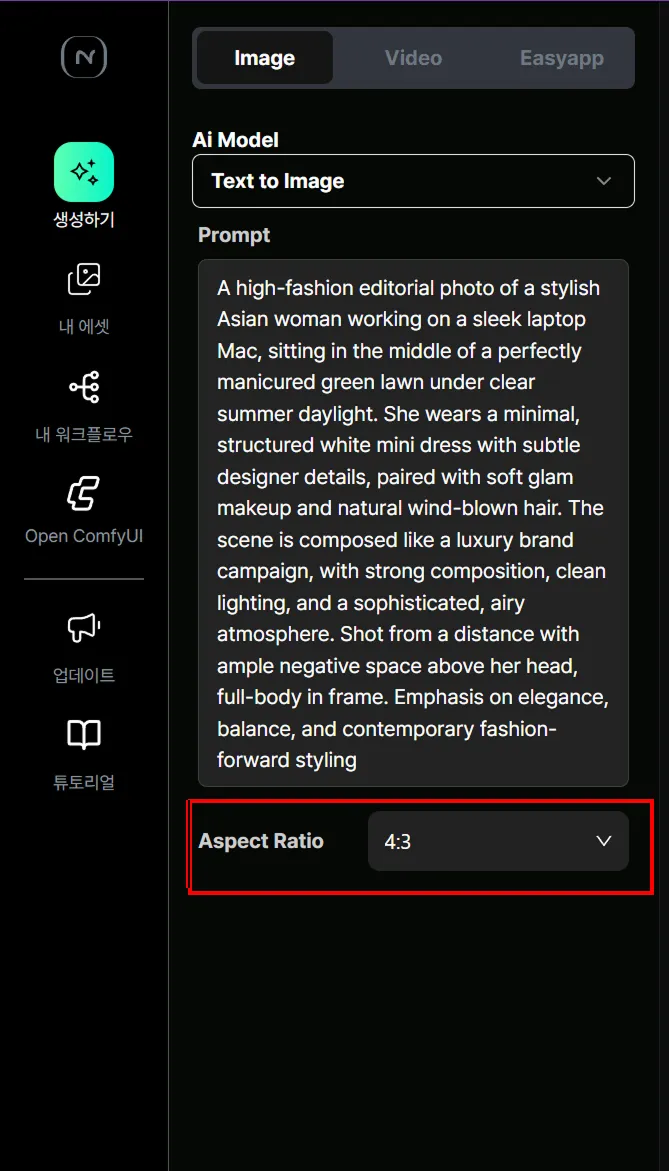
4. Click the Create button
Section titled “4. Click the Create button”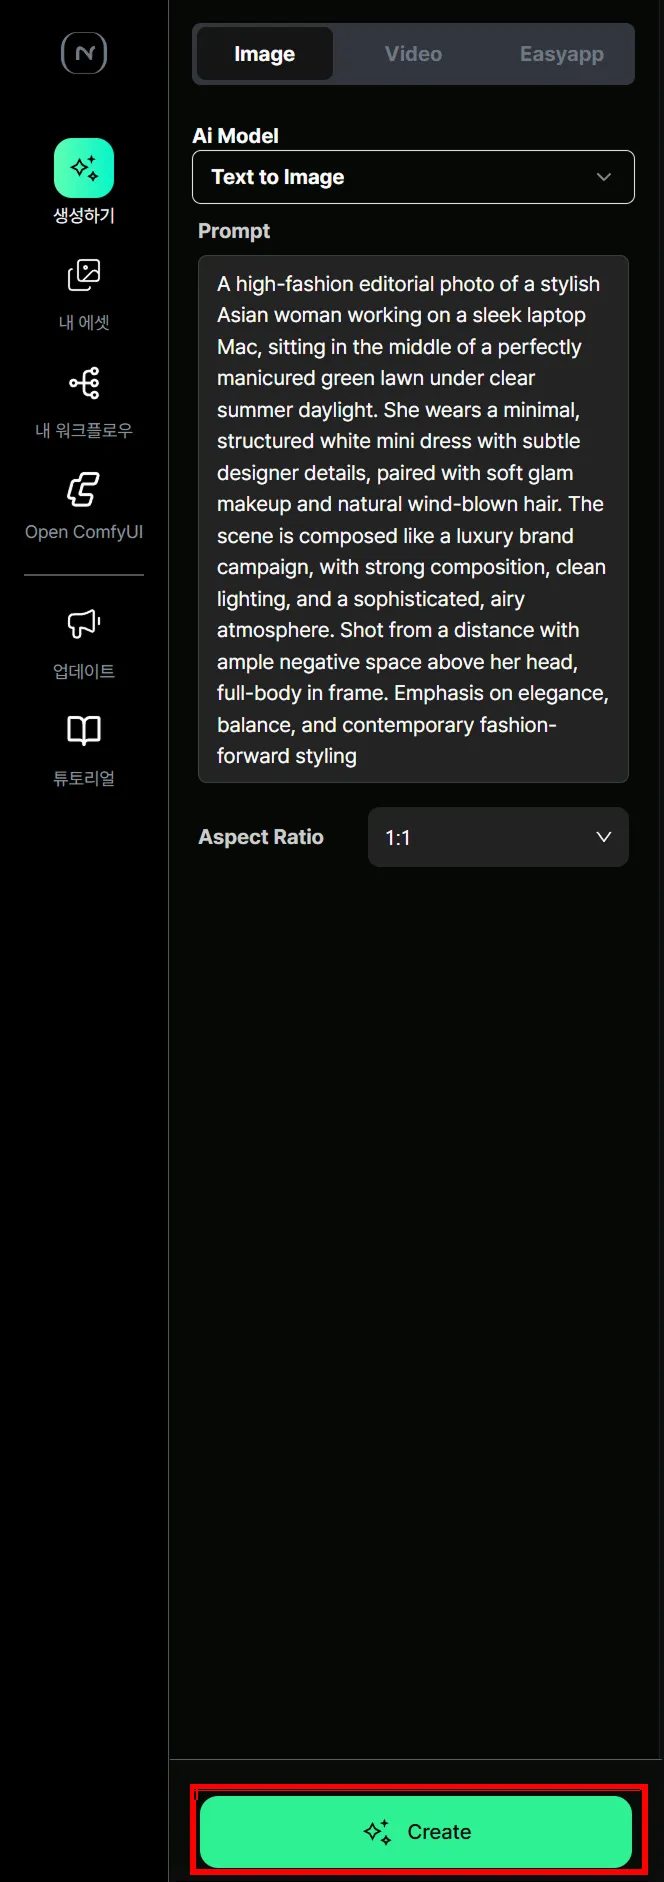
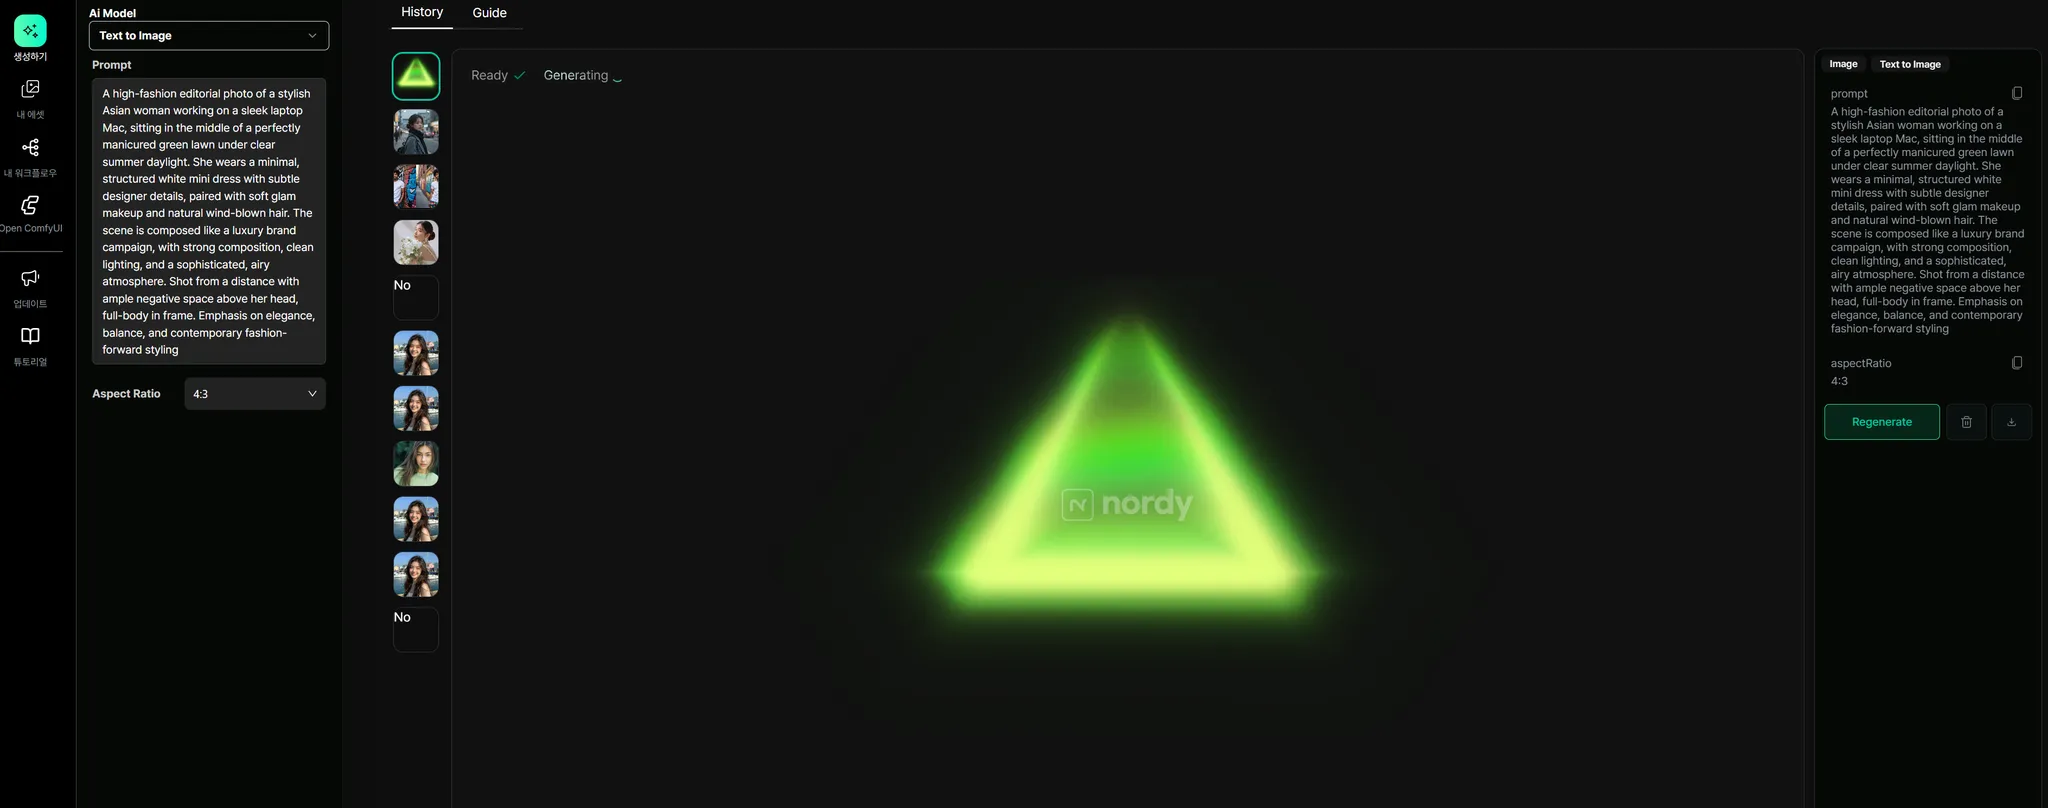
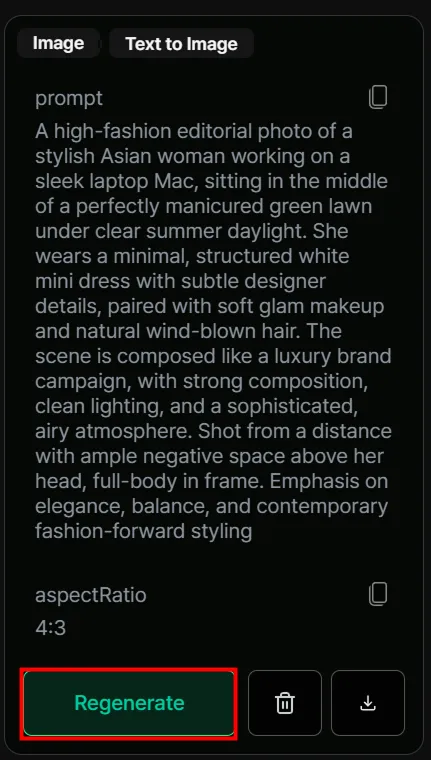
If you see the following screen, your image is being generated.
The completed image appears in the center of the screen, and information about the model, text, and aspect ratio used can be found on the right side.
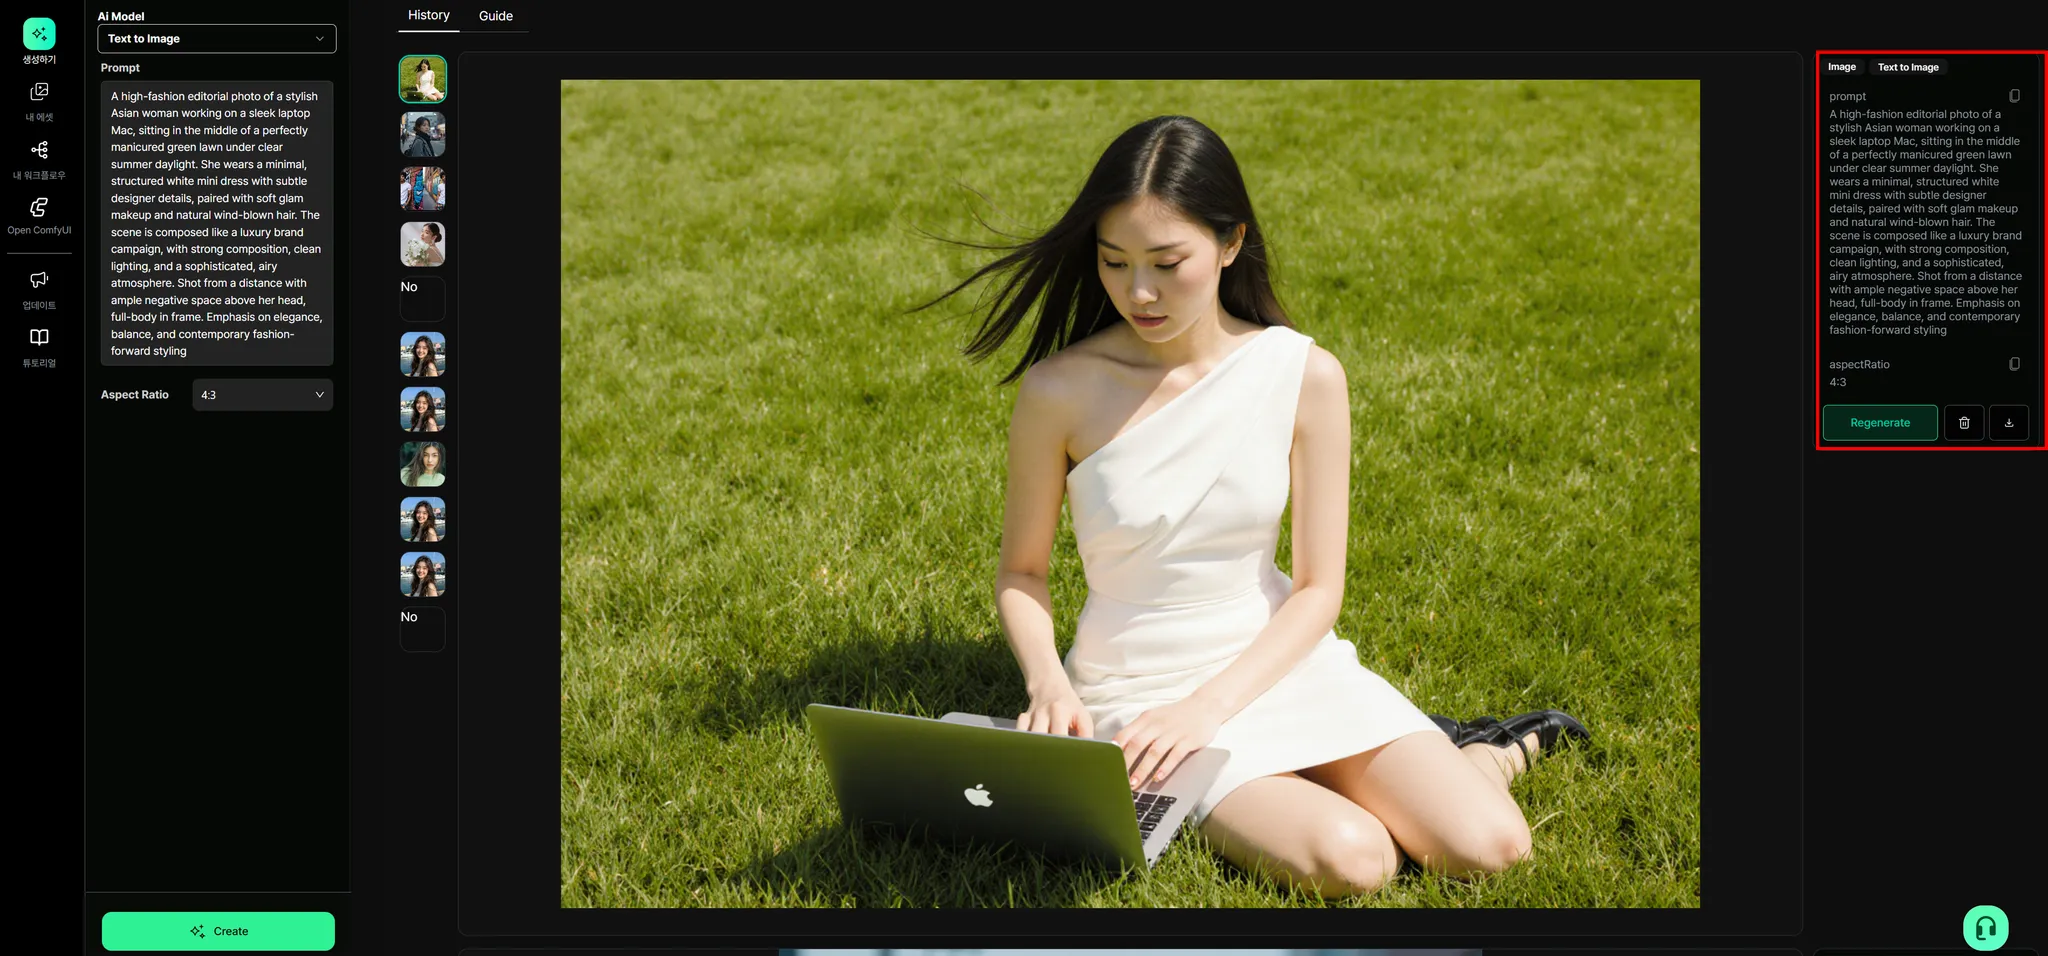
To download the image result, click the download icon in the information panel on the right.
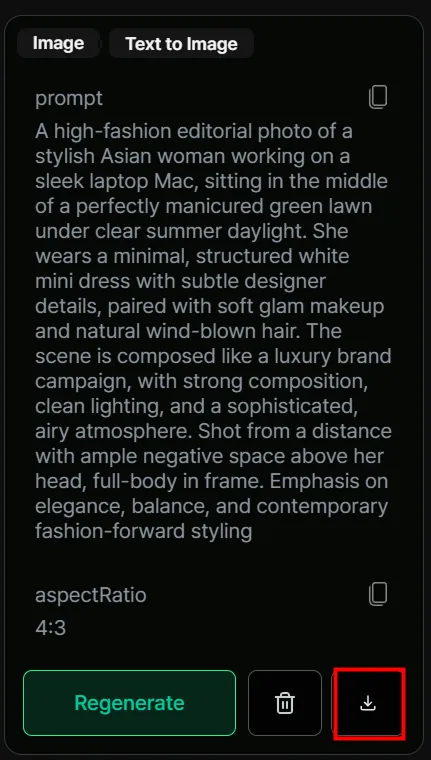
If you want to generate a new image using the same prompt, click the Regenerate button.
Generating Videos
Section titled “Generating Videos”Video generation in Create consists of three main steps.
1. Select a model from AI Model
Section titled “1. Select a model from AI Model”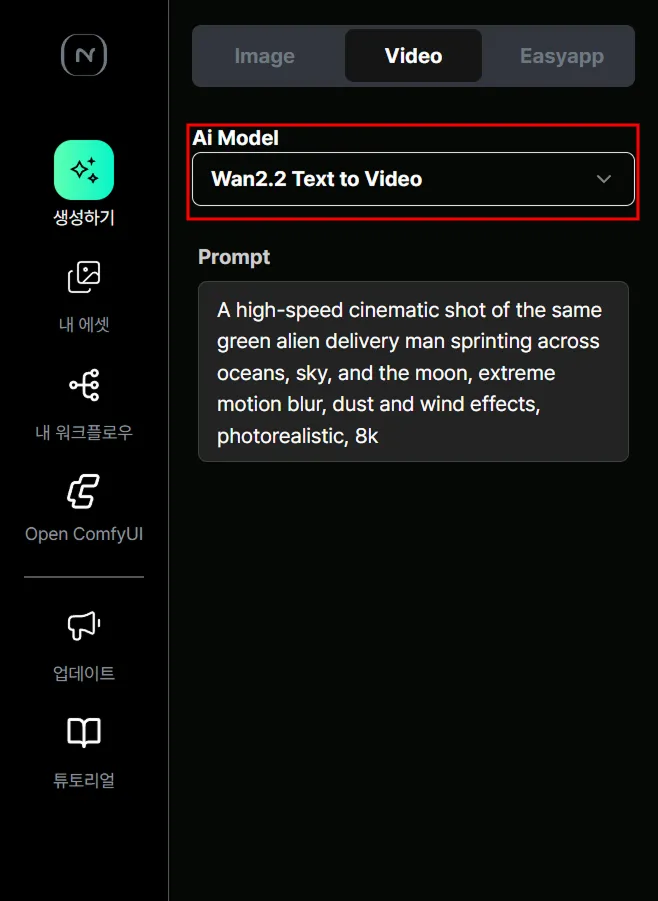
2. Enter text describing the video you want to create
Section titled “2. Enter text describing the video you want to create”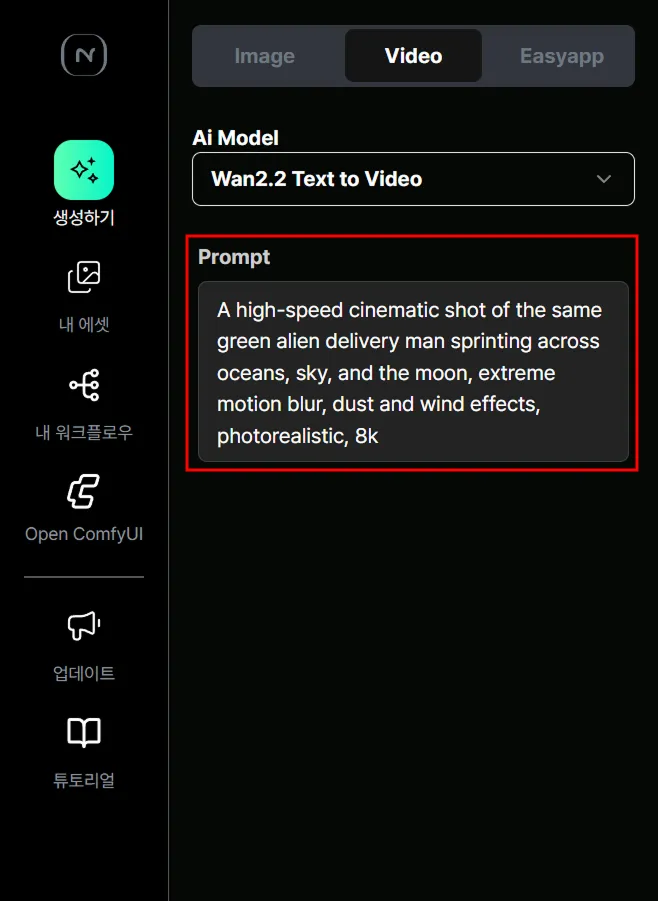
3. Click the Create button
Section titled “3. Click the Create button”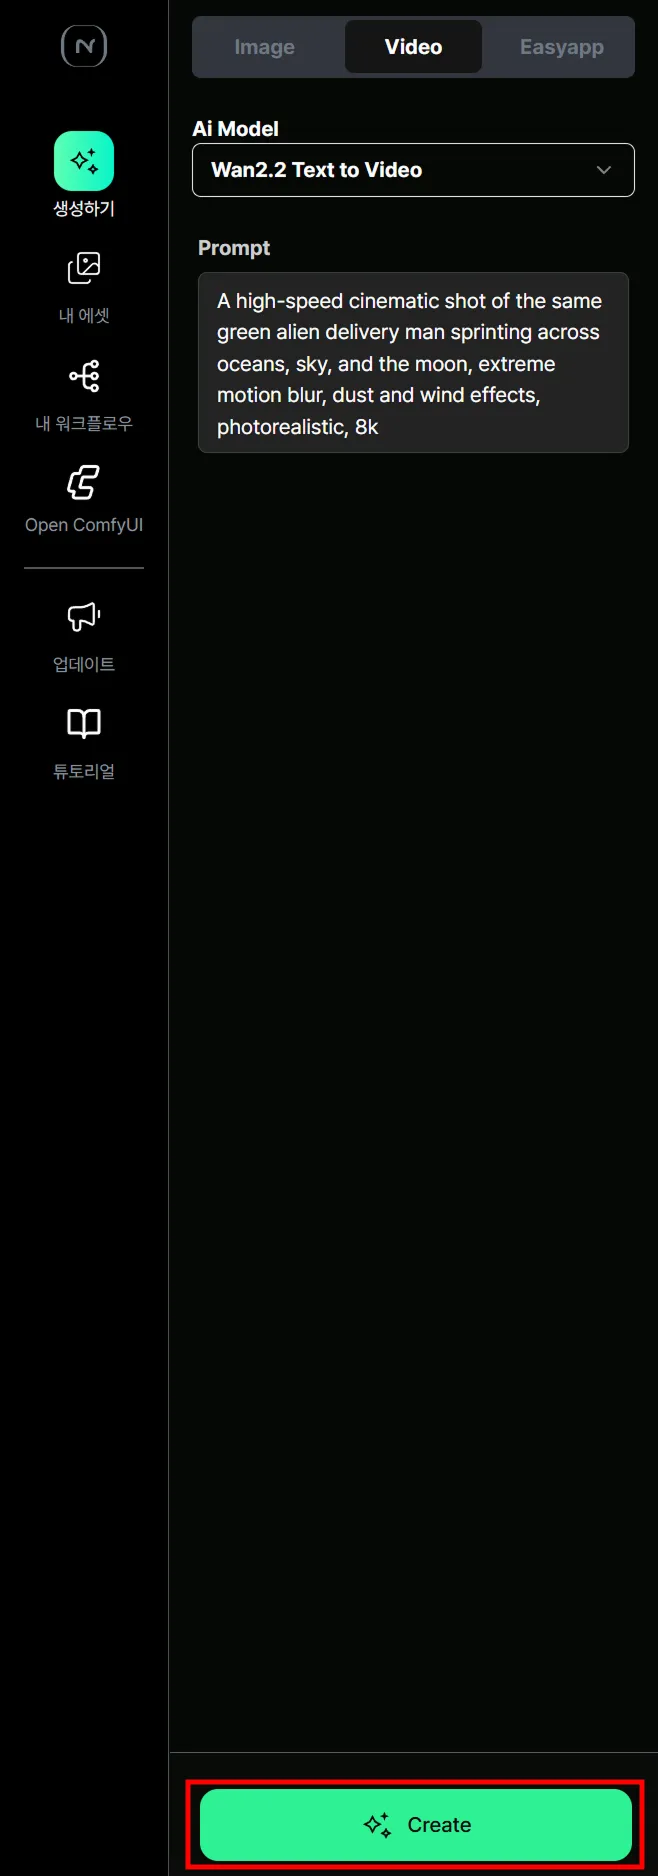
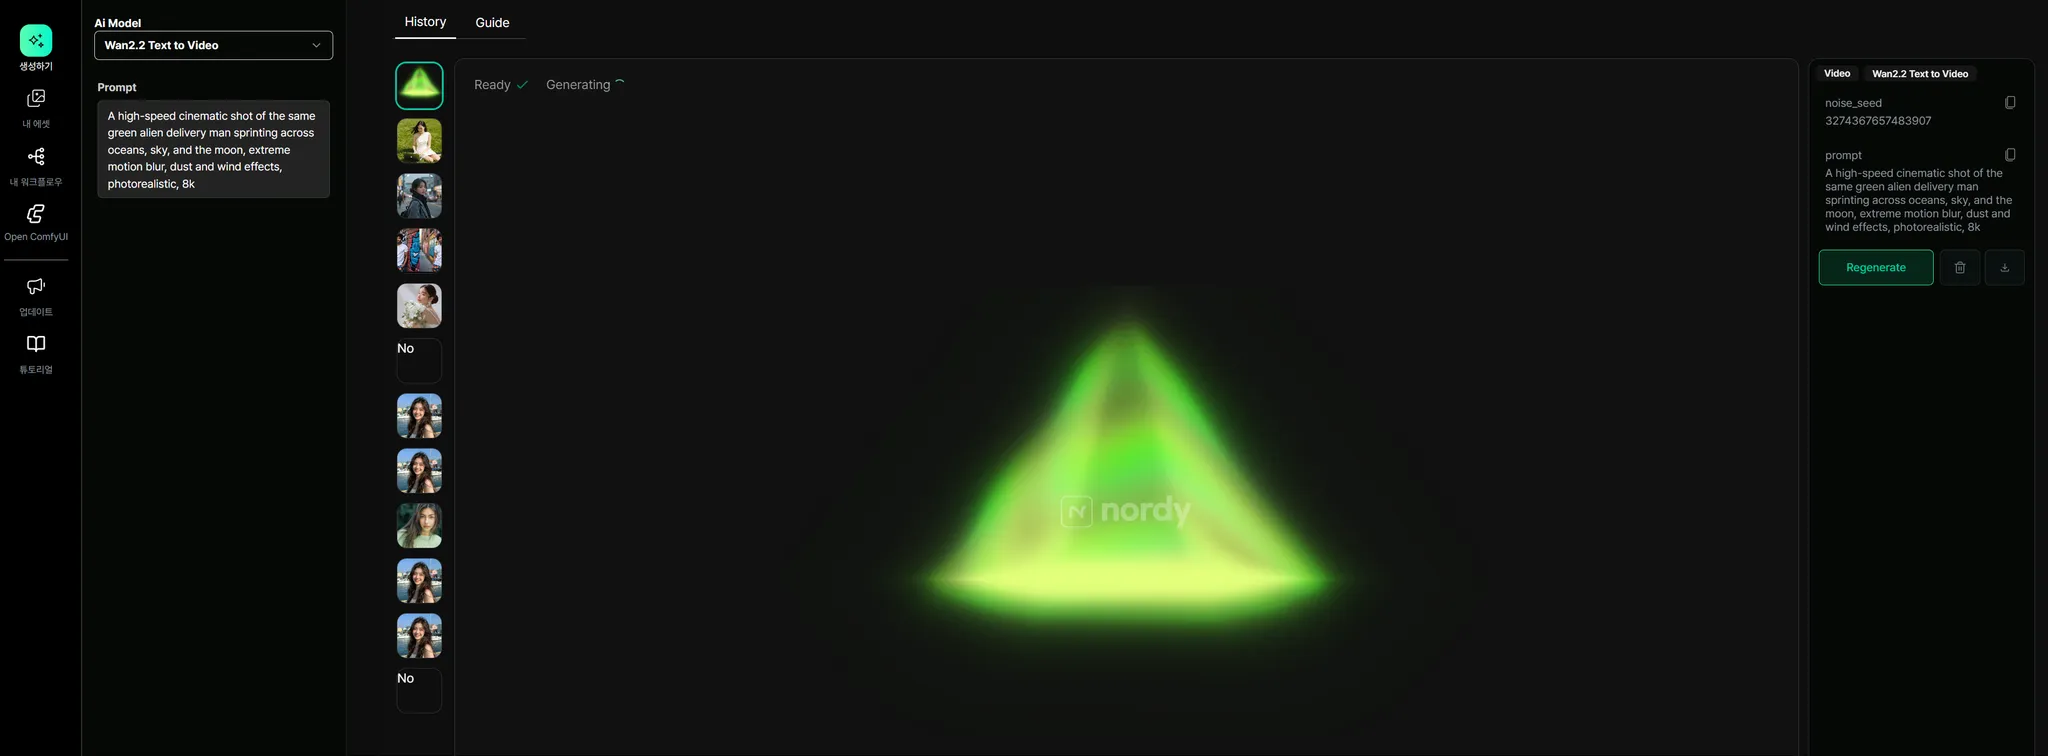
If you see the following screen, your video is being generated.
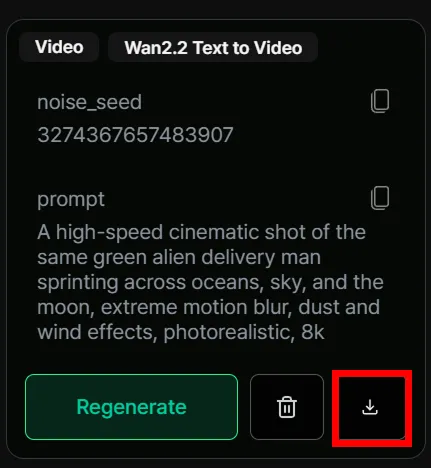
The completed video appears in the center of the screen, and information about the model and text used can be found on the right side.
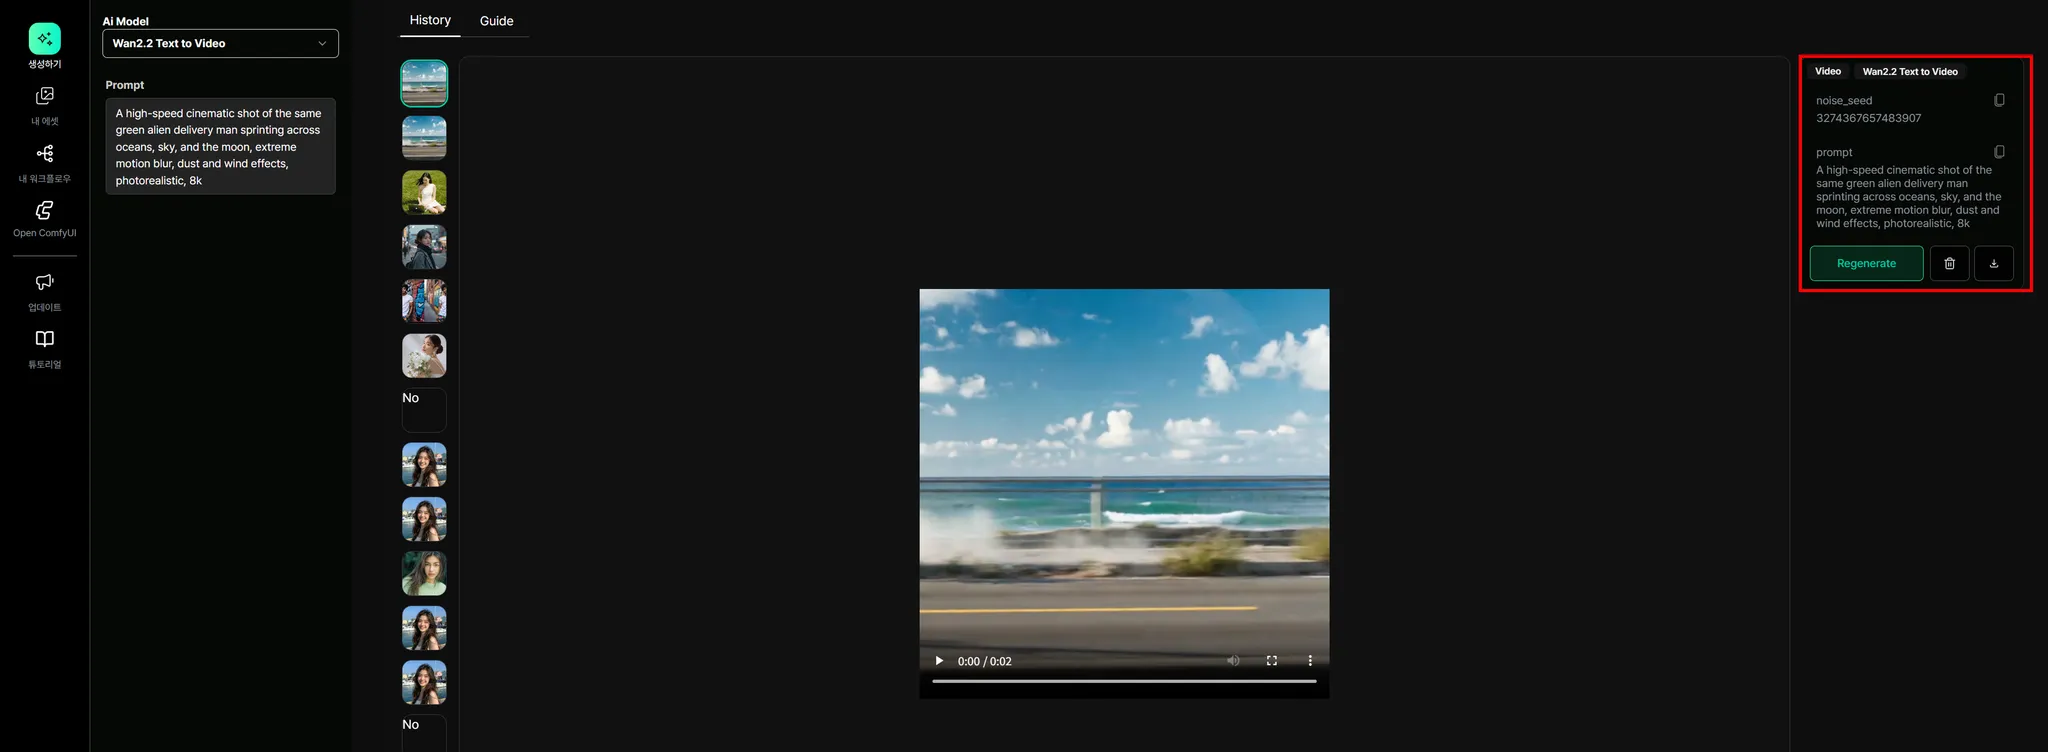
To download the video result, click the download icon in the information panel on the right.
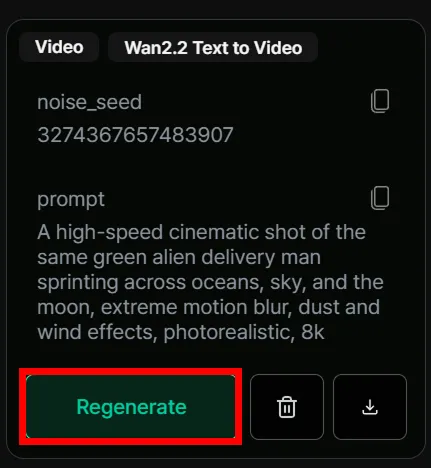
If you want to generate a new video using the same prompt, click the Regenerate button.
Nordy ComfyUI
Section titled “Nordy ComfyUI”Who is this for?
Section titled “Who is this for?”Nordy ComfyUI is ideal for users who have experience with ComfyUI and want to run workflows in the cloud without a local GPU.
Key Features
Section titled “Key Features”- Cloud Execution: Run ComfyUI in your browser without setting up a local environment.
- Pre-installed Models: Tens of terabytes worth of models are already installed. New models are added daily.
- Custom Node Support: Most custom nodes are pre-installed.
- Workflow Export: Save and manage workflows as JSON files.
How to Use
Section titled “How to Use”- Select ComfyUI from the top menu.
- Create a new workflow or load an existing one.
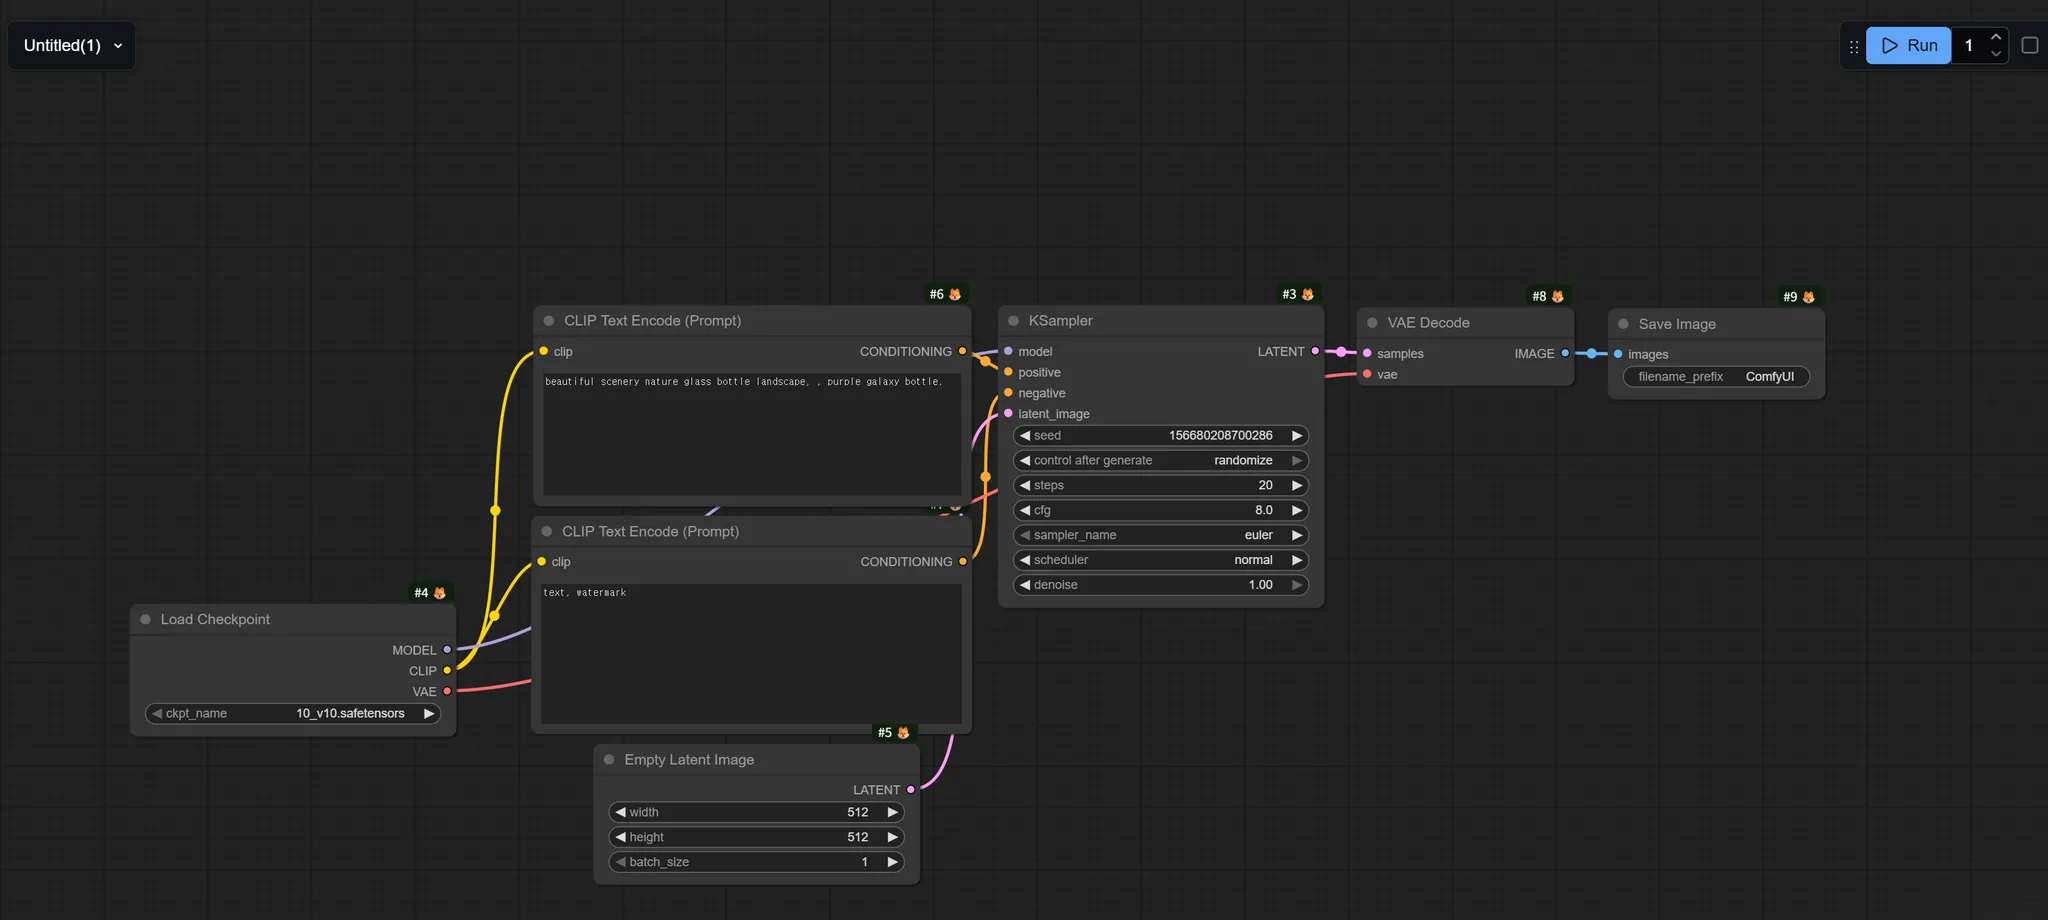
- Click the Run button to execute.
- Check the results.

Uploading Workflows
Section titled “Uploading Workflows”Here’s how to upload a workflow in ComfyUI.
- Click the ‘C’ logo below the Nordy logo on the left side.
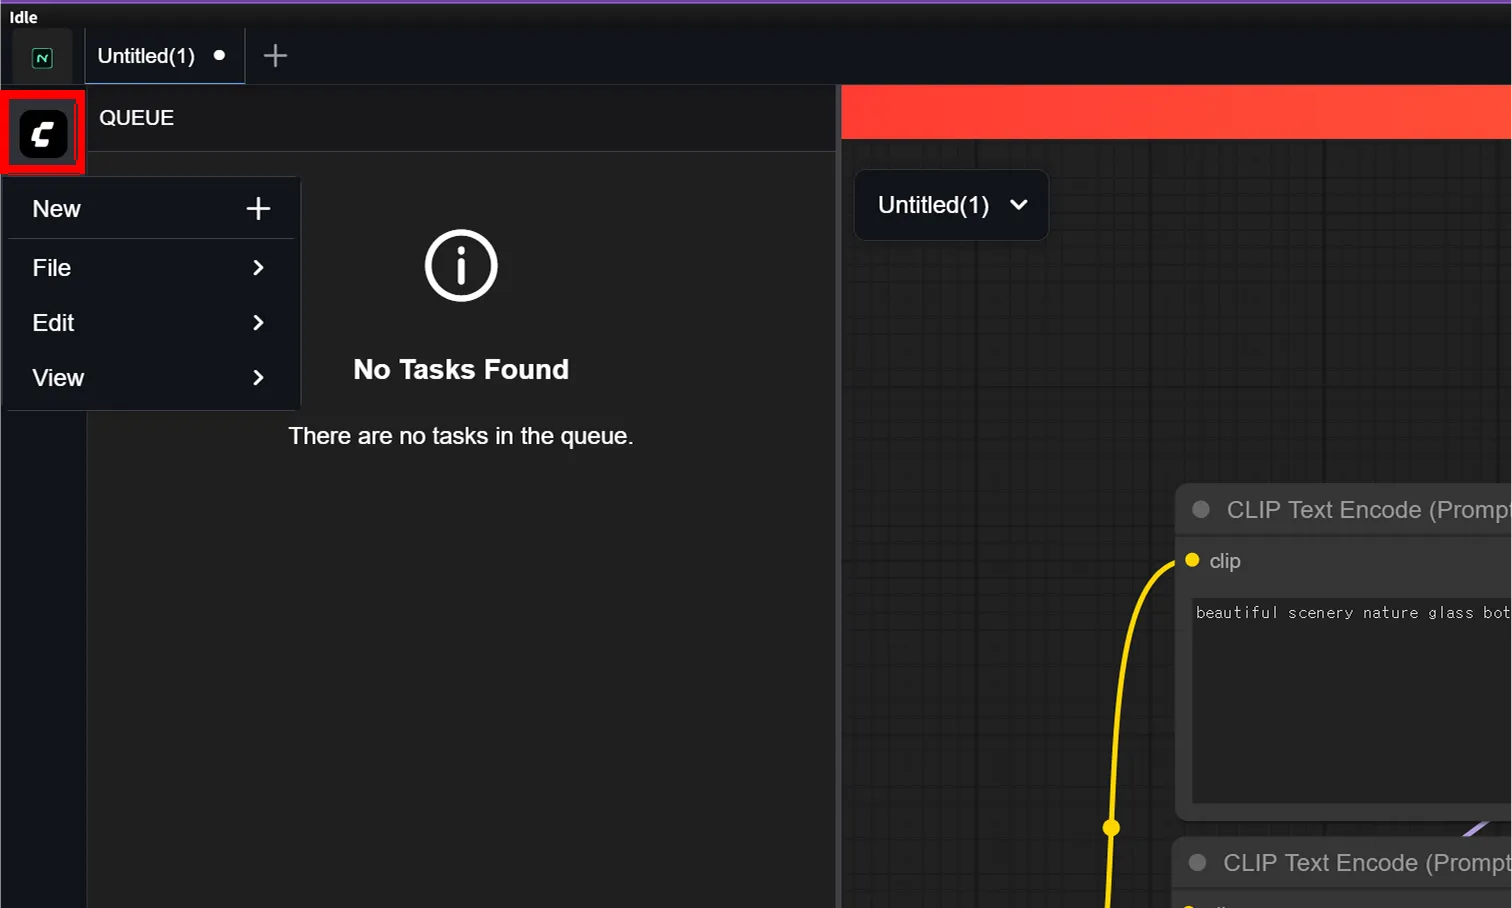
- Click the File button (second from top), then click Open at the top of the menu.
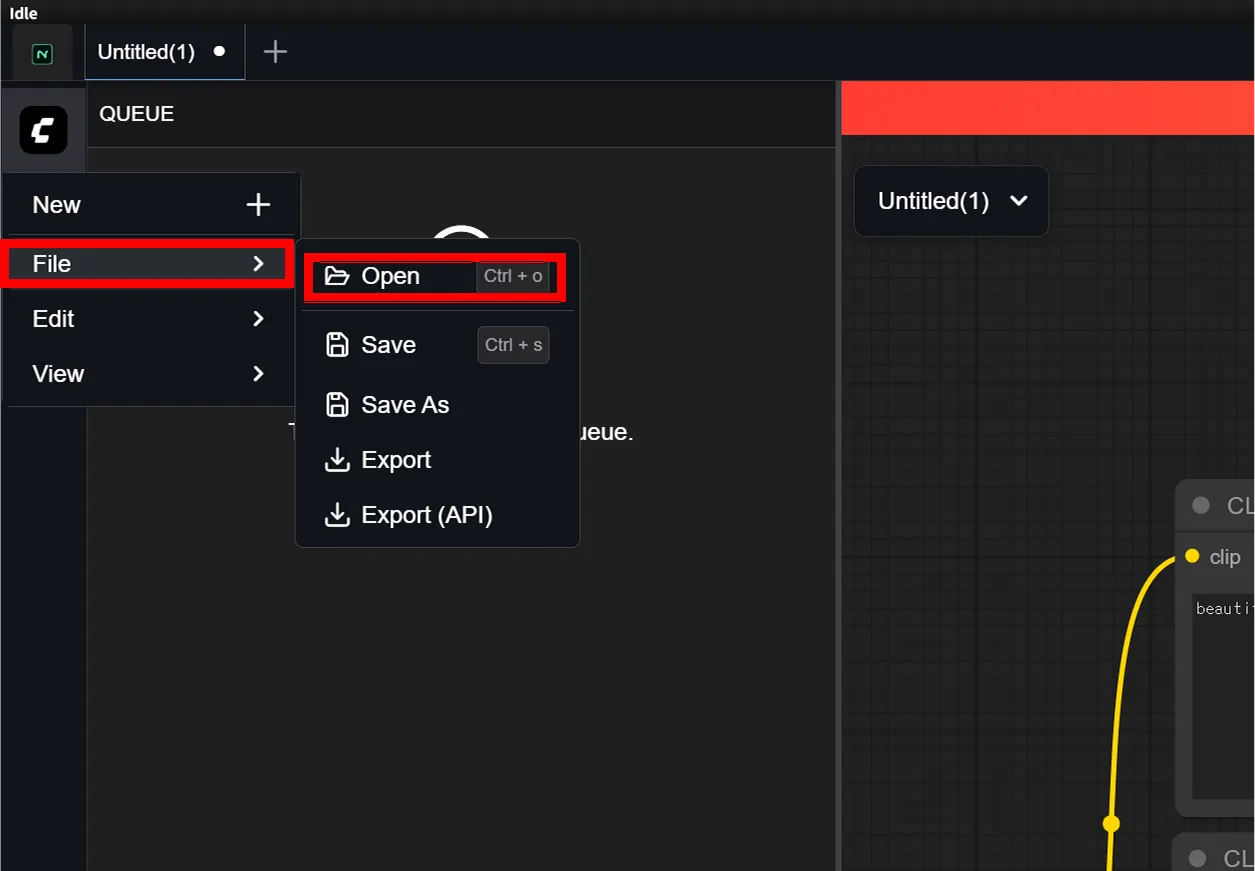
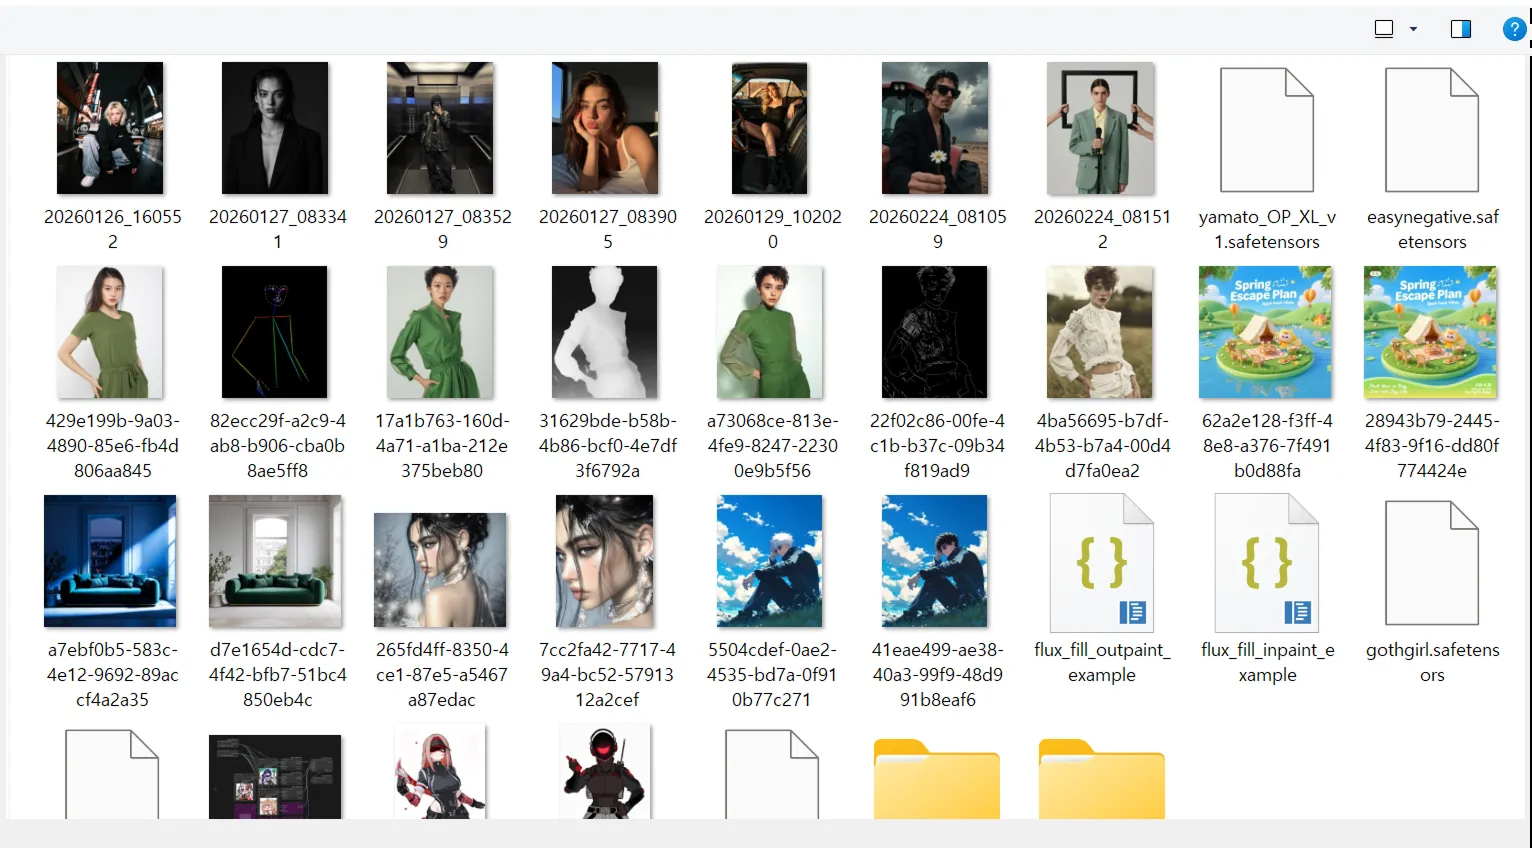
- A file browser will open where you can upload and load the workflow you want to use.
What Makes Nordy ComfyUI Different
Section titled “What Makes Nordy ComfyUI Different”Here are the advantages of Nordy ComfyUI compared to local ComfyUI.
| Category | Local ComfyUI | Nordy ComfyUI |
|---|---|---|
| GPU | Requires installation on your PC | Cloud GPU automatically assigned |
| Model Installation | Download and manage manually | Pre-installed (updated daily) |
| Custom Nodes | Install and manage manually | Most are pre-installed |
| Workflow Sharing | Share via files | One-click execution on Nordy |
| Accessibility | Only on that specific PC | Access from anywhere via browser |
Good to Know
Section titled “Good to Know”- Credit consumption varies depending on workflow complexity.
- When uploading custom workflows, please check node compatibility.
- If you want an easier start, try EasyApp first.